EN
9
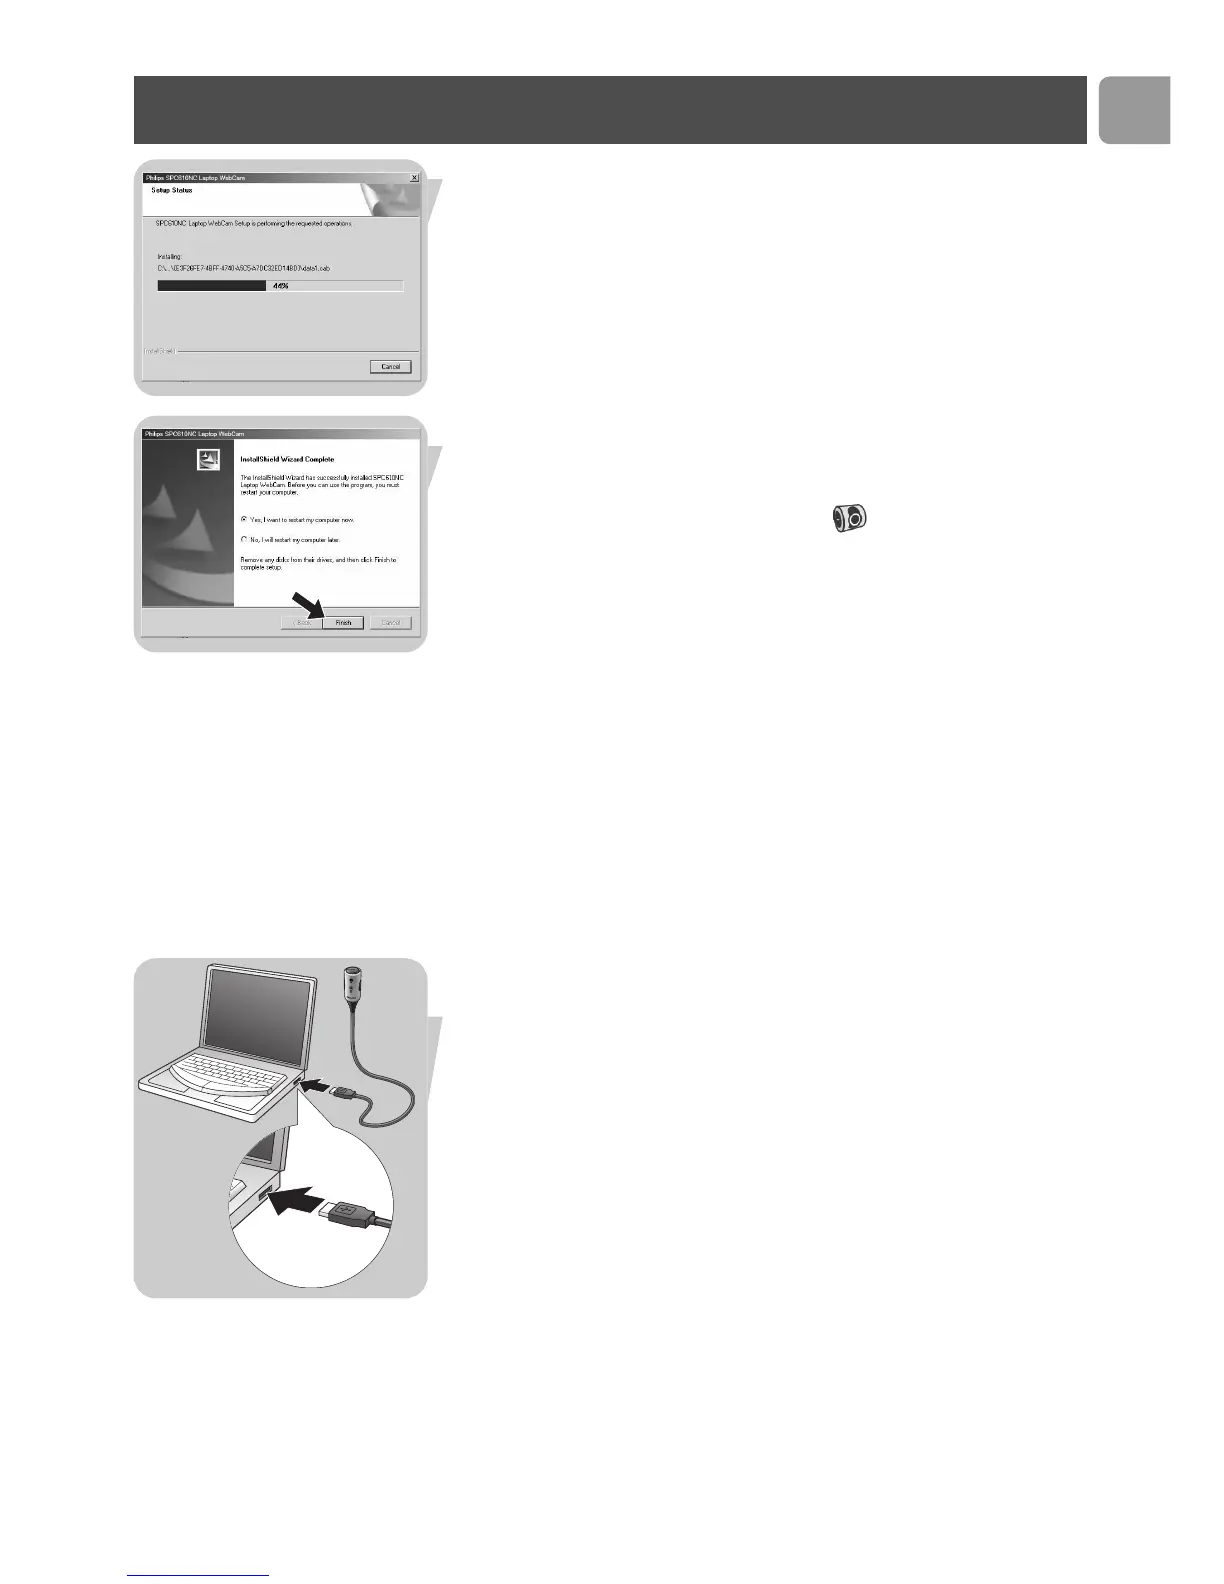
> The following screen, including a progress bar, appears.
> The following screen appears when the installation was
successful.
5 Click on 'Finish'.
> The V(ideo)-Lounge desktop shortcut will be installed after
installation.
> Via VLounge you have access to all WebCam-related software.
See ‘Using the applications’.
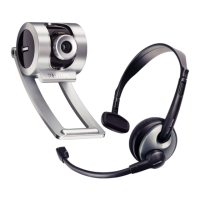
6 You can now connect your laptop WebCam.
Note!
The SPC610NC laptop WebCam is 'XP Plug & Play'.This means if
you are running Windows XP and you have installed Service Pack 2
and the latest Microsoft Windows XP updates you don't need to
install the SPC610NC PC Camera Driver. Simply plug in the WebCam
and you can start using your SPC610NC laptop WebCam.
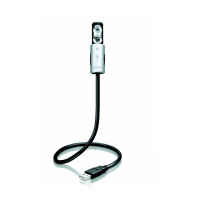
Connecting the WebCam to your laptop
1 Be sure to run the installation CD first, before connecting the
WebCam to the laptop or notebook.
2 Be sure your laptop or notebook is activated.
3 Connect the USB connector to the USB port of the laptop.
> The WebCam will now derive its power from the laptop.
Installation