17
First steps
Table of contents
3
Turn up the volume until you reach a comfortable listening level.
The speaker is switched o when headphones are connected.
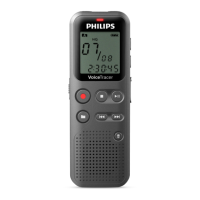
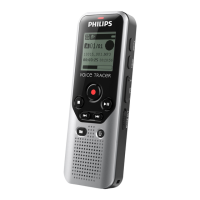
4.5.2 Connecting an external microphone
Note
• If you connect an external microphone to the device, the
recording source will switch automatically and the device
microphone will turn o.
1
Stop the recording currently in progress.
2
Insert the jack into the microphone connection MIC on the top of
the device.
MIC
EAR
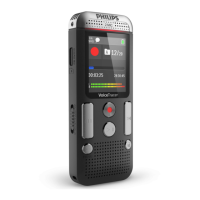
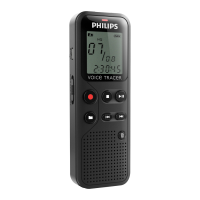
4.6 Connecting to a computer
You can select one of the following options once you have connected
the device to a computer
• A USB mass storage device: You can use the File Explorer to
access the device data without installing additional software. It is
automatically displayed, similarly to a USB memory stick or card, as
a mass storage device. It is a convenient way to store, back up and
and move files. (see also chapter 4.6.1 Transferring files from or to
the device, page 18).
1
Plug the USB connector into a USB port on your computer.
2
Insert the micro USB plug into the USB port on the side of the
device.
X The device is displayed as a mass storage device in File
Explorer.
 Loading...