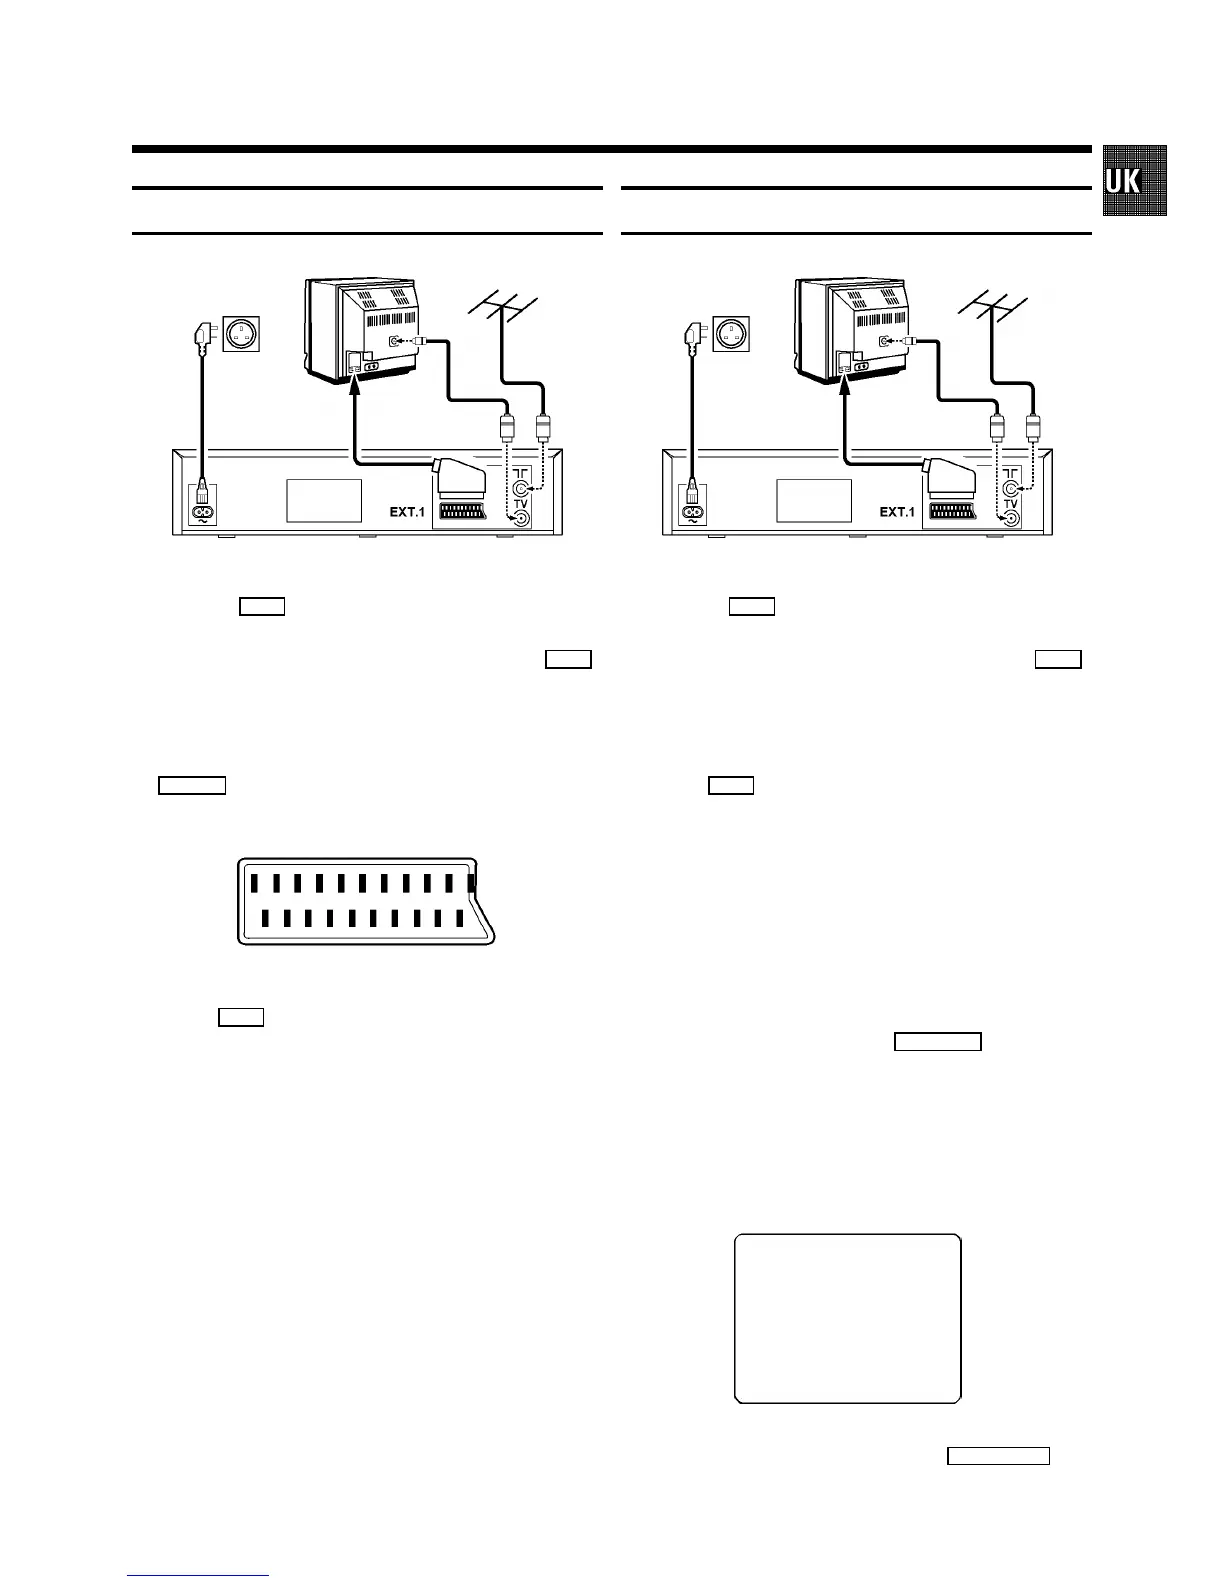
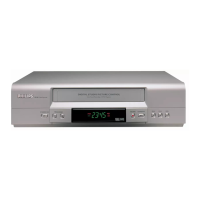
3
Connecting cables with a SCART socket
1 Remove the aerial cable plug from your TV set and insert
it into the
2
socket at the back of the video recorder.
2 Plug one end of the aerial cable provided into the
3
socket on the video recorder and the other end into the
aerial input socket on your TV set.
3 Insert the plug of a scart cable into the scart socket
EXT.1
at the back of your video recorder. Connect the
other plug to the TV set.
4 Insert the female plug of the mains cable into the mains
socket
4
at the back of the video recorder.
5 Plug the other end of the mains cable into the wall
socket.
Connecting cables without a SCART socket
1 Remove the aerial cable plug from your TV set and insert
it into the
2
socket at the back of the video recorder.
2 Plug one end of the aerial cable provided into the
3
socket on the video recorder and the other end into the
aerial input socket on your TV set.
3 Insert the female plug of the mains cable into the mains
socket
4
at the back of the video recorder.
4 Plug the other end of the mains cable into the wall
socket.
5 Switch on your TV set and select the programme number
that you have earmarked for video playback. (see operat-
ing manual for your TV set).
6 Ensure that no cassette has been inserted. With the video
recorder switched off, hold the
SYSTEM
button for a
few seconds until a modulator frequency e.g.: ’M583’
(UHF-channel 35) appears in the display. The video
recorder transmits a test picture.
7 Tune in the TV set in the UHF wave band until this picture
appears.
MODULATOR 583
------------------------
-/+
ON/OFF gCL OK
8 Switch off the video recorder with the
STANDBY m
but-
ton.