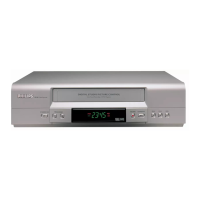
4
Important notes for subsequent operation
• Many televisions switch automatically to the ’EXT’
(EXTernal) or ’AV’ (Audio/Video) programme number
when a video cassette is played back.
If the television does not switch automatically, you will
have to select the ’EXT’, ’0’, or ’AV’ programme number
on the TV set manually.
• Keep your video recorder connected to the mains and the
power switch in ’on’ position at all times to ensure that
programmed recordings can be made and that the
television functions. The power consumption required is
low.
• The video recorder switches on automatically as soon as
you insert a cassette or press the
P q
button.
• If the video recorder is not used for a few minutes in
some functions, it switches to standby automatically.
• Back-up power supply: TV channel storage - typically 1
year, Clock/Timer - 30 minutes
• If you switch the video recorder to standby using the
STANDBY m
button, the current time will appear in the
display, e.g.: ’20:00’ .
If the clock has not been set, ’--:--’ will appear in the
display.
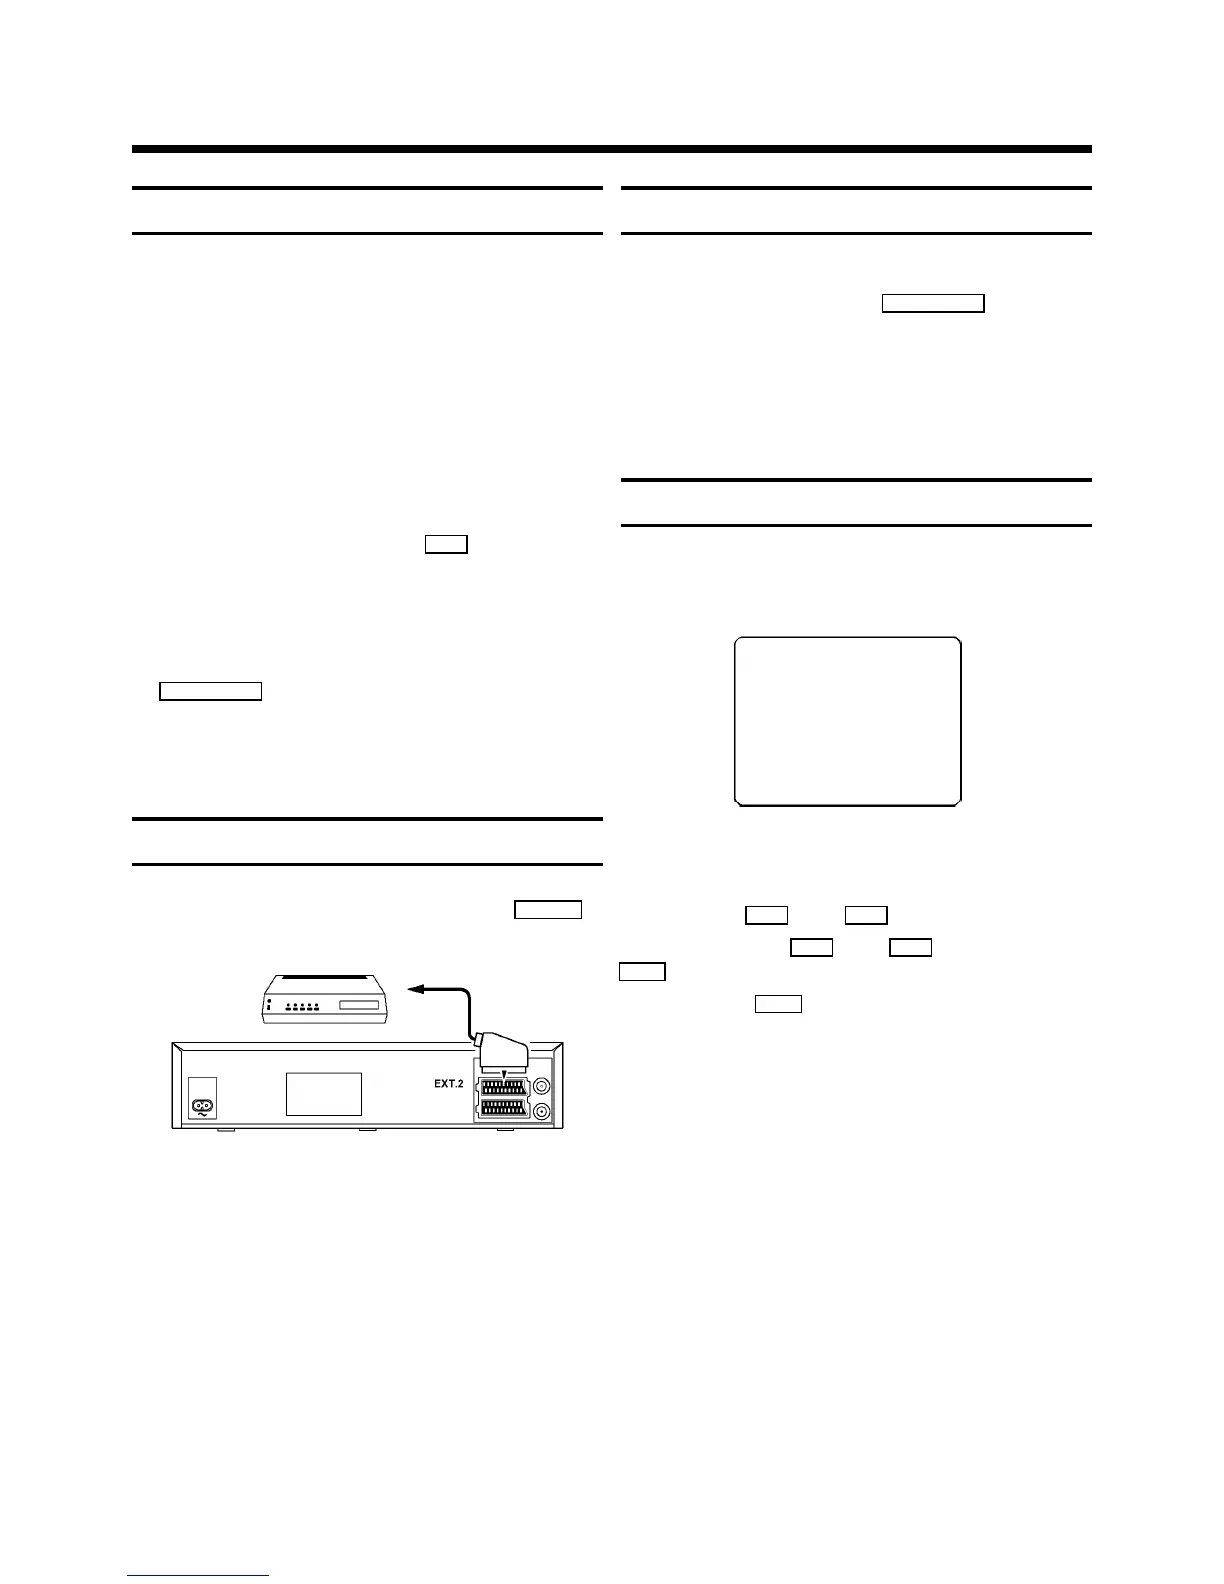
Connecting additional equipment
You can also connect additional equipment to the
EXT.2
socket, for instance, satellite receiver, decoder or camcorder.
Emergency interrupt
Both the set and the remote control have an ’Emergency
interrupt’ button. You can use the
STANDBY m
button to
interrupt any function.
Whenever you have operating problems you can simply
interrupt the function and start again.
You can practise operating your set without any worries.
No matter which buttons you press, you cannot damage it.
User guide
With OSD (On Screen Display) the corresponding functions
appear on the TV-screen.
DATE PROG START V/P END
01 01 20:00 21:30
------------------------
NEXT gTIMER CLEAR gCL
-/+ 0-9 D/WgSELECT OK
In all of the sections to come, use the following buttons for
these functions: `Select´, `Enter´/´Adjust´, `Confirm´.
Select: Use the
P r
or the
P q
button.
Enter/Adjust: Use the
P r
or the
P q
button, or the
0-9
buttons.
Confirm: Use the
OK
button.