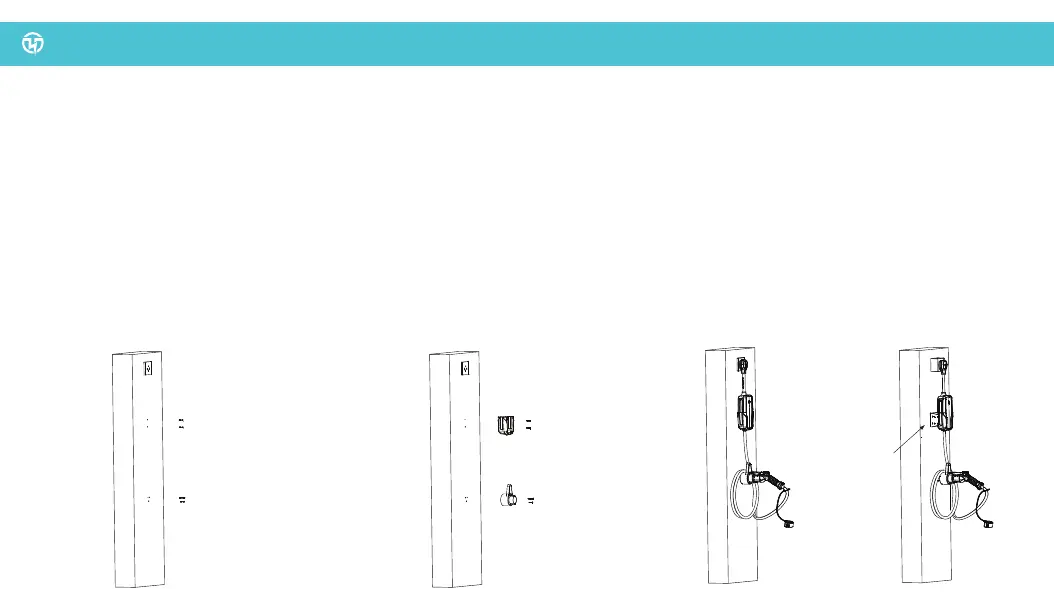
STEP 2 STEP 3 STEP 4
Based on the measurements in Step 1,
drill two pilot holes for the wall-mount bracket
and two pilot holes for the cable hook.
Place the M6*30 plastic expansion wall plugs
screw anchors (item G) over each hole and
firmly tap it in until it's flush with the wall. If you
do not require wall anchors, please skip this
step and proceed directly to Step 3.
8
INSTALLATION GUIDE
Line up the wall-mount bracket (item C) and
screw in the two M4*30 countersunk head
tapping screws (item F).
Line up the charging handle holster and cable
holder (item E) and screw in the remaining two
M4*30 countersunk head tapping screws (item
F).
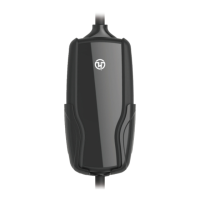
Depending on the outlet type (N5-15R or N14-50R), plug the
corresponding adapter (item A) to the charging station/control box
(item B) first. Install the charging station/control box (item B) on the
wall-mount bracket (item C), and wrap the cable to your desired length
on the charging handle holster and cable holder (item E). Plug the
adapter into the wall outlet and wait for the charging station/control box
(item B) to power on.
Note: The control box needs to be positioned so that it is directly
beneath the power adapter when it is plugged in. If the outlet sticks out
from the wall, an additional spacer bracket is available for purchase
separately, adjustable for 1.5”, 2 1/8” and 3” depth.
Spacer bracket
(sold separately)
 Loading...