
B
bobbyreedNov 26, 2025
How to troubleshoot no sound from the analog output jack on my PIONEER DJ Equipment?
- KKevin FryeNov 26, 2025
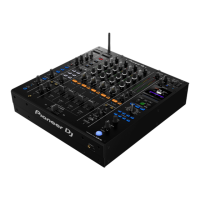
If there's no sound from the analog output jack of your PIONEER DJ Equipment, it could be due to a mute circuit defect. In this case, confirm Q1351, Q1352, Q1353, Q1354, Q1355, Q1356, Q1357, Q1359 and the peripheral circuit of these parts, and repair the defective soldering and replace parts if found. Alternatively, there may be an audio power supply circuit defect, requiring you to check IC5001, IC5002, IC5003 and the peripheral circuit of these parts, and repair the defective soldering and replace parts if found. It could also be a DAC power supply circuit defect, necessitating a check of the associated power supply ICs and their peripheral circuits. A reset circuit defect may also be the cause, so confirm the DACDIT_xRST circuit from MAIN Assy. A defect in the Master CLK or the I2S circ...