Do you have a question about the Pioneer CT-S99WR and is the answer not in the manual?
Comprehensive safety instructions for appliance operation and placement.
Connects to optional remote control for operation from listening position.
Displays the transport position of the tape loaded in deck I.
Operates the cassette door mechanism for loading/unloading tapes.
Lights indicating playback, recording, and reverse modes.
Used for unattended recording or wake-up playback functions.
Explains single, repeat, and auto-reverse modes for playback and recording.
Details how reverse mode interacts with timer and relay functions.
Describes the automatic head rotation for reversing tape direction.
Instructions on how to change tape travel direction.
Plays back a single side of a cassette tape.
Continuous playback from one deck to another.
Answers common questions about programming and playback errors.
Searches for tracks up to ten positions before or after the current one.
Listens to the next or currently playing track.
Explains how track counting works for search functions.
Records audio onto a cassette tape in either deck.
Guides setting the optimal recording level for sound quality.
Records long programs continuously across decks.
Records simultaneously onto two tapes from one source.
Creates a 4-second gap between tracks for search functions.
Creates non-recorded intervals shorter than four seconds.
Creates non-recorded intervals longer than four seconds.
Copies a tape at normal speed while listening to playback.
Copies a tape quickly in a short amount of time.
Edits undesired material from a tape during normal speed copying.
Copies selected tracks for editing purposes.
Records programs automatically using a timer.
Plays back tapes automatically using a timer.
Inspects tapes for slack, damage, and erasure prevention tabs.
Provides tips for handling leader tape and storing tapes.
Explains sensor holes for automatic tape type selection.
Instructions for cleaning essential tape path components.
How to clean the exterior panel and cassette door.
Process to remove residual magnetism from heads.
Details Dolby NR and dbx noise reduction technologies.
FCC compliance and interference information for US units.
Explains the use of the accessory plate with the SA-V70 remote.
| Track System | 4-track, 2-channel stereo |
|---|---|
| Total Harmonic Distortion | 1.0% |
| Tape Speed | 4.76 cm/s |
| Motor | DC motor |
| Frequency Response | 20Hz - 20kHz (Metal tape) |
| Output | Line out |
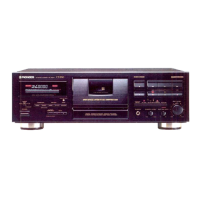
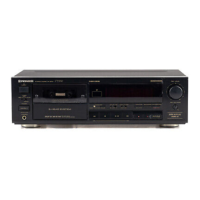
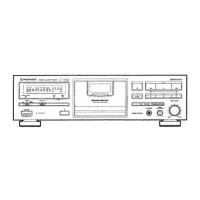
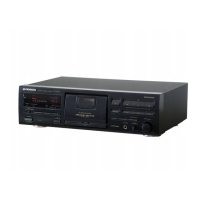
| Type | Auto-Reverse Double Cassette Deck |