Do you have a question about the Pioneer DT-510 and is the answer not in the manual?
Instructions for setting the line voltage selector switch for correct operation.
Instructions for setting the line frequency selector switch for clock synchronization.
Guidelines for connecting appliances to the timer's power outlets, noting capacity limits.
Safety precautions for connecting, disconnecting, and storing the power cord.
Explanation of the winking display 'AM 12:00' or '0:00' indicating a power failure.
Explains how the timer displays current time and indicates power failures with blinking.
Using the timer to automatically switch audio components ON/OFF for music or recording.
Using the sleep timer function to switch off audio components after a set time.
Combining sleep timer and ON/OFF timer for sequential audio control scenarios.
Crucial safety warnings about total power consumption and appliance types for connections.
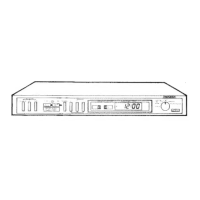
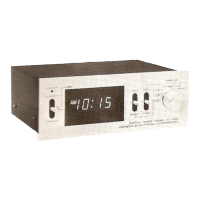
Explains the functions of the AC outlet selectors (OFF, ON, TIMER) for controlling power.
Details on using TIME ADJUST switches (SEC RESET, FAST, SLOW) for time setting.
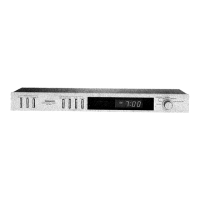
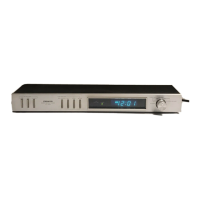
Describes the red indicator light that shows power supply to the rear AC outlets.
Explains the green indicator light that illuminates when the TIMER selector is active.
Details the various modes (SLEEP, TIMER SET-ON/OFF, CLOCK, SECOND) for timer functions.
Explains how time is displayed according to mode selector and time adjust switch settings.
Step 1: Plug the timer's power cord into a household AC outlet to begin setup.
Step 2: Set the current hour and minute using the CLOCK ADJUST mode and switches.
Step 3: Reset and synchronize the seconds of the present time to 00 sec.
Step 4: Return the mode selector to the CLOCK position for normal time display.
Step 1: Set the timer's ON time (e.g., 7:00 AM) for waking up or recording.
Step 2: Set the timer's OFF time (e.g., 8:00 AM) for waking up or recording.
Verify the set ON and OFF operating times by checking the display.
Return the mode selector to the CLOCK position after setting operating times.
Step 5: Activate the timer function by depressing the AC OUTLET-TIMER selector.
Step 1: Set the sleep timer duration (e.g., 1 hr 30 min) for automatic power off.
Step 2: Activate the sleep timer function by depressing the AC OUTLET-TIMER selector.
Step 3: Return the mode selector to the CLOCK position after setting sleep timer.
Preparation: Set the primary timer ON/OFF times for waking up to music.
Step 1: Set the ON time for waking up to music, specifying the wake-up hour.
Step 2: Set the OFF time for leaving home after waking up to music.
Step 3: Set the sleep timer duration for dozing off to music.
Step 4: Activate the combined timer functions by depressing the AC OUTLET-TIMER selector.
Step 5: Return the mode selector to the CLOCK position after setting.
Warning against water penetration causing electric shocks and malfunctions.
Warning against opening the unit due to electric shock risk and voiding warranty.
Precautions on operating temperature extremes and vibration to prevent errors.
Instructions for cleaning the unit and what to do if buzzing or rattling noises occur.
Details about the digital display type used on the timer.
Specifies timer type (24-hour) and ON/OFF time setting details.
Details on setting the sleep timer duration in minimum units of minutes.
Specifies the accuracy of the timer's time display, synchronized with line frequency.
Details power requirements, AC outlets, and power consumption of the unit.
Lists additional functions such as LED indicators and power failure display.
Physical dimensions of the timer in millimeters and inches.
Specifies the weight of the timer in kilograms and pounds.
Lists the accessories included with the timer, such as operating instructions.