
K
Kevin GrimesSep 12, 2025
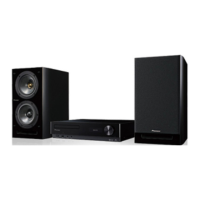
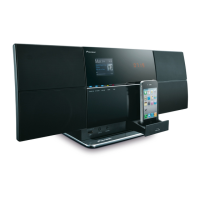
What does it mean when 'AMP ERR' blinks and the Pioneer Stereo System turns off?
- AasmithSep 12, 2025
The receiver probably has a serious problem. Don't try to turn on the receiver. Call a Pioneer-accredited repair center to look at the problem.