145
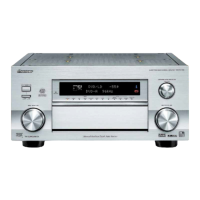
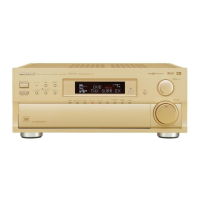
VSX-49TX, VSX-47TX
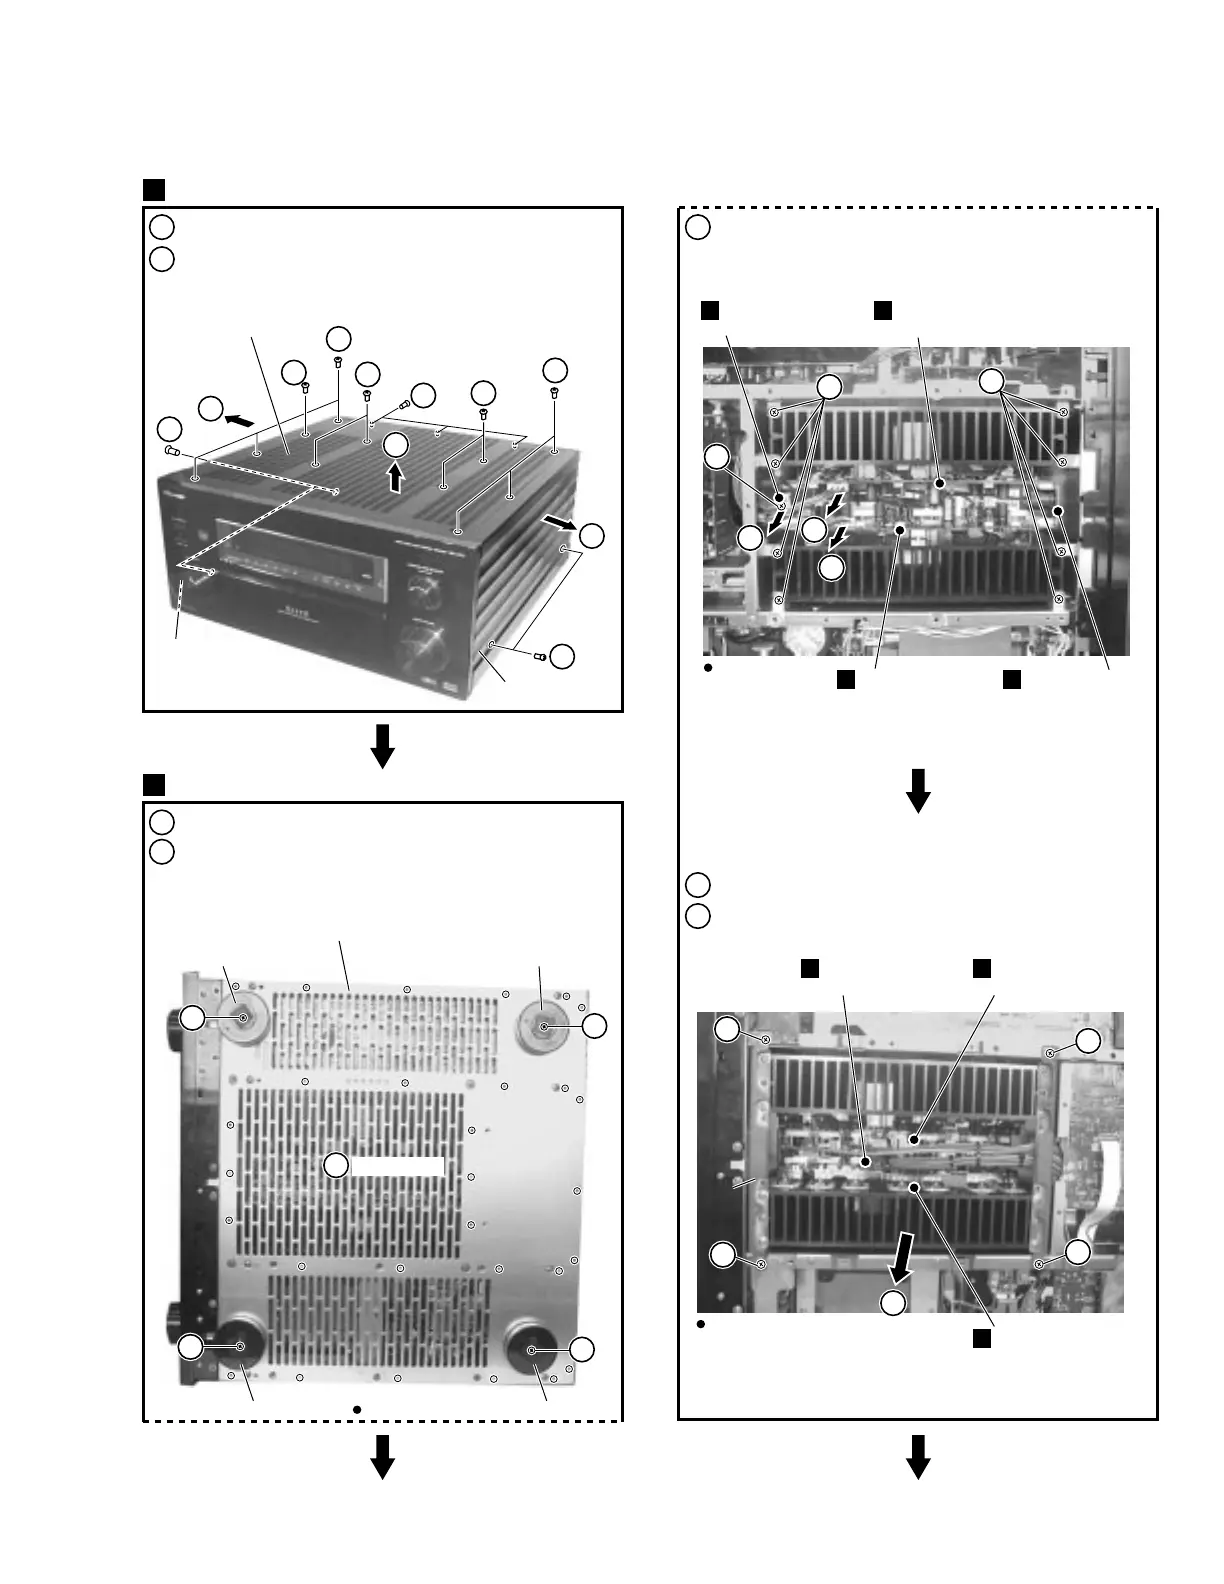
7.1.3 DISASSEMBLY
×2
1
×3
1
×3
1
1
Exterior Block
Remove the Top Plate BK (Screws × 13)
3
Remove 9 screws and three connectors
4
Remove four screws
5
Remove the Heat Sink Block
2
Remove the Side Alum BK (Screws × 5)(for VSX-49TX)
Remove the Side Plate BK (Screws × 5)(for VSX-47TX)
1
×3
1
Remove the Insulator Assy (Screws × 4)
2
Remove the Bottom Plate A and Bottom Plate B (Screws × 33)
1
Top Plate BK
Side Alum BK
(Side Plate BK)
Side Alum BK
(Side Plate BK)
Insulator Assy
Screws × 33
Bottom View
Insulator Assy
Bottom Plate A,
Bottom Plate B (VSX-49TX Only)
Insulator Assy
Insulator Assy
×2
1
×2
2
×2
2
2
2
2
1
Heat Sink Block
2
1
1
2
1
1
Top View
POWER AMP (R)
Assy
Bottom View
Pull-up
3
3
3
3
3
3
X
POWER AMP (BR)
Assy
Y
POWER AMP (L)
Assy
V
POWER AMP (G)
Assy
Z
POSISTER (L)
Assy
AG
POSISTER (R)
Assy
AH
POWER AMP (C)
Assy
W
4
4
5
4
4
 Loading...