Do you have a question about the Pioneer VSX-D2011-S and is the answer not in the manual?
Describes essential safety measures and leakage current checks for safe operation.
Highlights specific safety characteristics of replacement components and potential hazards.
Conforming to product regulations and ensuring safety during servicing procedures.
Details power output, sensitivity, impedance, and frequency response of the amplifier.
Illustrates the external parts of the receiver through an exploded view.
Shows the layout and components of the rear panel.
Illustrates the components and layout of the front panel assembly.
Illustrates the audio signal flow and component interconnections.
Shows the digital signal processing block diagram and component relationships.
Illustrates the video signal flow and component interconnections.
Depicts the block diagram of the power amplifier stages.
Provides a comprehensive overview of the system's wiring connections.
Presents the schematic diagram of the FM/AM tuner module.
Shows schematics for various audio input and output assemblies.
Provides schematics for input connection and coaxial input assemblies.
Presents the schematic diagram for the video assembly.
Part one of the main control assembly schematic.
Part two of the main control assembly schematic.
Part three of the main control assembly schematic.
Part one of the digital signal processing assembly schematic.
Part two of the digital signal processing assembly schematic.
Schematic diagram of the left power amplifier assembly.
Schematics for the right and center power amplifier assemblies.
Details the procedure for adjusting the FM tuner's T-METER.
Covers protection circuits, thermal/fan detection, overload, and DC detection.
Guides on diagnosing amplifier section issues and checking specific parts.
Provides a troubleshooting flowchart for sound issues and DSP Assy failures.
Lists IC components and their pin functions.
Provides troubleshooting steps for sound output issues related to USB input.
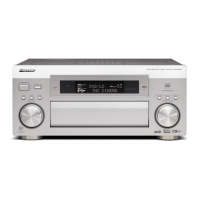
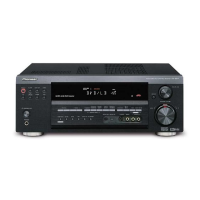
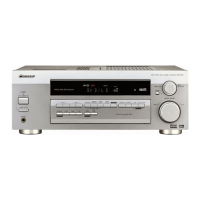
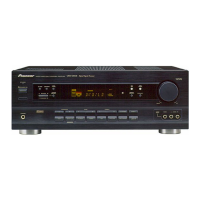
Explains all controls and indicators on the front panel of the receiver.
Explains the meaning of all indicators and symbols shown on the front panel display.
Explains all terminals and connections available on the rear panel.
Describes the function of each button on the provided remote control.
| THD | 0.09 % |
|---|---|
| Input Sensitivity | 200 mV |
| Weight | 16.3 kg |
| Audio Formats Supported | Dolby Digital, DTS |
| Signal-to-Noise Ratio | 100dB |
| Digital inputs | Coaxial, Optical |
| Video Connections | Composite, S-Video |
| Frequency Response | 10Hz-100kHz |
| Power Output | 100W per channel (6 ohms, 1kHz, THD 0.9%, 1ch driven) |