4
Assembly
Hardware
All hardware on the PIXEL has been installed for you. Pixel Class Rules
prohibit alterations or additions to the hardware supplied with the boat.
Mast Set Up
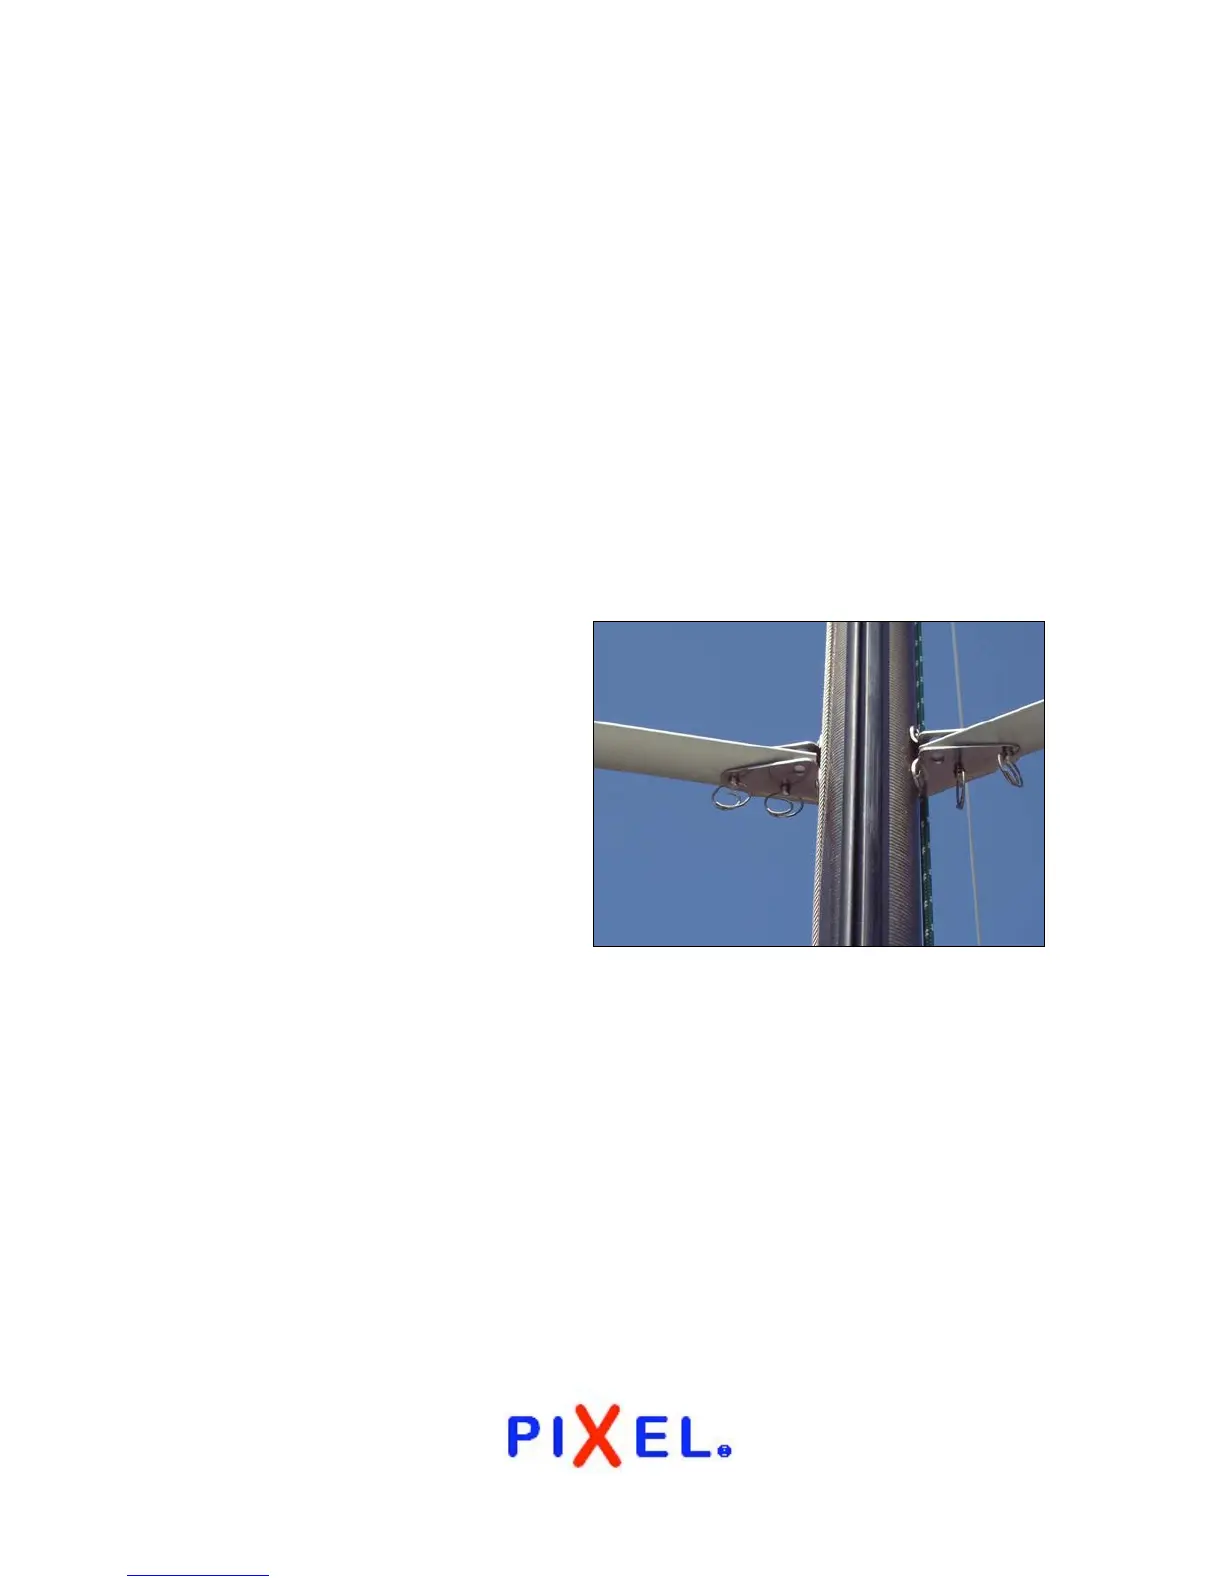
Attach the spreaders
The mast is delivered with the spreaders wire-tied to the mast near the
spreader bracket. Remove the wire ties and install the spreaders. Each
spreader is installed into the spreader bracket with 2 clevis pins, held in
place by cotter rings. Remove the cotter rings and clevis pins, position the
spreader with the tapered side
facing aft, then reinstall the clevis
pins through the bracket and holes
in the spreader and secure with the
cotter rings.
It is a good idea to tape over the
cotter rings with electrical tape, to
prevent chafe on the sails and as
an extra security for the clevis
pins. Next, the shrouds must be
attached to the outboard end of
each spreader. To do this, remove the Phillips head machine screw at the
outer end of the spreader, and carefully slide out the spreader end fitting.
This fitting has a slot in it where the shroud should be installed. Once the
shroud is in the slot, slide the end fitting back into the spreader and refasten
with the machine screw. Note that the machine screw should be installed
from the top of each spreader. Tape over the screw head and the end of the
spreader for chafe protection and as security to prevent the machine screw
from being lost.
 Loading...