1. Package Contents
Note
– 1 – – 2 –
– 3 – – 4 –
– 7 – – 8 –
– 5 – – 6 –
Further Information:
The above steps described are the installation and
configuration of the WDAP-C1750. For further configurations
of LAN, Wireless, Access Control, etc., please refer to the user
manual which can be downloaded from the website.
http://www.planet.com.tw/en/support/download.php?type1
=4&model=48835&type=3
If you have further questions, please contact the local dealer or distributor
where you purchased this product.
2011-E11110-000
Thank you for choosing PLANET WDAP-C1750. Before installing the AP, please
verify the contents inside the package box.
"AP" is used as an alternative name of WDAP-C1750 in this Quick Installation
Guide. The following items should be contained in the package:
If there is any item missing or damaged, please contact the
seller immediately.
Step 1. Drill four holes in your ceiling using the mounting
bracket as a guide, and insert the four screw anchors.
Step 2. Align the mounting bracket with your screw anchors
and use the four self-tapping screws to fix it into
place.
Step 3. Attach the AP to the mounting bracket by aligning the
grooves in the AP.
Step 4. Secure the AP firmly in place using the thumb screw.
1. Click the “Start” button located in the lower-left corner of your
computer.
2. Click “Control Panel”.
3. Double-click the “Network and Sharing Center” icon.
4. Click “Change Adapter Settings”.
5. Double-click “Local Area Connection”.
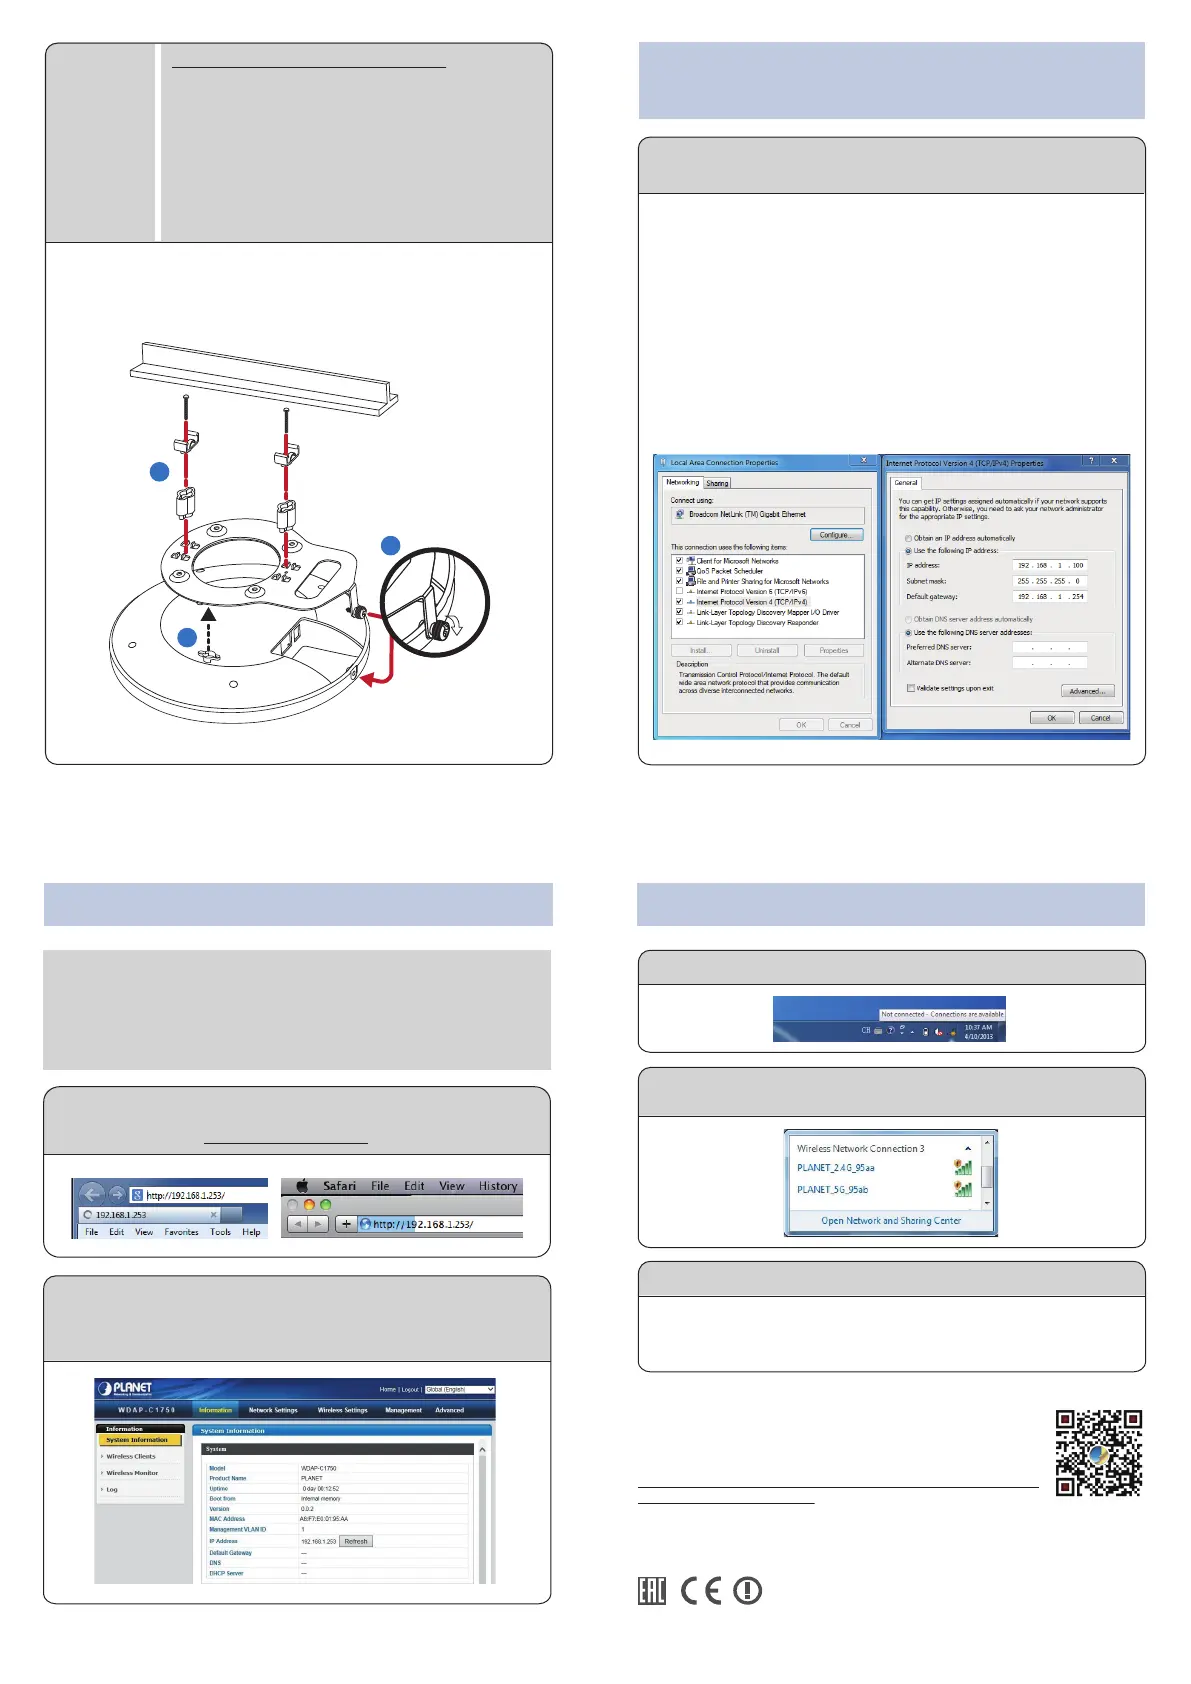
6. Select “Internet Protocol Version 4 (TCP/IPv4)” and click
“Properties”.
7. Select “Use the following IP address” and then click the “OK”
button twice to save the configuration. For example, as the default IP
address of the WDAP-C1750 is 192.168.1.253 and the router is
192.168.1.254, you may choose from 192.168.1.1 to 192.168.1.252.
Step 1: The Web management allows you to access and manage the
wireless AP easily. Launch the Web browser and enter the default
IP address -- http://192.168.1.253.
Default IP Address: 192.168.1.253
Default User Name: admin
Default Password: admin
Default SSID (2.4GHz): PLANET_2.4G_XXXX
Default SSID (5GHz): PLANET_5G_XXXX
("X" means the last 4 digits of the MAC address)
Step 3: Enter the encryption key of the WDAP-C1750, if necessary.
You have finally finished the configuration of the WDAP-C1750. Now you
can use your iPhone, iPad, laptop, or any other Wi-Fi device to connect
with it wirelessly and start surfing the internet.
Step 1: Right-click on the network icon displayed in the system tray.
A computer with wired Ethernet connection is required for the first-time
configuration of the wireless AP.
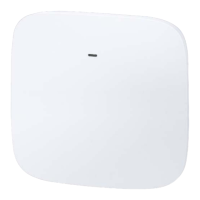
WDAP-C1750
Quick Installation Guide
1750Mbps 802.11ac Dual Band
Ceiling-mount Wireless Access Point
Step 2: After you enter into the Web User Interface, go to Wireless
Settings to configure your wireless network.
For security reasons, strongly recommended to configure the
Encryption Method and Passphrase of your wireless network.
Quick Guide
T-rail Mounting Kit
Ceiling Mounting Kit
Mounting Bracket with
Thumb Screw
WDAP-C1750
3. Hardware Installation
2. Physical Introduction
4. Wired Network Configuration
(Windows 7 and Windows 10)
Plastic spacer x 2
Long T-rail clip x 2
Short T-rail clip x 2
Long screw x 2
Short screw x 2
Self-tapping screw x 4
Screw anchor x 4
Reset: Press and hold the reset button on the access point for at least 10
seconds.
Step 2: Highlight the wireless network (SSID) to connect and click the
[Connect] button.
5. Entering into the Web Management 6. Wireless Network Connection
IMPORTANT SAFETY PRECAUTIONS:
This device requires professional installation.
Ceiling
Mount
1
2
3
4
1
2
3
T-rail
1
2
3
T-rail
To mount the AP to a T-rail, you need to select a T-rail
clip whose size must go with the width of the T-rail.
Please follow the instructions below and refer to
Diagram 1 or 2.
Diagram 1: Tight-fit installation
Step 1. Attach the T-rail clips to the mounting bracket
using the included two short screws.
Step 2. Attach the AP to the mounting bracket by
aligning it with the grooves in the AP.
Step 3. Secure the AP firmly in place using the thumb
screw.
Step 4. Hang the AP onto the ceiling via T-rail with the
assembled mounting bracket.
T-rail Mount
Diagram 2: Retention gap installation
Step 1. Pre-assemble the T-rail clips and the plastic
spacers to the mounting bracket using the
included two long screws.
Step 2. Attach the AP to the mounting bracket by
aligning the grooves in the AP.
Step 3. Secure the AP firmly in place using the thumb
screw.
Step 4. Hang the AP onto the ceiling via T-rail with the
assembled mounting bracket.
T-rail Mount
Diagram 2

 Loading...