Quick Installation Guide
- 7 - PLANET Technology Corp.2024
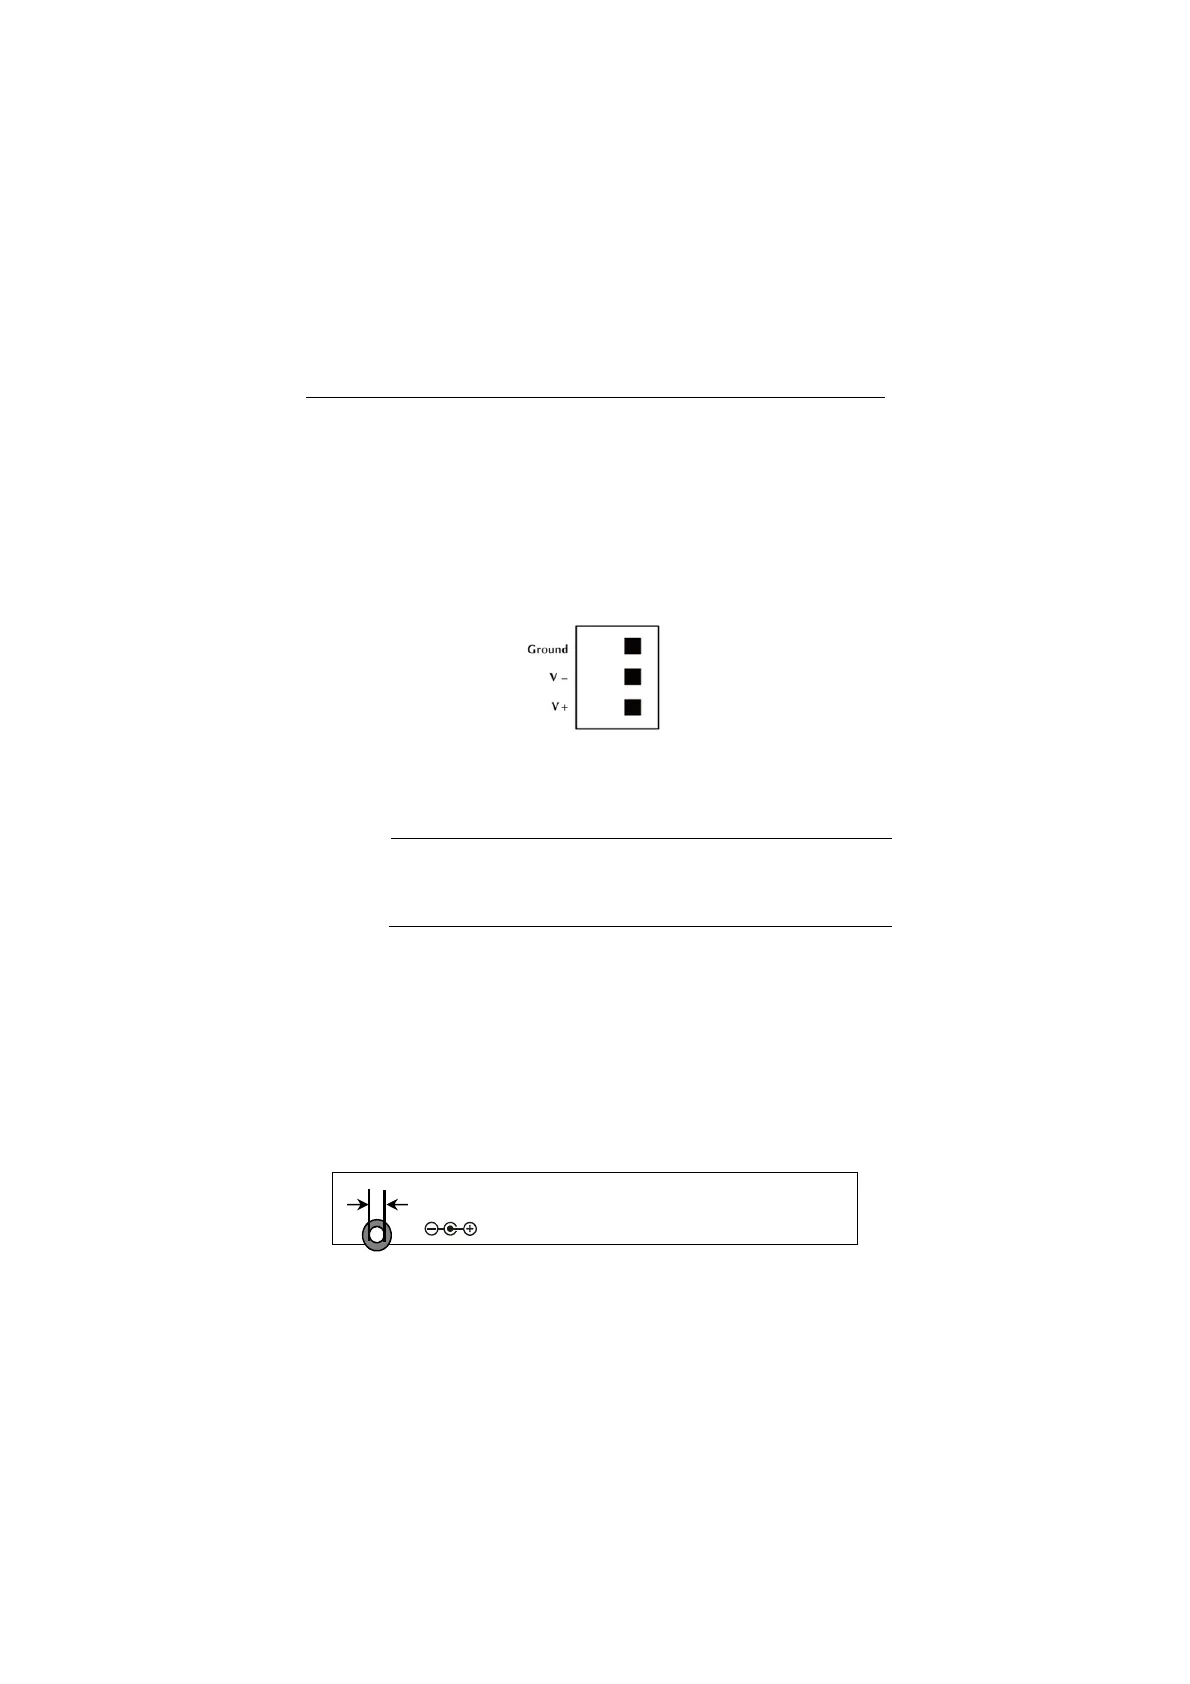
3.1 Terminal Block Connector Pinout
To install the 3-pin Terminal Block Connector on the Wall-mount Managed
Switch, simply follow the following steps:
Step 1: Insert positive DC power wire into V+, negative DC power wire
into V-, and grounding wire into Ground.
Step 2: Tighten the wire-clamp screws for preventing the wires from
loosening and plug into the Wall-mount Managed switch
Note
1. The wire gauge should be in the range from 12 to 24 AWG.
2. The device must be grounded.
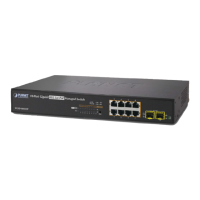
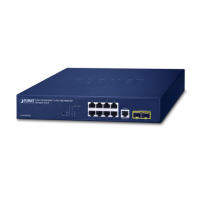
3.2 DC Power Jack
The WGS-804HPT and WGS-4215 PoE models require DC
48V~54V power input and the WGS-4215-8T and
WGS-4215-8T2S require DC 12~48V power input. Should you
have the issue of power connection, please contact your local
sales representative.
2.1mm
DC Receptacle 2.1mm
 Loading...