3. Slide the detector into its slot, located on the top back of
the detector.
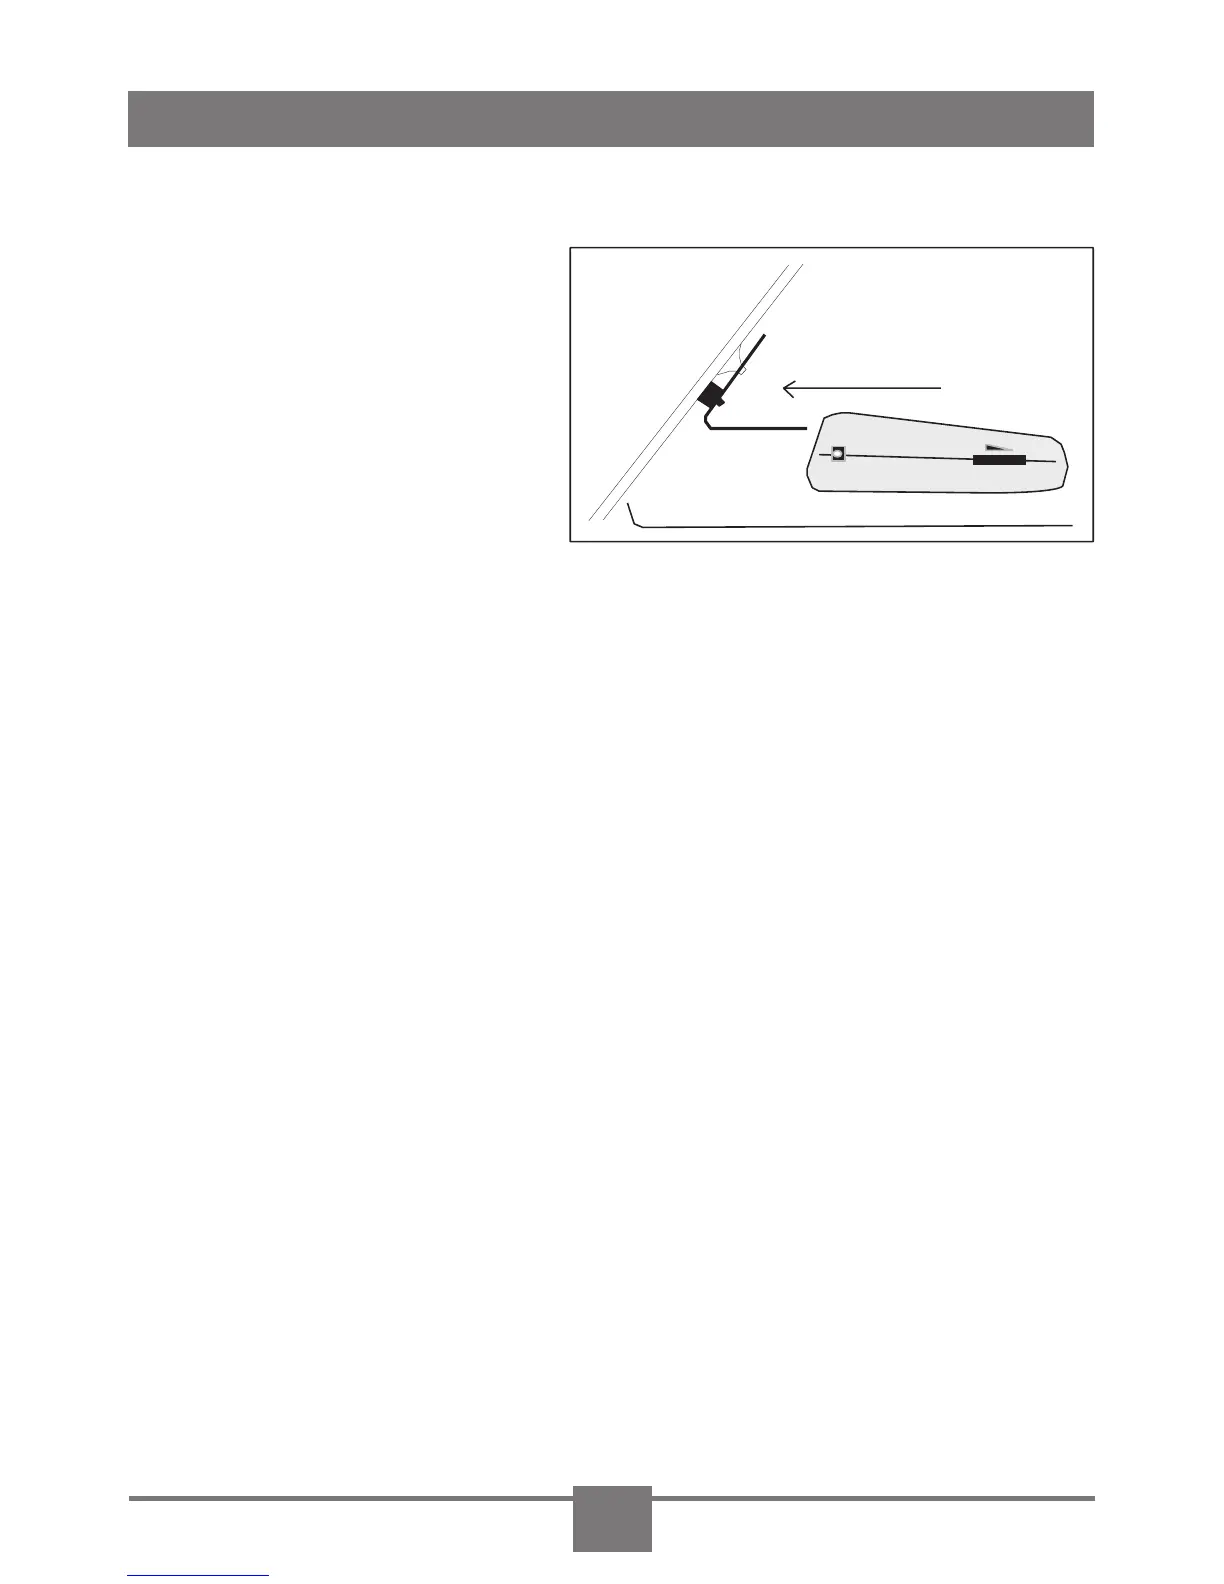
4. Bend the angle of
the windshield mount-
ing bracket, if neces-
sary, to adjust for best
viewing and detection
angle.
5. Plug the small con-
nector of the power cord into the DC12V power input jack,
located on the side of the detector.
6. Plug the lighter adapter into the lighter socket.
Dashboard mounting
1. Clean the area on the dashboard you have selected. If
necessary, use isopropyl alcohol to remove waxes, such as
ArmorAll®.
2. Peel off the adhesive strip coverings from each side of the
hook and loop fastener strips.
3. Attach one hook and loop fastener strip to the bottom of
the detector, the other strip to the dashboard. Do not cover
the serial number of detector.
4. Plug the small connector of the power cord into the DC12V
power input jack, located on the side of the detector.
5. Plug the lighter adapter into the lighter socket.
DC12V
INSTALLING THE RX5000
3