6
seTuP for remoTe flash Triggering
Camera Setup
Connect a Plus II Transceiver to the camera using one of the following methods:
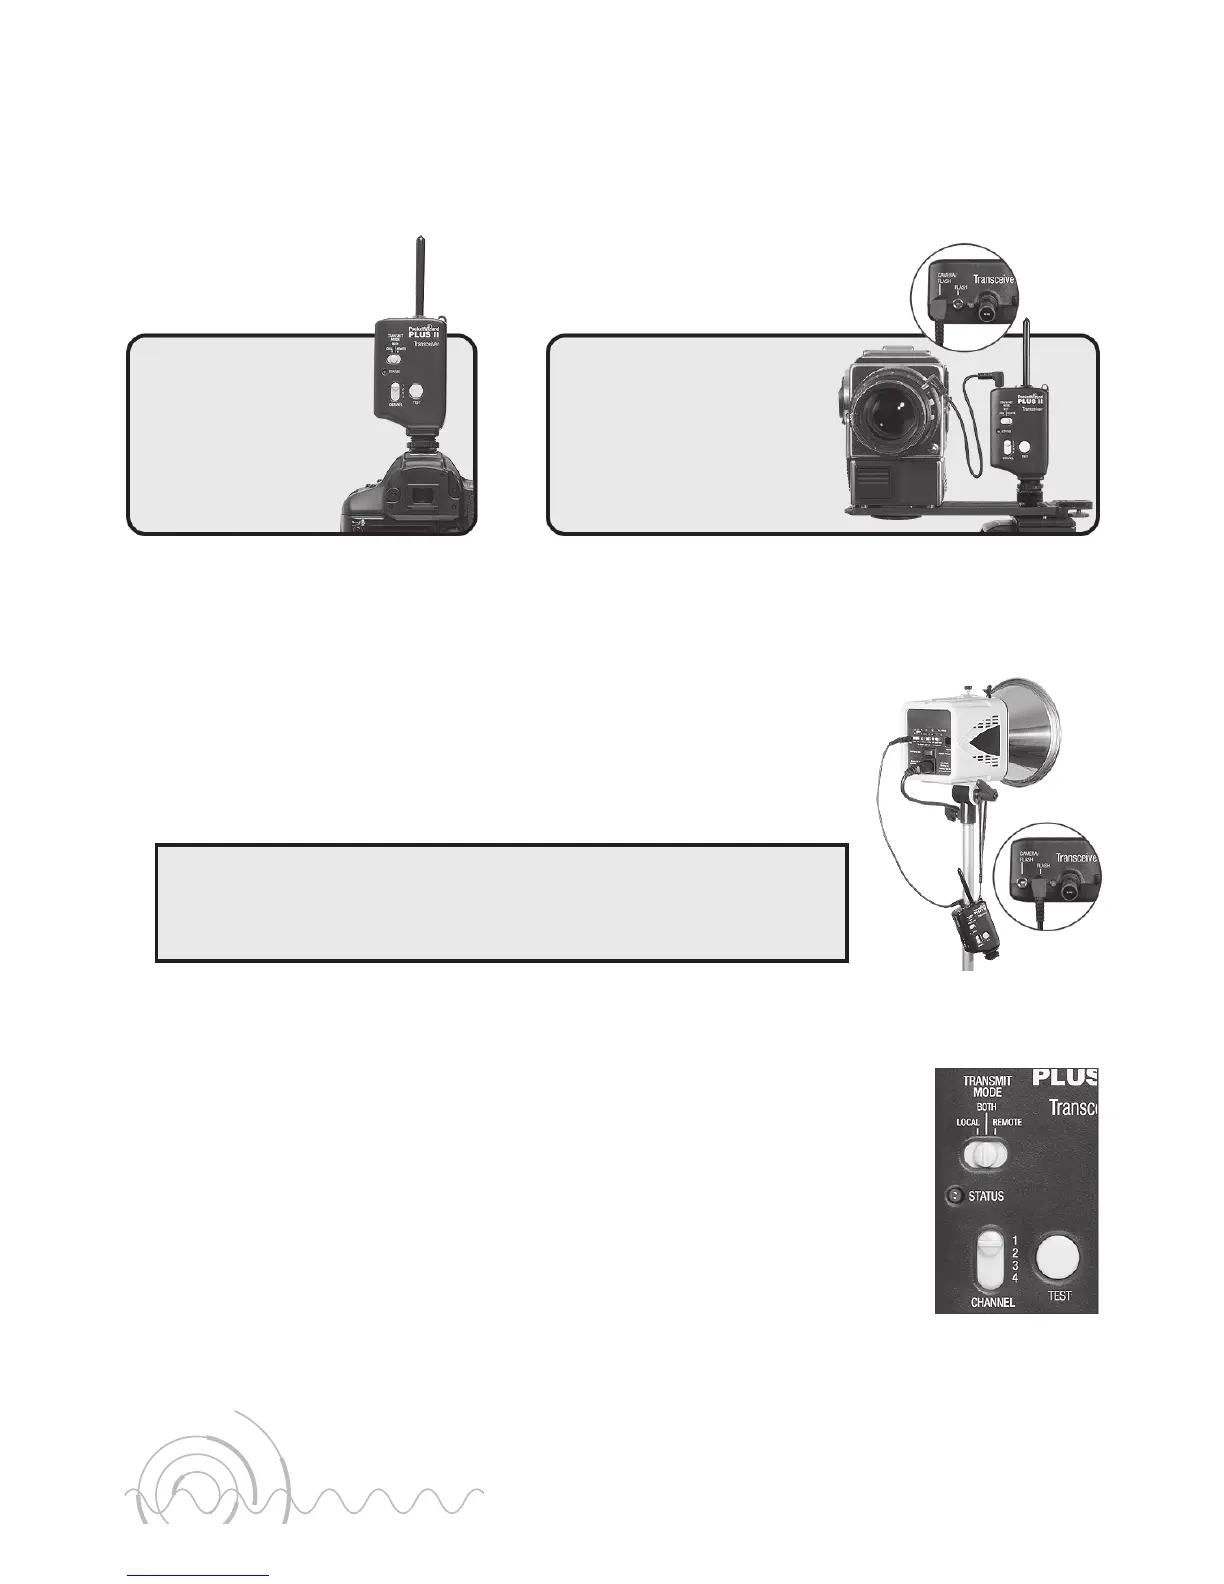
Remote Flash Setup
Connect the Plus II Transceiver’s FLASH port to the flash unit’s sync terminal using:
a) the correct PocketWizard flash sync cable for best results.
- or -
b) your flash unit’s original sync cable and a PC female adapter
(PocketWizard part number MPCF (804-605)).
You may have as many remote Plus II Transceivers on the same
channel as you would like. Connecting 2 flashes to a single
Plus II Transceiver will not work. See NOTE 3.
Triggering
1. Turn on both Plus II Transceivers, and turn on the camera and flash.
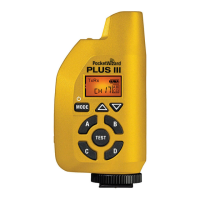
2. On both Plus II Transceivers make sure that:
• The STATUS LEDs on each Plus II Transceiver blink every
few seconds.
• The same channel is selected using the CHANNEL slide switch.
• The TRANSMIT MODE switch is set to BOTH (middle position
which is default operation).
3. Press the TEST button on the camera’s Plus II Transceiver to
confirm that the remote flash triggers.
4. Begin triggering normally.
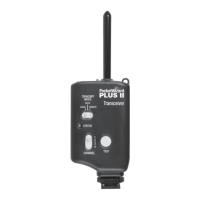
or
Slide the Plus II
Transceiver into
the camera’s hot
shoe and tighten
the hot shoe nut.
Option 1
Connect a PC sync
cable from the camera’s
PC terminal to the port
labeled CAMERA / FLASH.
Option 2
Shown with
default settings.