48
MAINTENANCE
Engine Oil
Oil and Filter Change
11. Reattach the oil line.
12. Place shop towels beneath the oil filter. Using an
oil filter wrench, turn the filter counterclockwise
to remove it.
13. Using a clean dry cloth, clean the filter sealing
surface on the crankcase.
14. Lubricate the gasket on the new filter with a film
of new engine oil. Make sure the gasket is in
good condition. Make sure the gasket from the
old filter is not still on the engine.
15. Install the new filter and turn by hand until the
filter gasket contacts the sealing surface, then
turn and additional 1/2 turn.
16. Approximately one cup of engine oil will remain in the crankcase. To drain, remove the
drain plug on the lower right side of the crankcase.
Tip: The sealing surfaces on the drain plug and crankcase should be clean and free of burrs, nicks or
scratches.
17. Reinstall the drain plug. Torque to 14 ft. lbs. (19 Nm).
18. Remove the dipstick and fill the tank with two quarts (1.9 l) of the recommended oil.
19. Prime the oil pump using the procedure on page 48. Then stop the engine and inspect
for leaks.
20. Check the oil level on the dipstick. Add oil as necessary to bring the level to the upper
mark on the dipstick.
21. Dispose of used filter and oil properly.
Oil Pump Priming
This priming procedure must be performed whenever
the oil hose connection between the oil tank and pump
inlet has been disconnected.
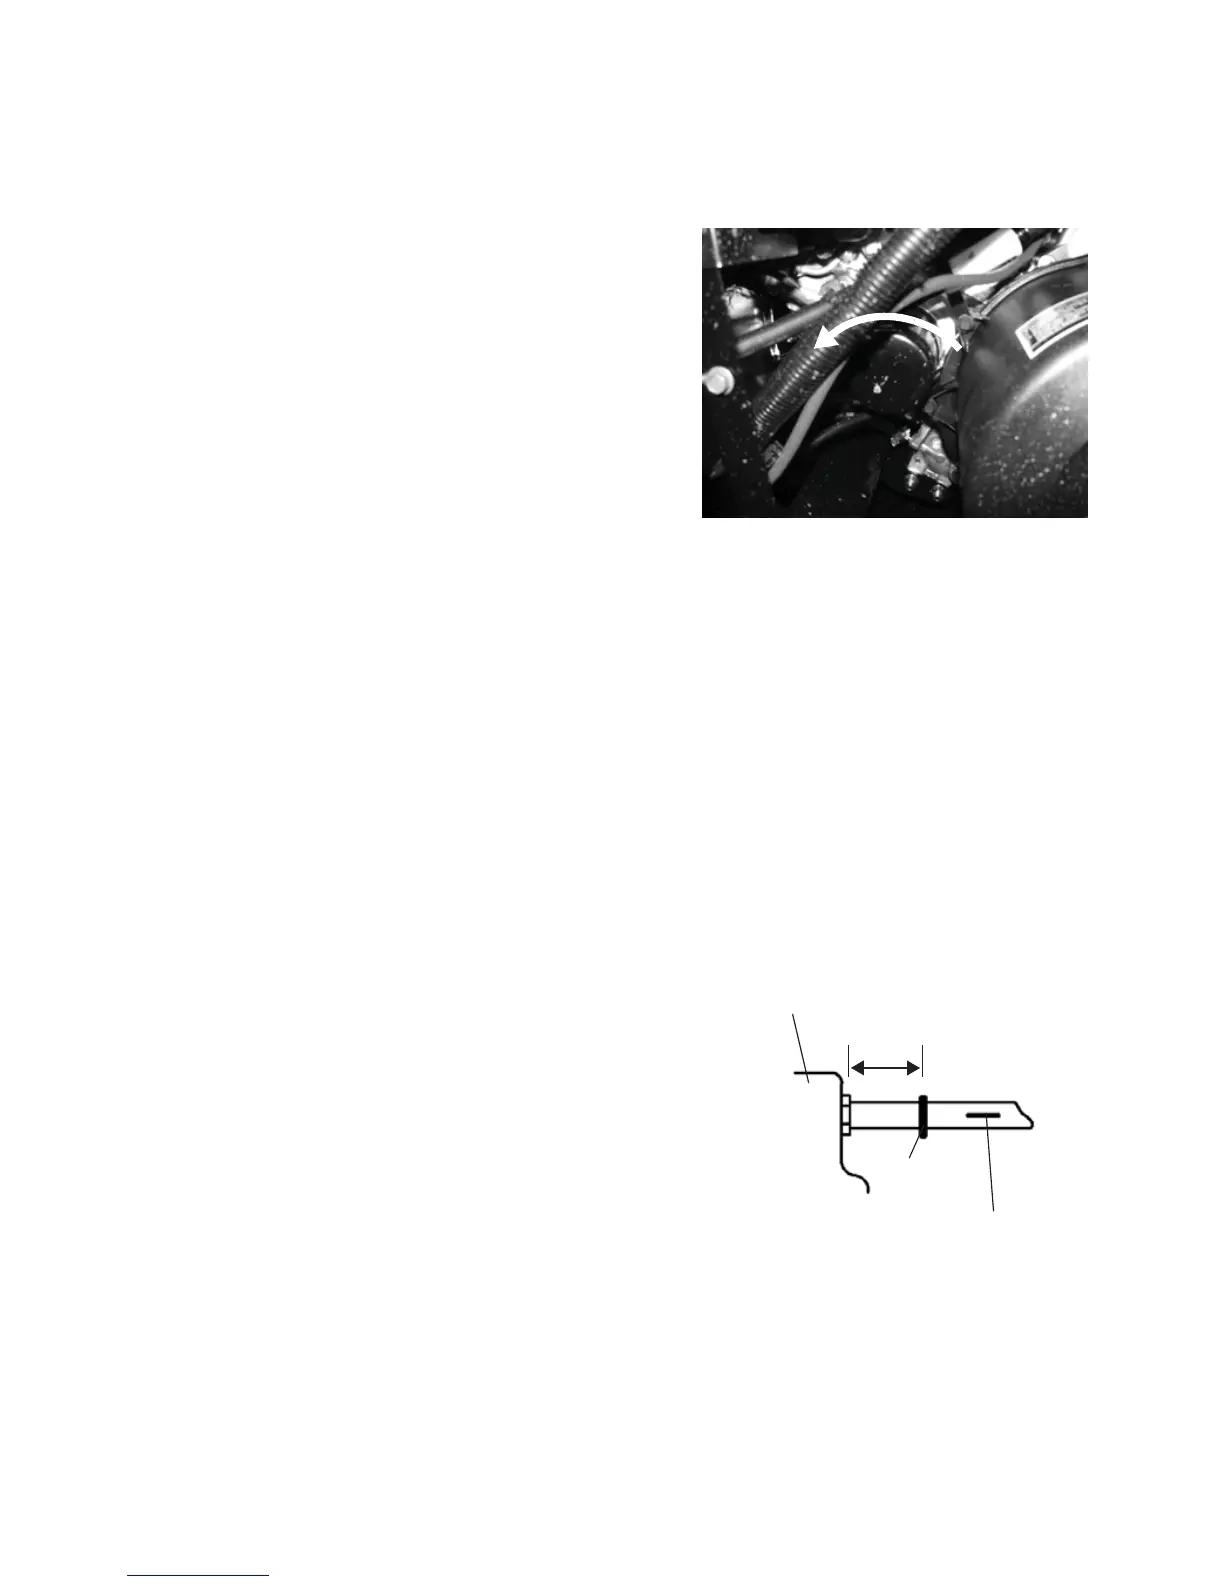
1. Clamp or pinch off the vent line approximately 2" (5
cm) from the oil tank, between the end of the oil
tank vent fitting and the vent line's pressure relief
slit.
2. Start the engine. Allow it to idle for 10-20 seconds.
3. Remove the vent line clamp. If the line is bled prop-
erly, you should hear a rush of air, indicating that
the line is properly primed and ready for operation.
Tip: If you do not hear air, the line has not bled. Repeat the priming procedure.
 Loading...