ADJUSTMENTS
21
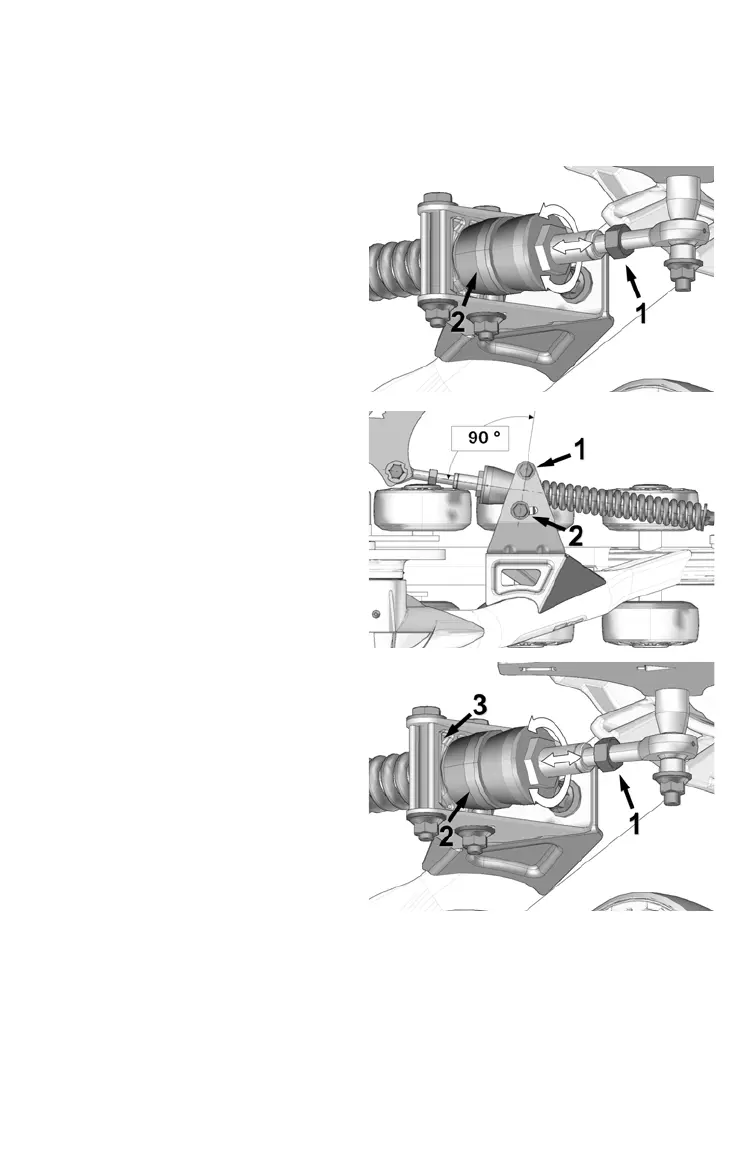
Rear Track Angle of Attack
8. Tighten the jam nut (1) against the stabilizing arm.
9. Verify that the rubber cone (2) applies light pressure on the anti-
rotation retainer (3).
5. Loosen the jam nut (1).
Rotate the stabilizing arm
to adjust the length of the
rod end so that no
pressure is applied to the
rubber cone (2).
6. Position the anti-rotation
retainer at a 90-degree
angle to (perpendicular to)
the stabilizing rod. Tighten
the two anti-rotation bracket
mounting bolts (1) and (2).
Torque: 37 ft. lbs. (50 Nm)
7. Turn the stabilizing arm nut
to adjust the length of the
rod end so that the rubber
cone (2) applies light
pressure on the anti-rotation
retainer (3).
Tip: A wider gap at the rubber cone
bushing provides better
obstacle climbing and flotation
capability in powdered snow
while moving forward.
Compressing the rubber cone
bushing will help prevent
contact with the footrest, but too much compression will adversely affect
operation of the track systems.
 Loading...