INSTALLATION/REMOVAL
17
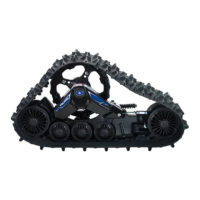
Track System Removal
1. Position the vehicle on a level surface.
2. Stop the engine.
3. Elevate the vehicle and place suitable stands under the frame. Make
sure the vehicle is immobilized.
result in severe damage to the vehicle when operating with wheels.
Skid plate and footrest reinforcement parts are the only components
that can remain on the vehicle when reinstalling wheels.
5. Remove the track system.
6. Clean the wheel hubs. Components may not seat properly on soiled
hubs.
7. Reinstall the wheels. Make sure all original components that were
removed for track installation are reinstalled properly for wheeled
operation. Refer to your vehicle owner’s manual or service manual.
Off-Vehicle Track System Storage
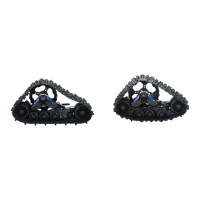
4. Remove the anti-rotation
bracket cover (1). Remove
the anchor bracket (2) from
the suspension arm, but
leave it attached to the anti-
rotation device on the track
system. The bracket should
remain attached to the sta-
bilizing rod (3).
NOTICE: Leaving the anchor
brackets attached to the
suspension arms can
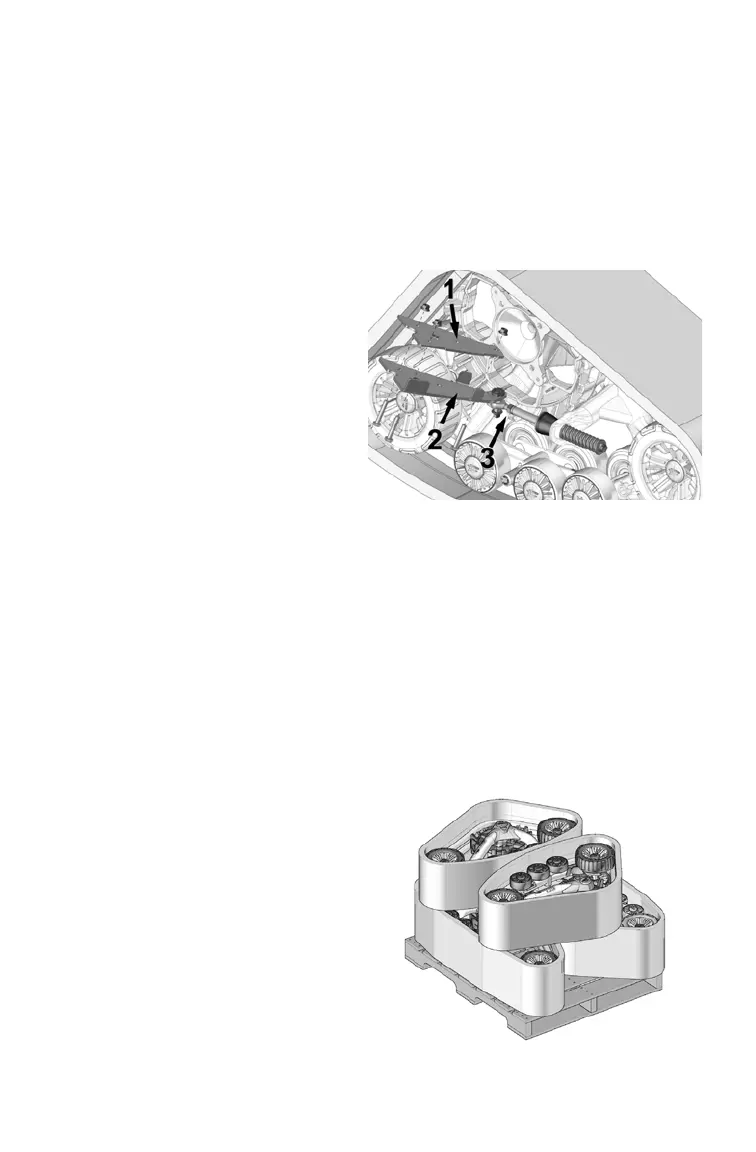
After removing the track
systems from the vehicle, pour
5cc of oil under the wheel caps
to help prevent corrosion. Place
each system on its side and
store away from direct sunlight.
 Loading...