-
.:l.
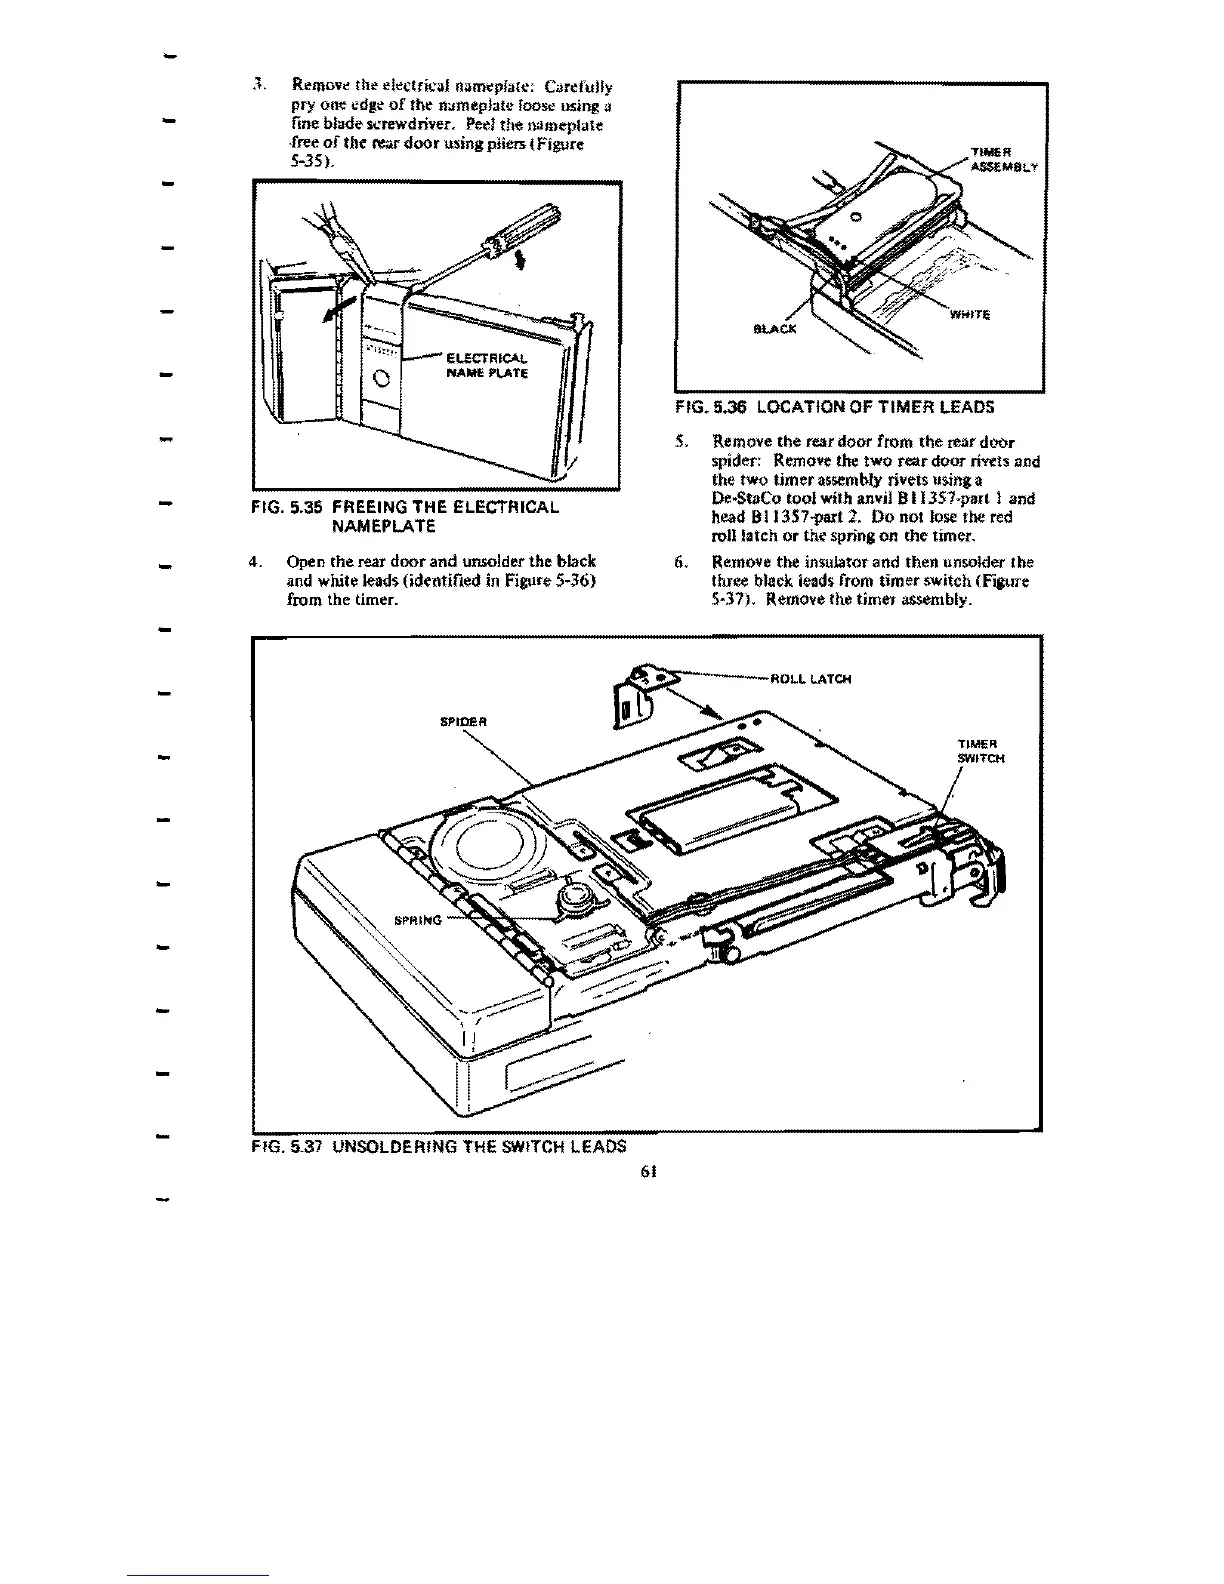
Remove the electrical namepiate: CarefuUy
pry
one
edge
of
the
namepJate loose using a
-
fine blade screwdriver. Peel
the
nameplate
-free
of
the rear
door
using pliers (Figure
5-35).
-
-
----....---
..
--.
~
~'"
..
'_.J_
ELECTRICAl,.
o
NAME
PlATE
-
-
FIG. 5.35 FREEING
THE
ELECTRICAL
-
NAMEPLATE
-
4. Open the rear
door
and unsolder the black
and white leads
(identined
in Figure
5~36)
from the timer.
-
-
-
-
-
-
-
-
-
FIG.5.36
LOCATION
OF
TIMER
LEADS
5. Remove the rear door from the rear door
spider: Remove the
two
rear
door
rivt'ts and
the
two
timer
assembly rivets using a
De
..
StaCo tool with anvil B
113S7~part
1 and
head 8113S7i>arI2. Do not
lose
the
red
roll
latch
or
the
spring
on
the
timer.
6. Remove the insulator and then unsokler the
three black leads from
timer
switch (Figure
5·37). Remove the
timer
assembly.
FIG. 5.37 UNSOLDERING THE SWITCH LEADS
61
 Loading...