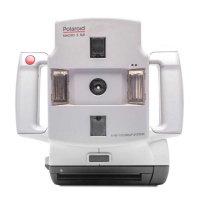
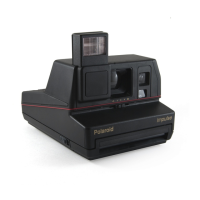
Do you have a question about the Polaroid MiniPortrait 203 and is the answer not in the manual?
Instructions for cleaning camera rollers using a soft, moistened cloth. Avoid alcohol and scraping.
Lists processing times for various color and black & white Polaroid films at specific temperatures.
Provides Polaroid's toll-free number for camera or film assistance and operating hours.
Utilize the Sonar rangefinder to achieve the correct camera distance (1.2 m/47 in.) from the subject.
Position flash unit 'up' with reflector forward when using it as the main light source. See page 7.
Verify camera exposure settings before taking a picture. Refer to pages 9-10 for details.
Set the timer for the film's correct processing time, referencing pages 4, 10, and 11.
Note film expiration dates; outdated film may yield unsatisfactory results and void warranty.
Raise flash unit fully up; green light indicates readiness. Tilt knob for bounce flash.
Utilize portrait frames, sizing dots, sizing bar, and Sonar rangefinder lights in the viewfinder.
Adjust camera height to match subject's eye level for accurate framing.
Set the lens aperture according to guidelines provided on the flash unit.
Caused by pulling film crookedly or at an angle. Pull tabs straight at moderate speed.
Caused by pulling film too rapidly. Pull tabs at a moderate speed.
Caused by dirty rollers. Clean rollers regularly.
Shutter may not work; check batteries or flash unit functionality.
Caused by overexposure, light-struck film, or handling errors during loading.
Caused by overexposure, too much light, wrong settings, or equipment issues.
| Brand | Polaroid |
|---|---|
| Model | MiniPortrait 203 |
| Category | Digital Camera |
| Language | English |

