• Setting Flash Mode
1. Set the camera to Still Image mode.
2. Pressing the Flash button cycles through the ash modes.
When you press the Flash button, the icon (according to the ash
setting you selected) will appear on the LCD screen. You can now take
pictures using the ash mode you have selected. The ash will recharge
after each ashed picture.
The ash range is approximately 3.2 feet to 6.4 feet (1.0 to 2.0 meters).
The camera has 4 ash modes (default setting is Auto Flash). Use the ash
when you take pictures at night, indoors, or outdoors in heavy shadows.
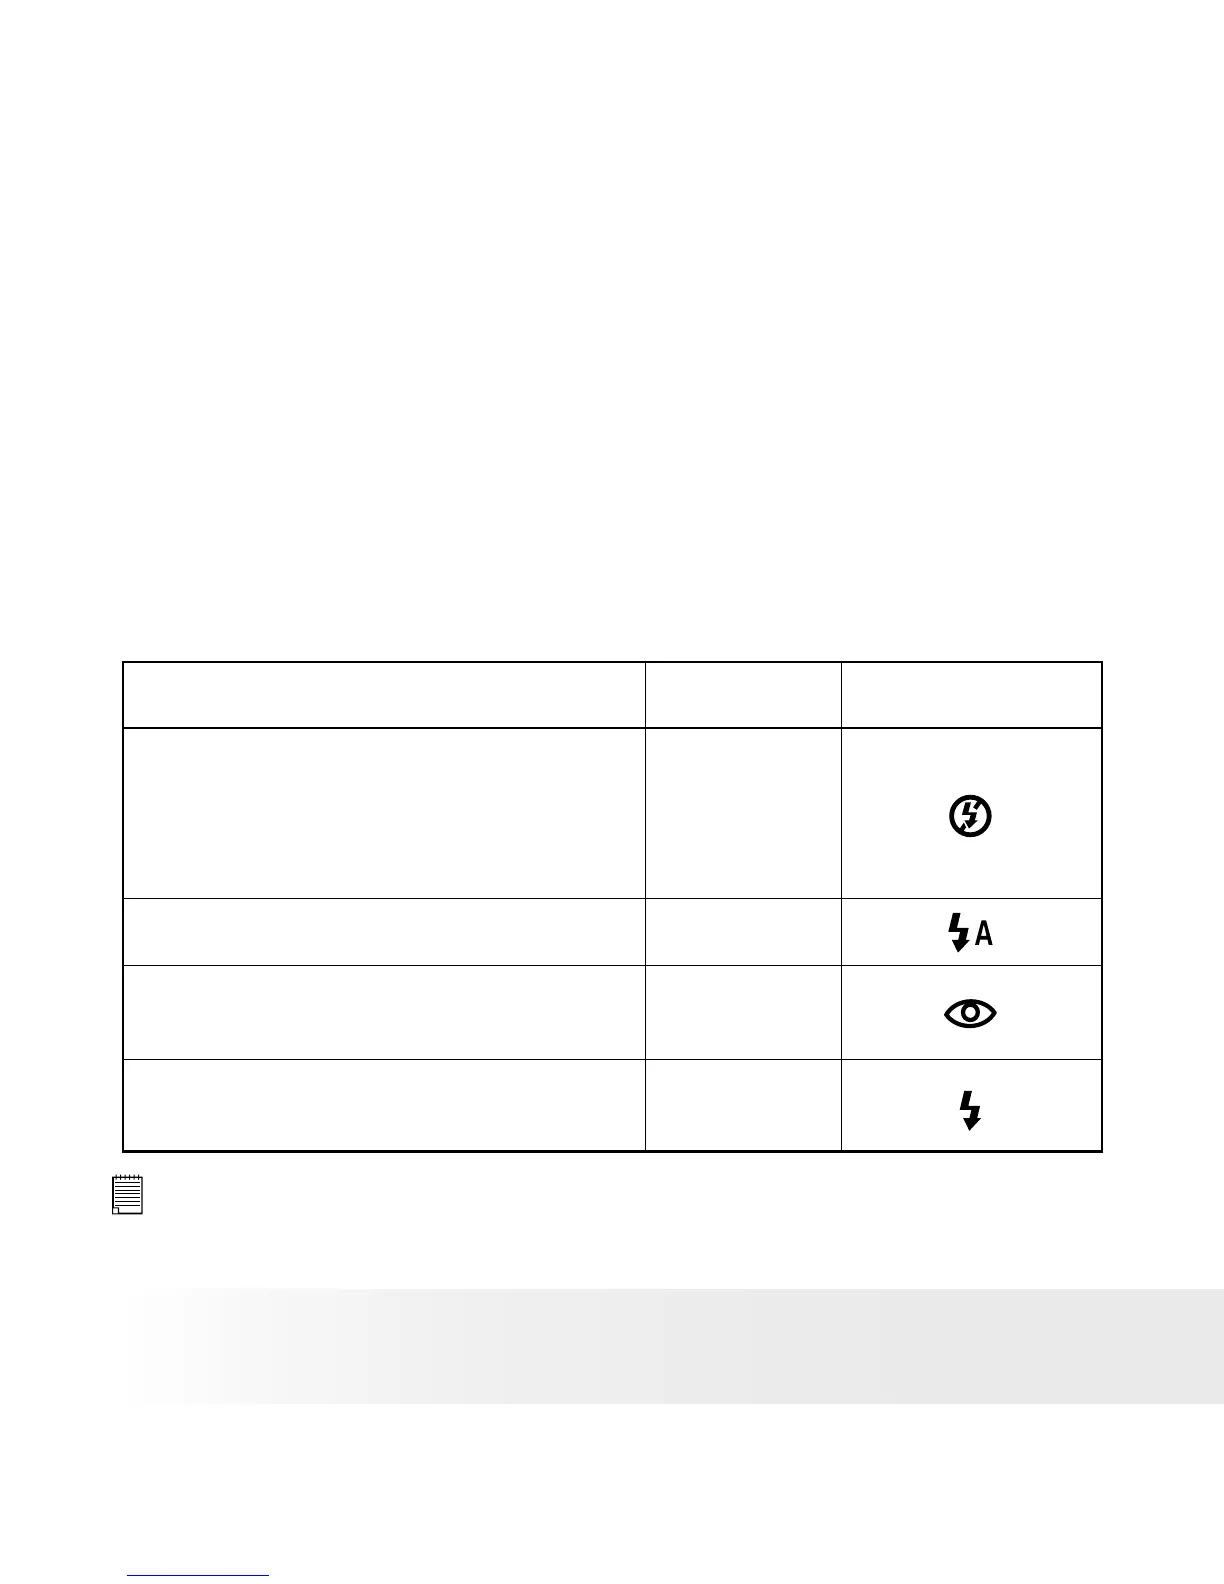
When shooting under these conditions: Select this mode
Flash Off
The ash does not re. Use this setting for outdoor
pictures, or where ash is prohibited or may be
distracting, or when shooting towards a reective
surface, such as a window or a mirror. If there
is not enough light when using this setting, your
pictures will be too dark.
The ash res automatically as needed. Use this
setting to take most pictures.
Use this setting to avoid “red eye” in your subject’s
eyes. The camera res a brief preash before the
main ash.
The ash res for every picture. Use this setting in
high-contrast situations to provide ll-light or use it
indoors in low light.
Icon shown
on the LCD screen
Auto Flash
Red-eye Reduction
Flash Always
NOTE:
• Flash modes are not available in Video mode.
• Never touch or block the ash with your ngers. Doing so can soil these
components and interfere with the correct ash operation.
 Loading...