reasonably quick/efficient with this soldering; if the first attempt does not go well, remove the soldering iron
and let the motor cool for a few seconds before trying again.
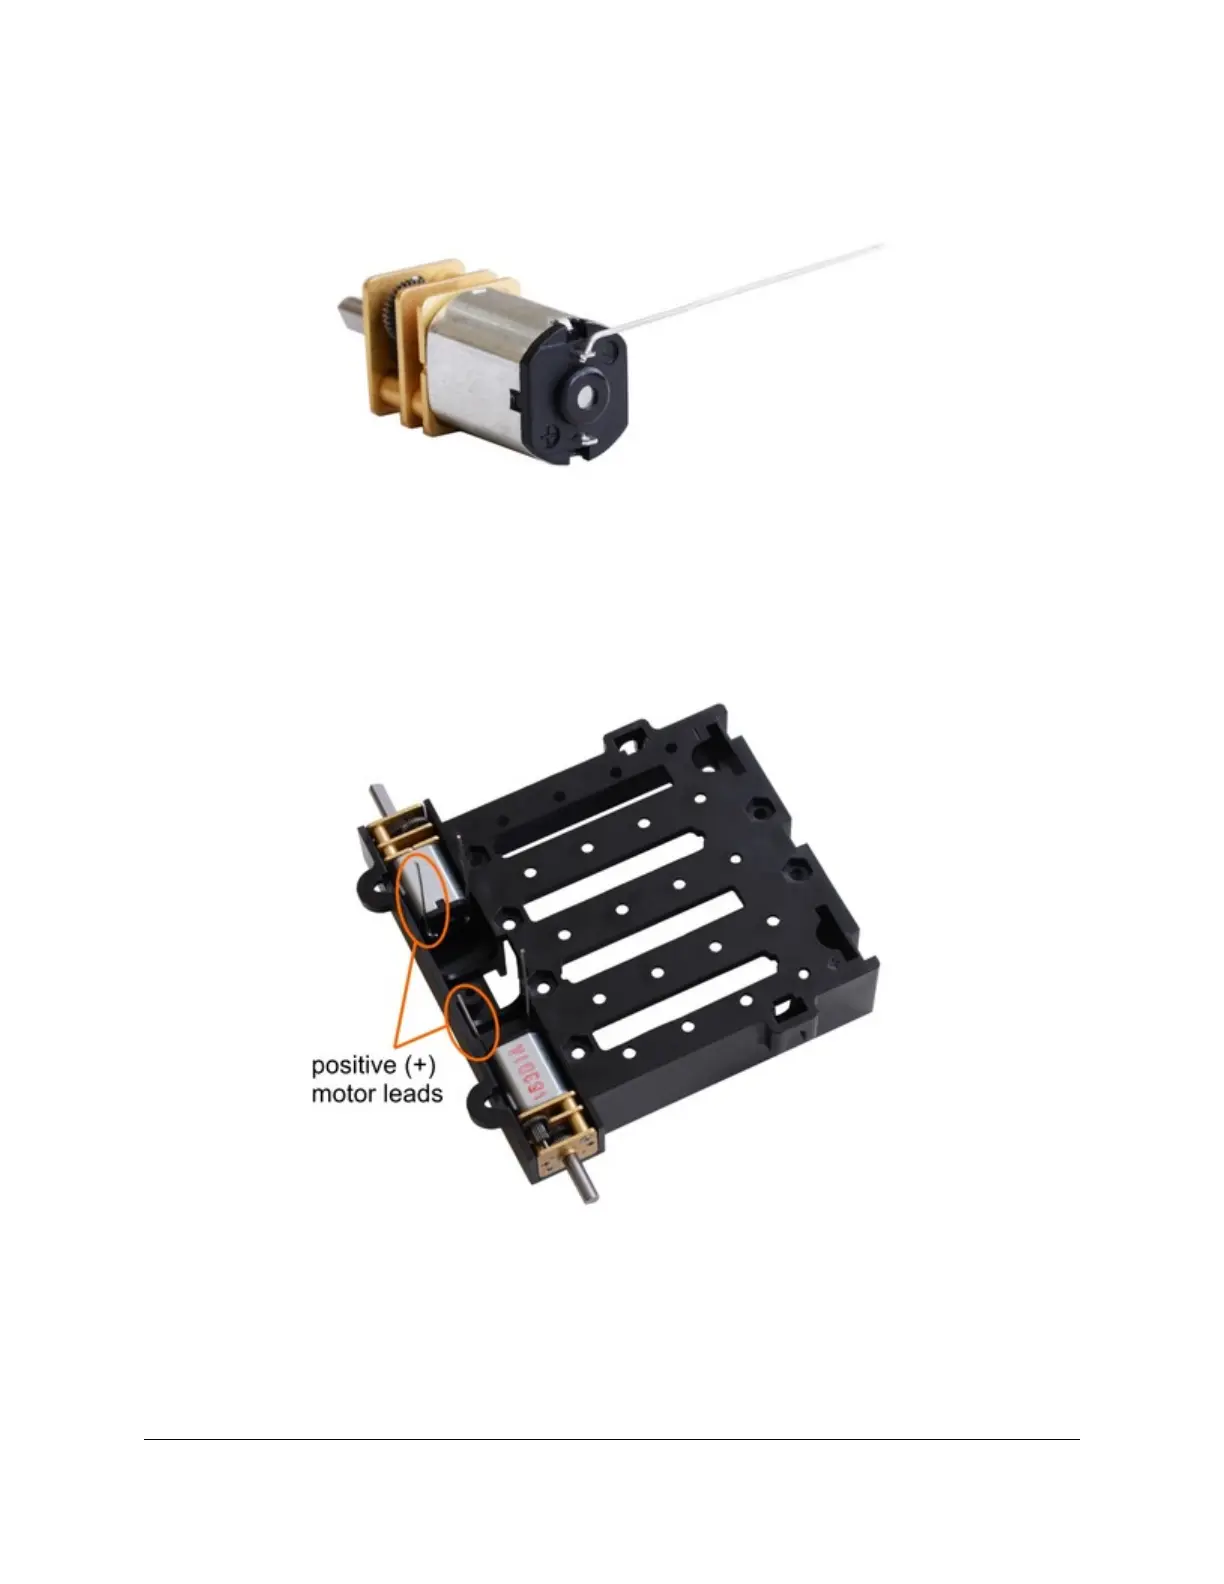
Each motor’s positive terminal is indicated by a plus sign (+) in the black plastic end of the motor, visible at the
bottom of the picture above. The motors should be soldered into the shield with the positive terminal closest to
the front, so you should attach the leads to allow the motors to be oriented this way. (However, don’t worry if you
accidentally get the orientation of one or both motors wrong. You can later compensate for it in software with our
ZumoMotors library [http://www.pololu.com/docs/0J57/6].)
9. Place the motors into the channel in the front of the chassis, aligning the gearbox with the grooves in the
channel. The front plate of the gearbox should be even with the edge of the chassis.
Pololu Zumo Shield for Arduino User's Guide © 2001–2012 Pololu Corporation
2. Assembly Page 9 of 28


 To Next Page