4
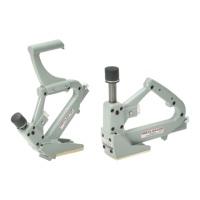
PORTA-NAILER ACCESSORY SHOE &
SHOE BASE APPLICATIONS
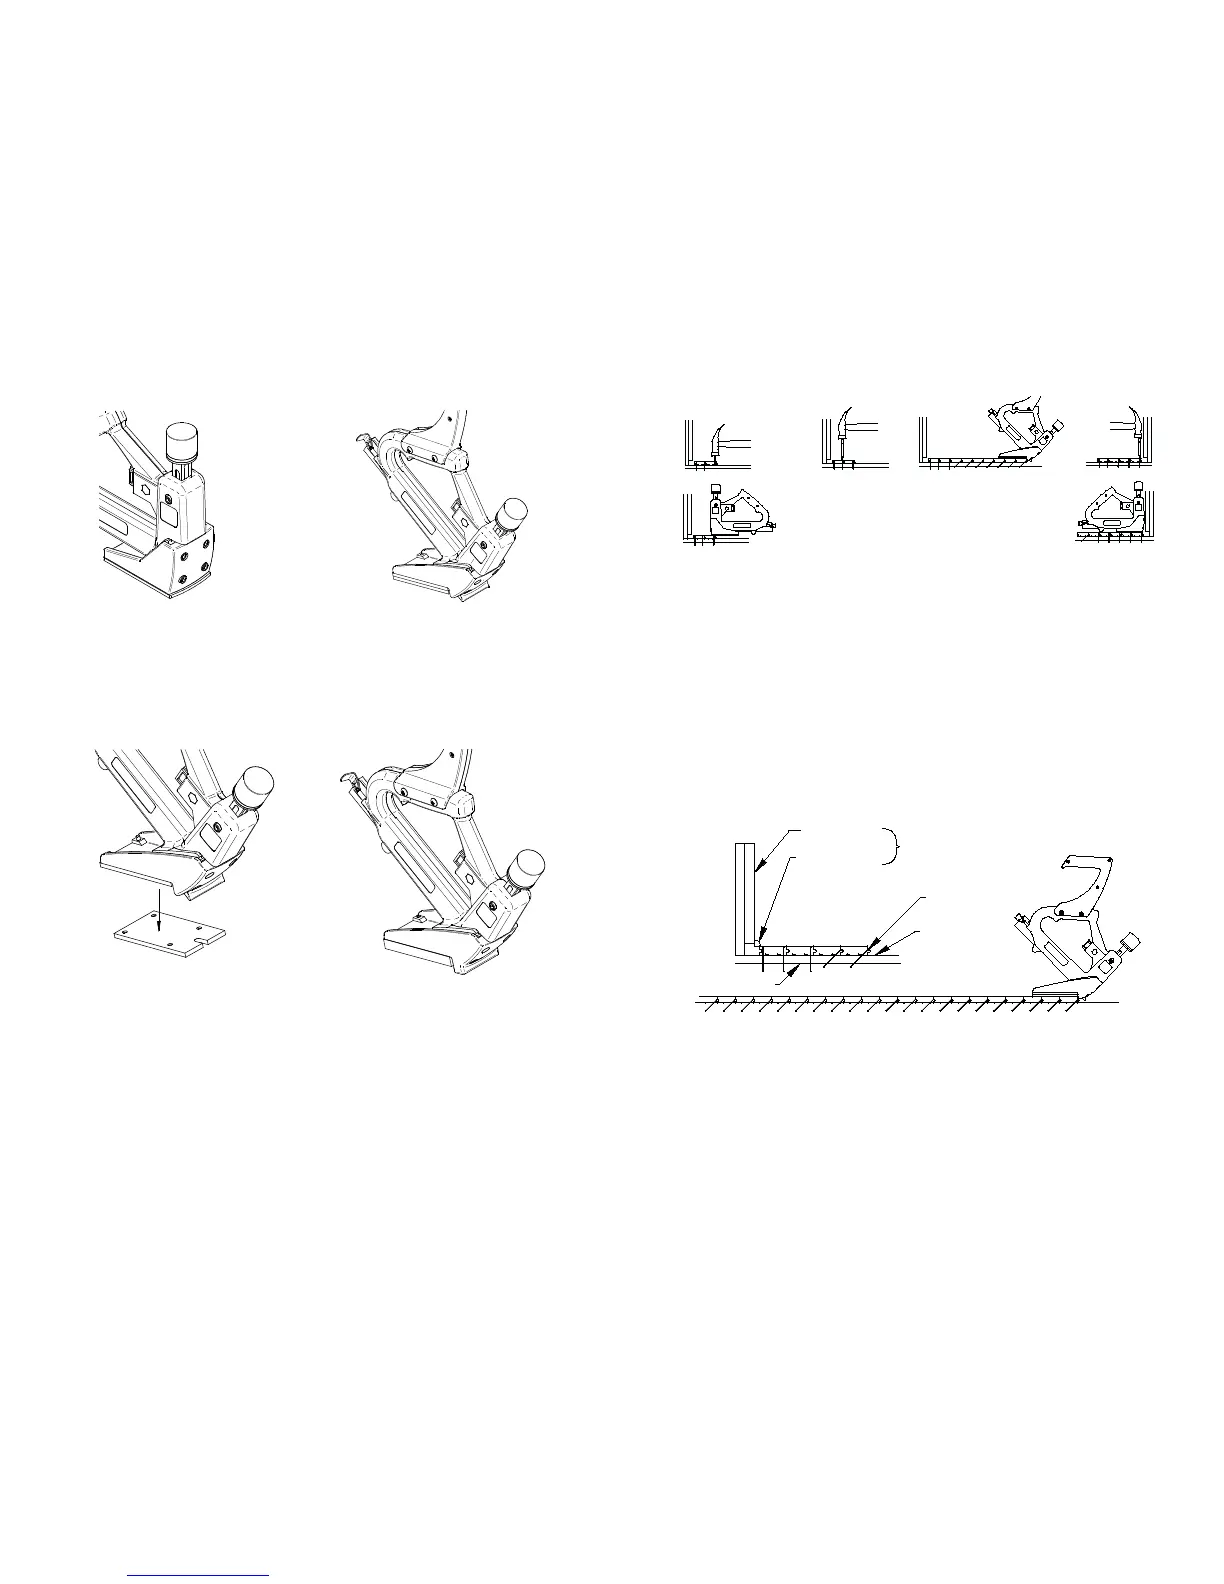
FIGURE 1
Face Nailing Shoe
Accessory Shoe Cat. No. 40225
(Sold Separately)
FIGURE 2
Tongue Nailing 3/4”
Flooring Shoe
Standard Shoe
(Included on 402)
FIGURE 3
Tongue Nailing
33/32” Flooring
Standard Shoe with only
One (1) Shoe base installed.
FIGURE 4
Tongue Nailing
3/8” - 9/16” Solid Flooring
Accessory Shoe
Cat. No. 40230
(Sold Separately)
21
HARDWOOD FLOOR INSTALLATION
MADE SIMPLE WITH THE PORTA-NAILER
1.
2.
3.
4.
Face Nail by hand or using the Porta-Nailer with the Face Nailing 1.
Shoe (Sold Separately) the fi rst two courses, Tongue of Flooring
toward the opposite wall.
Set face nails and hide with matching putty stick.2.
Blind Nail along the Tongue edge of the fi eld of Flooring. Position a 3.
nail every 8” to 10”. A minimum of 2 Nails per strip.
Note: Always follow the Flooring Manufacturer’s Instructions
regarding installation requirements.
At the opposite wall, Face Nail the remaining strips that measure less 4.
than 13-1/2” from the wall.
Baseboard
Shoe Mould
T-Nail
Building
Paper
Sub-Floor
Hardwood Floor
Install after Hardwood
Floor is down.
BRIEF INSTRUCTIONS FOR USE OF
THE PORTA-NAILER SYSTEM
Always wear safety glasses AND safety shoes.
OPERATION FOR USE OF THE PORTA-NAILER SYSTEM
This tool is designed to properly seat the nail with one or SEVERAL 1.
blows of the Hammer.
Tap the fl ooring into place with the non-marring rubber side of the 2.
Hammer.
Strike the Rubber Cap of the Nailer with the iron side of the Hammer.3.