8
3. To lock the trigger switch ON, squeeze the trigger as far as it will go,
push in lock button and release trigger.
4. To unlock lock button, squeeze trigger and release, freeing the lock
button.
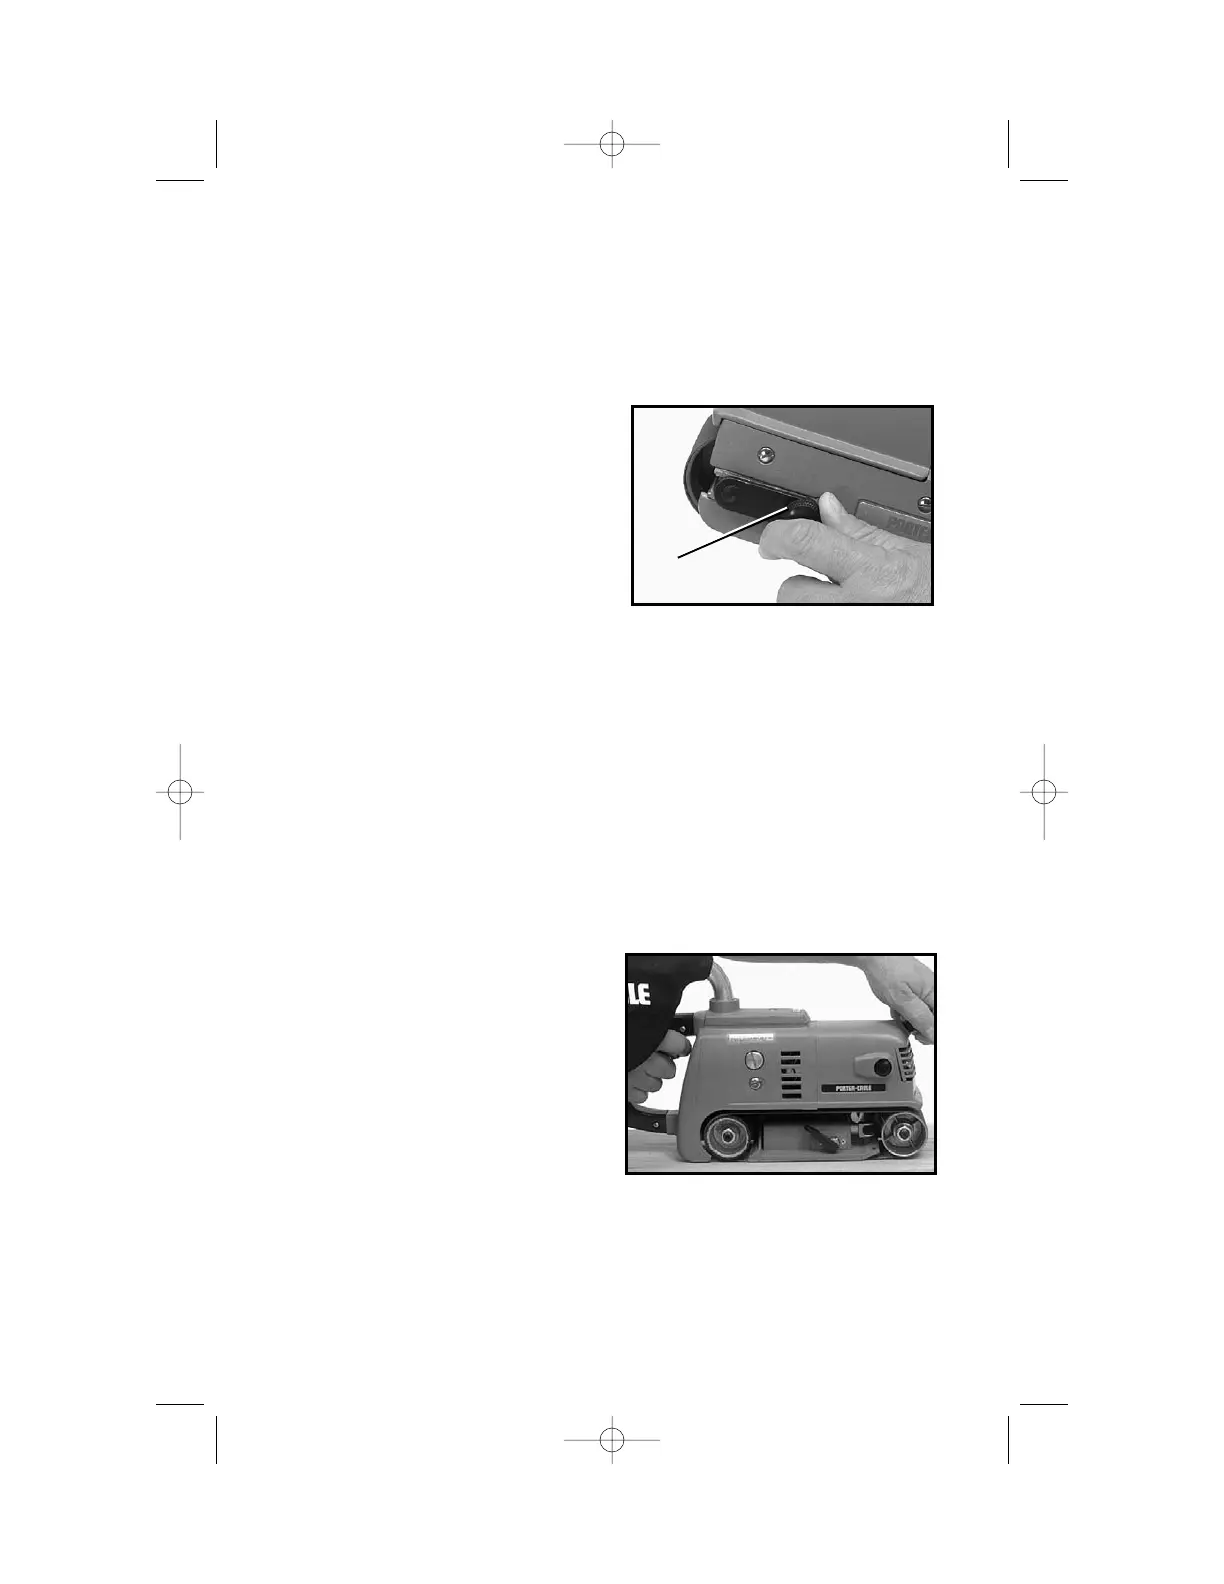
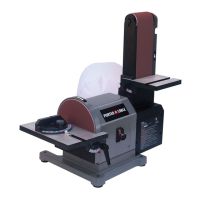
TRACKING THE ABRASIVE BELT
NEVER allow abrasive belt to rub on
frame of sander. This action will cause
excessive wear to both the sander and
belt. To prevent damage, track the
belt in the following manner:
CAUTION: Make sure trigger switch
is OFF before connecting tool to
power circuit.
1. Lift machine clear of work and
turn motor on.
2. Turn belt aligning screw (A) Fig. 3,
in either direction until edge of belt runs flush with outer edges of the
pulleys.
3. Turn motor OFF and allow sander to come to a COMPLETE STOP
before putting it down.
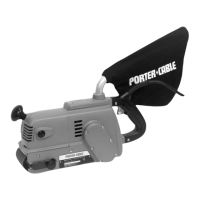
ATTACHING AND CARE OF DUST BAG
MODEL 503 ONLY
The dust bag is completely assembled at the factory. To attach to the
sander, push the dust bag tube on to the vacuum housing.
For most efficient operation, empty the dust bag when it is less than half
filled. Remove the bag. Unzip the rear of bag and shake out the dust.
Occasionally, turn the bag inside out and brush the dust accumulations
from the inside.
HOW TO USE THE
SANDER
Do not use sander in any position
other than that shown in Fig. 4.
Using the sander in a vertical or
upside-down position may cause
excessive gear wear because of a
lack of lubrication.
CAUTION: SECURE WORK and
maintain a FIRM GRIP on sander. Friction between sanding belt and
work will move the work backward and the sander forward.
CAUTION: ALWAYS be sure switch is OFF before connecting sander
to power circuit.
1. HOLD sander OFF the work and start motor.
Fig. 3
A
Fig. 4