10
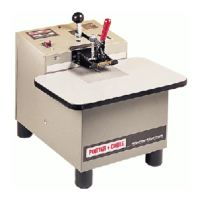
2. Lay motor on its side on the
bench with the collet pointing
AWAY from you.
3. Place one of the 1
1
/8"
wrenches on the flats of the
chuck with the opposite end of
the wrench resting on the bench
to your left (see Fig. 4).
4. Place the other 1
1
/8" wrench
on the collet nut and tighten
securely by turning
COUNTERCLOCKWISE as
shown in Fig. 4.
NEVER TIGHTEN COLLET WITHOUT BIT INSERTED,
TO DO SO MAY CAUSE DAMAGE TO THE COLLET.
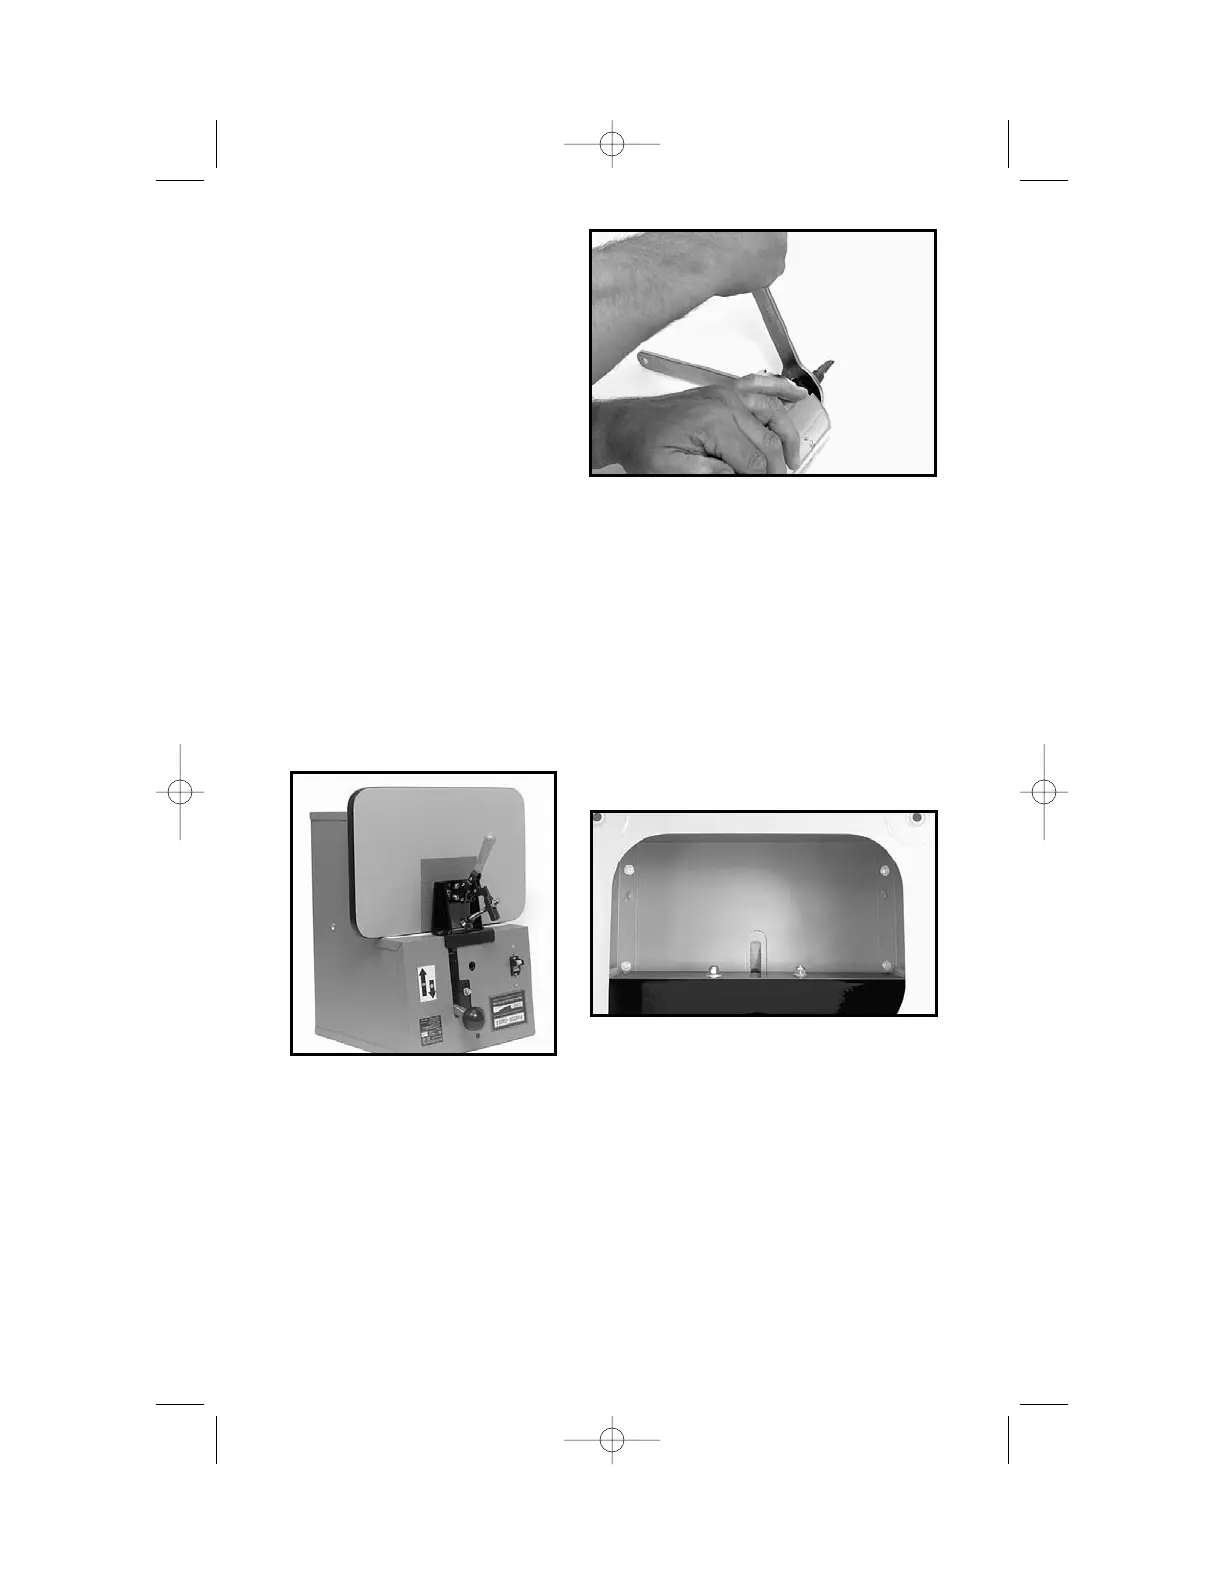
INSTALL TABLE TOP
1. Tilt cabinet assembly onto its back (see Fig. 5).
2. Position table top to the top of cabinet assembly as shown in Fig. 5.
3. Use four (
1
/
4" ×
5
/
8" long), machine screws to secure table top to cabinet
assembly. Insert the screws through bottom of cabinet assembly (see Fig. 6),
start all four screws and then tighten each securely with a phillips
screwdriver.
INSTALL FEET
NOTE: The cabinet assembly should still be positioned on its back
as described in step #1 of INSTALL TABLE TOP Section.
1. Locate the four feet, four flat washers, and four
5
/16" × 18 hex nuts.
2. Position the stud on one of the feet through one of the four holes in the
base of the cabinet (see Fig. 7).
3. Place a flat washer onto the stud and secure with one of the hex nuts.
Tighten firmly.
4. Repeat steps 2 and 3 to assemble the three remaining feet (see Fig. 8).
Fig. 4
Fig. 5
Fig. 6
➔
➔
➔
➔