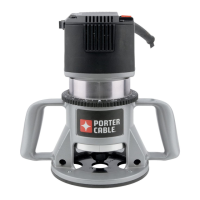
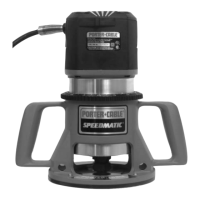
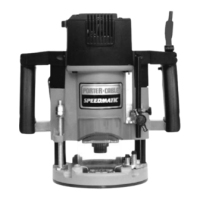
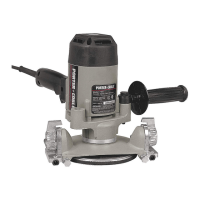
SELECTING THE BIT
Models 7518 and 7519 accommodate bits with 1/2" diameter shanks that are
installed directly into the power unit collet. Collets are available that will allow the
use of bits having 1/4" or 3/8" diameter shanks.
DON’T USE router bits with a diameter in excess of 2
1
/2"
except when using Model 75182 motor set for either
10,000 or 13,000 RPM. Router bits with a diameter up to 3" may be used
with the 75182 motor operating in the 10,000 or 13,000 RPM speeds.
Router bits with a diameter up to 3
1
/2" may be used with the 75182 motor
operating in the 10,000 RPM speed.
OPERATION
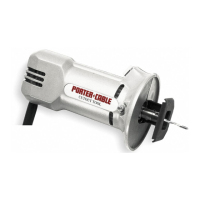
INSTALLING AND REMOVING THE BIT
Disconnect tool from power source.
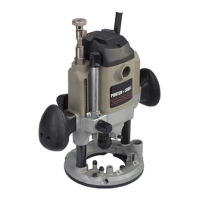
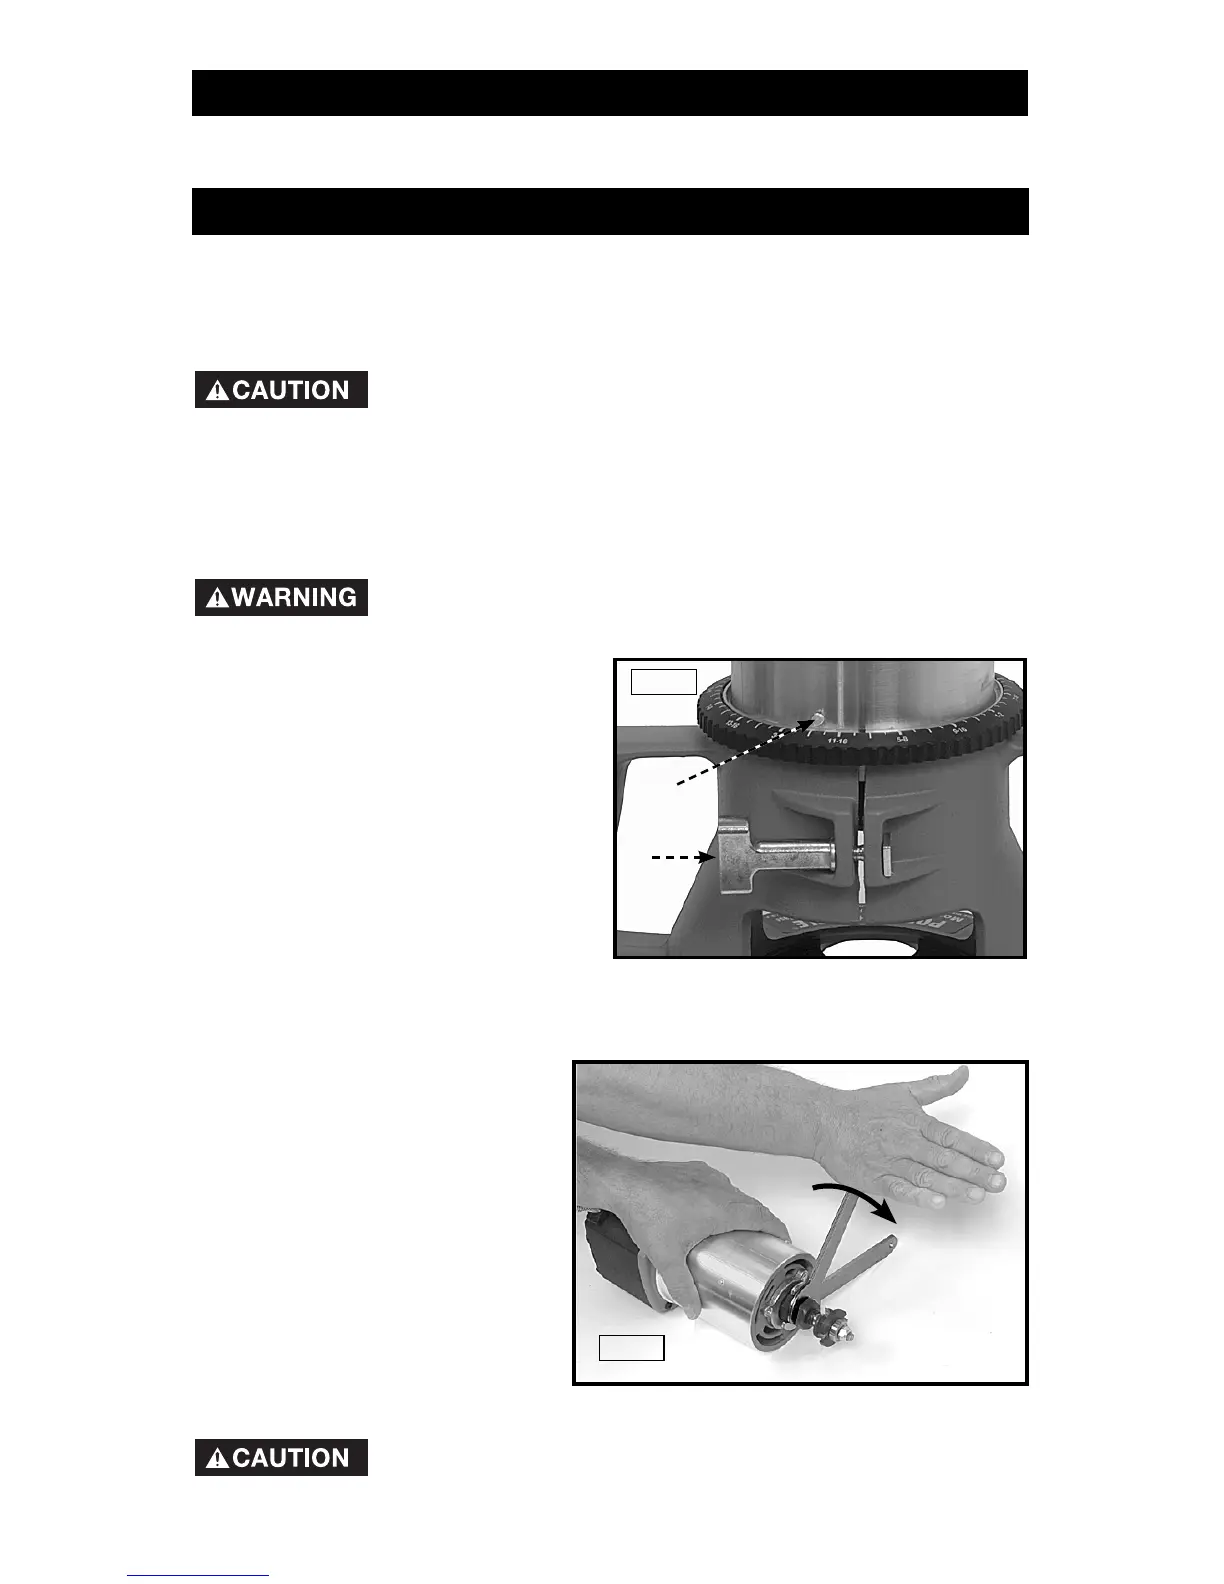
1. To remove motor unit from base unit:
(a) Open the clamp (A) Fig. 1.
(b) While holding base,
turn motor unit
COUNTERCLOCKWISE
until lower pin (B) in motor
housing is disengaged from
groove in base.
(c) Lift power unit free from base
unit.
2. Clean and insert shank of bit
into collet at least 3/4". If shank
“bottoms” in router, then back it out approximately 1/16" to allow proper
tightening.
3. Lay the power unit on its side on a bench with the collet pointing AWAY from
you.
4. Place one wrench on flats on
chuck with the opposite end
of the wrench resting on the
bench to your left, Fig. 2.
5. Place other wrench
on collet and tighten
COUNTERCLOCKWISE as
shown in Fig. 2. TIGHTEN
SECURELY.
6. To remove the bit, reverse the
above procedure. If bit does
not remove easily, tap the collet nut with wrench to release.
Avoid possible damage to collet. Never tighten collet without
a bit.
NOTE: This tool is shipped completely assembled. No assembly time or tools are
required.
ASSEMBLY
B
A
Fig. 1
Fig. 2