11
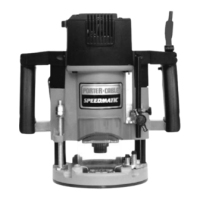
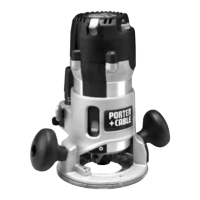
8931 PLUNGE BASE
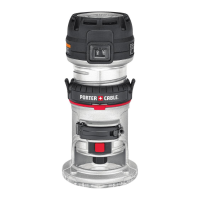
INSTALLING AND REMOVING THE BIT
1. Stand the router upside down on
its motor cap (Fig. 6).
2. Clean and insert the shank of the
bit into the collet until the shank
bottoms. Then back it out
approximately 1/16".
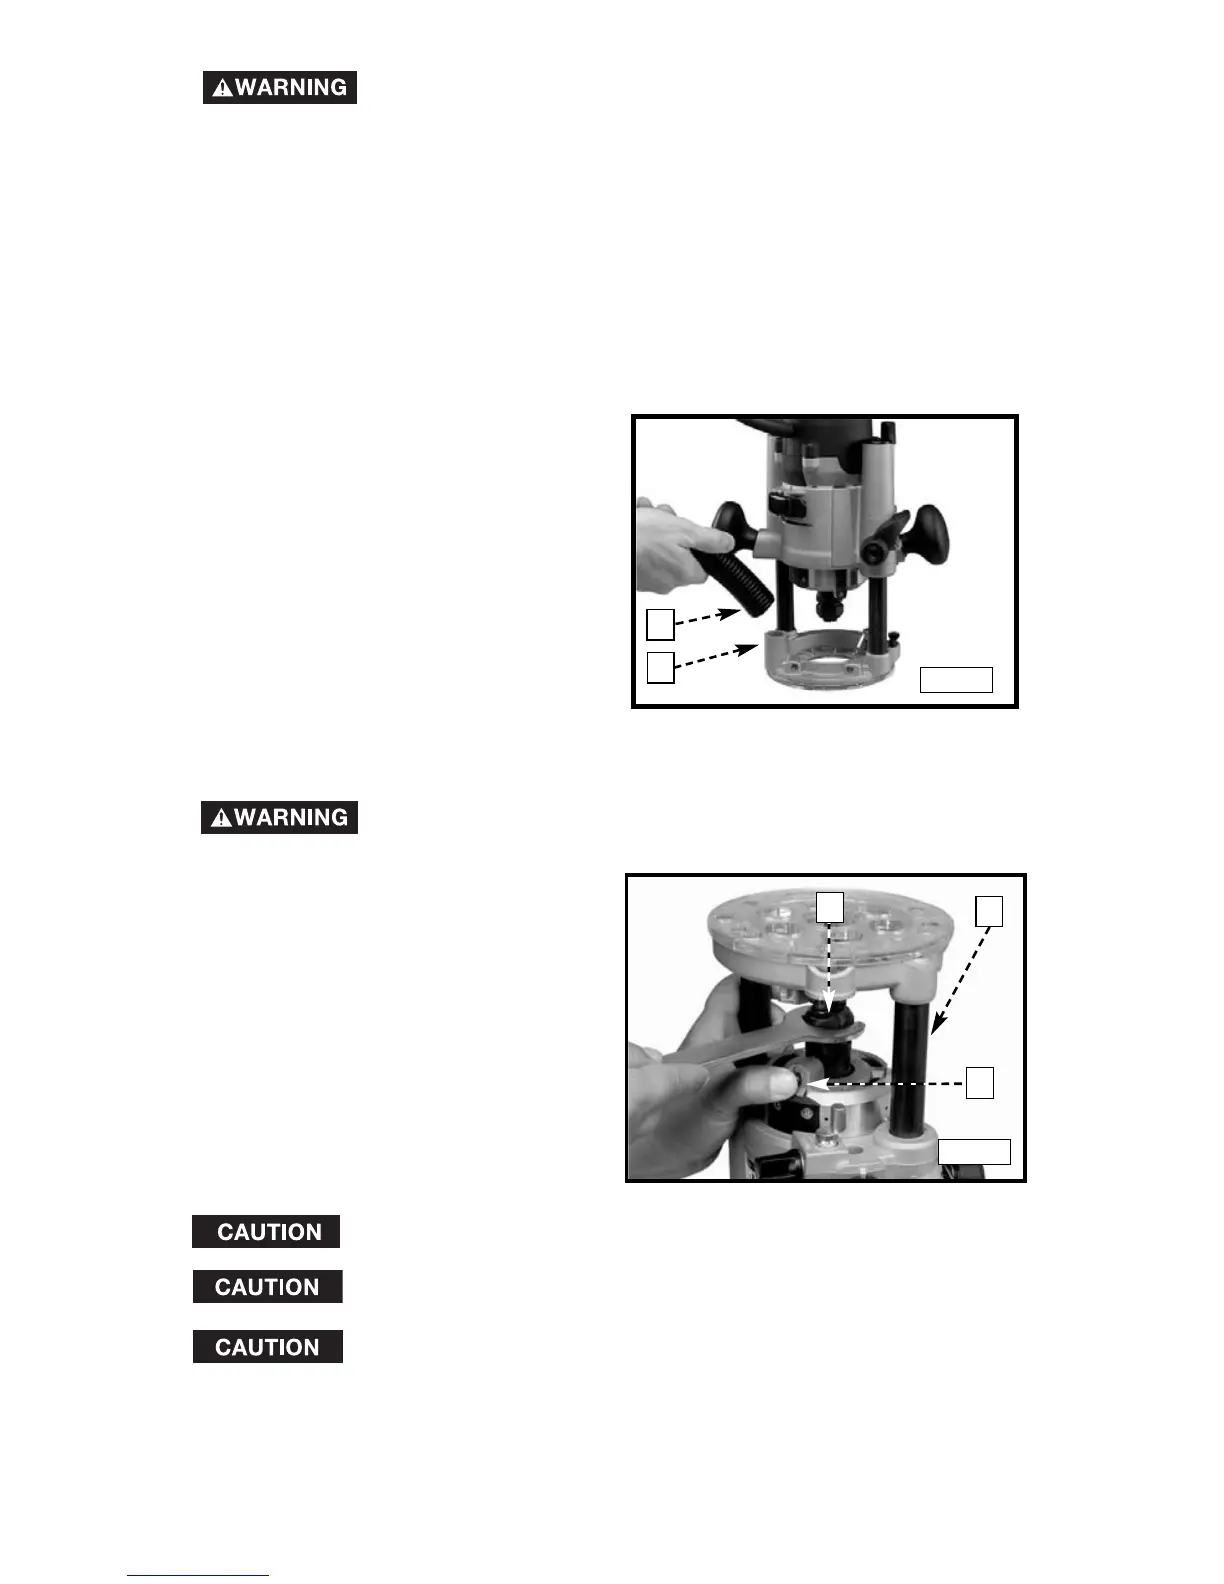
3. Press the spindle lock button (A)
Fig. 6, and place a wrench on the
collet nut (B) Fig. 6. Tighten
firmly.
4. To remove the bit, reverse the
procedure.
Disconnect the tool from the power source!
Do not allow the wrenches to contact the columns (C) Fig. 6. Columns
could be damaged, restricting the plunge action.
Avoid possible damage to collet. Never tighten collet without a bit.
If you remove the springs from the posts (E) Fig. 7 to use the
plunge base in a router table, remove the post plugs
carefully. They are spring-loaded and should be removed
only when the base housing is in the "up" position (Fig. 6).
VACUUM HOSE
A standard 1" vacuum hose (A) Fig. 5
can be attached to the dust port (B)
Fig. 5 to connect the tool to a
vacuum cleaner or dust collection
system.
1. Loosen the sub-base mounting screws (C) Fig. 4 just enough to allow the
sub-base (D) to move.
2. Open the clamp (A) Fig. 4, and adjust the power unit so that the collet nut
(B) engages the center hole in the sub-base (D). Allow the sub-base to
center itself on the collet nut. Close the clamp (A).
3. Tighten the sub-base mounting screws (C) Fig. 4 securely.
Disconnect the tool from the power source!
Fig. 6
Fig. 5
B
C
A
A
B