Leaving the Battery in the Charger
ThechargerandbatterypackcanbeleftconnectedwiththeLEDglowingindefinitely.
The charger will keep the battery pack fresh and fully charged. This charger features
anautomatictune-upmodewhichequalsorbalancestheindividualcellsinthebattery
pack to allow it to function at peak capacity. Battery packs should be tuned up weekly
or whenever the battery no longer delivers the same amount of work. To use the
automatictune-upmode,placethebatterypackinthechargerandleaveitforatleast8hours.
Important Charging Notes
1. Longest life and best performance can be obtained if the battery pack is charged
whentheairtemperatureisbetween65°Fand75°F(18°-24°C).DONOTchargethe
batterypackinanairtemperaturebelow+40°F(+4.5°C),orabove+105°F(+40.5°C).
This is important and will prevent serious damage to the battery pack.
2. The charger and battery pack may become warm to touch while charging. This is
a normal condition, and does not indicate a problem. To facilitate the cooling of the
battery pack after use, avoid placing the charger or battery pack in a warm environment
such as in a metal shed, or an uninsulated trailer.
3. If the battery pack does not charge properly:
a.Checkcurrentatreceptaclebyplugginginalamporotherappliance
b.Checktoseeifreceptacleisconnectedtoalightswitchwhichturnspoweroff
when you turn out the lights.
c. Move charger and battery pack to a location where the surrounding air
temperatureisapproximately65°F-75°F(18°-24°C).
d. If charging problems persist, take the tool, battery pack and charger to your
local service center.
4. The battery pack should be recharged when it fails to produce sufficient power on
jobswhichwereeasilydonepreviously.DONOTCONTINUEtouseunderthese
conditions. Follow the charging procedure. You may also charge a partially used pack
whenever you desire with no adverse affect on the battery pack.
INSTALLING AND REMOVING THE BATTERY PACK FROM THE TOOL
CAUTION: Make certain the lock-off button is engaged to prevent switch actuation
before removing or installing battery.
TO INSTALL BATTERY PACK: Insert battery pack firmly into tool until an
audible click is heard as shown in Figure B. Ensure battery pack is fully seated and
fully latched into position.
TO REMOVE BATTERY PACK:Depressthebatteryreleasebutton(C1)as
shown in Figure C and pull battery pack out of tool.
OPERATION
WARNING: Before attempting any of the following operations, make sure that
the saw blade has stopped, and the battery is removed. Used saw blades can be hot.
SWITCHING ON AND OFF
Thetoolisequippedwithaswitchlock-offfeaturetopreventunintentionaloperation.
-Toswitchthetoolon,pressthelockoffbutton(2)totheleft,thensqueezepressthe
variablespeedswitch(1).Thetoolspeeddependsonhowfaryoudepresstheswitch.
-Toswitchthetooloff,releasethevariablespeedswitch.
NOTE:
ThistoolhasnoprovisiontolocktheswitchintheONposition,andshould
neverbelockedintheONpositionbyanyothermeans.
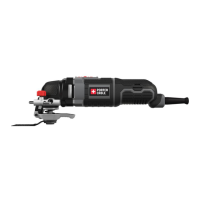
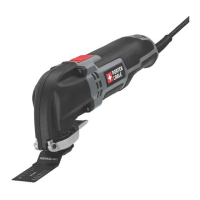
BLADE INSTALLATION -FIGURES D, E
WARNING:
Before attempting any of the following operations, make sure that the
8
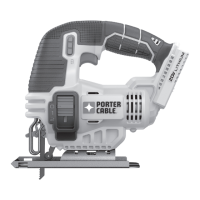
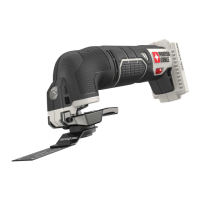
FUNCTIONAL DESCRIPTION
Figure A
1. Variable speed switch
2.Lock-offbutton
3. Tool free blade release
4. Blade
5.Shoe
6.OrbitalActionSelector
This product uses the batteries and chargers listed below.
20VMax*Lithium-IonBatteries:PCC680L,PCC681L,PCC685L,PCC682L
20VMax*Lithium-IonChargers:PCC690L,PCC691L,PCC695L,PCC692L