4
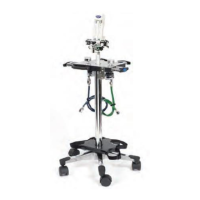
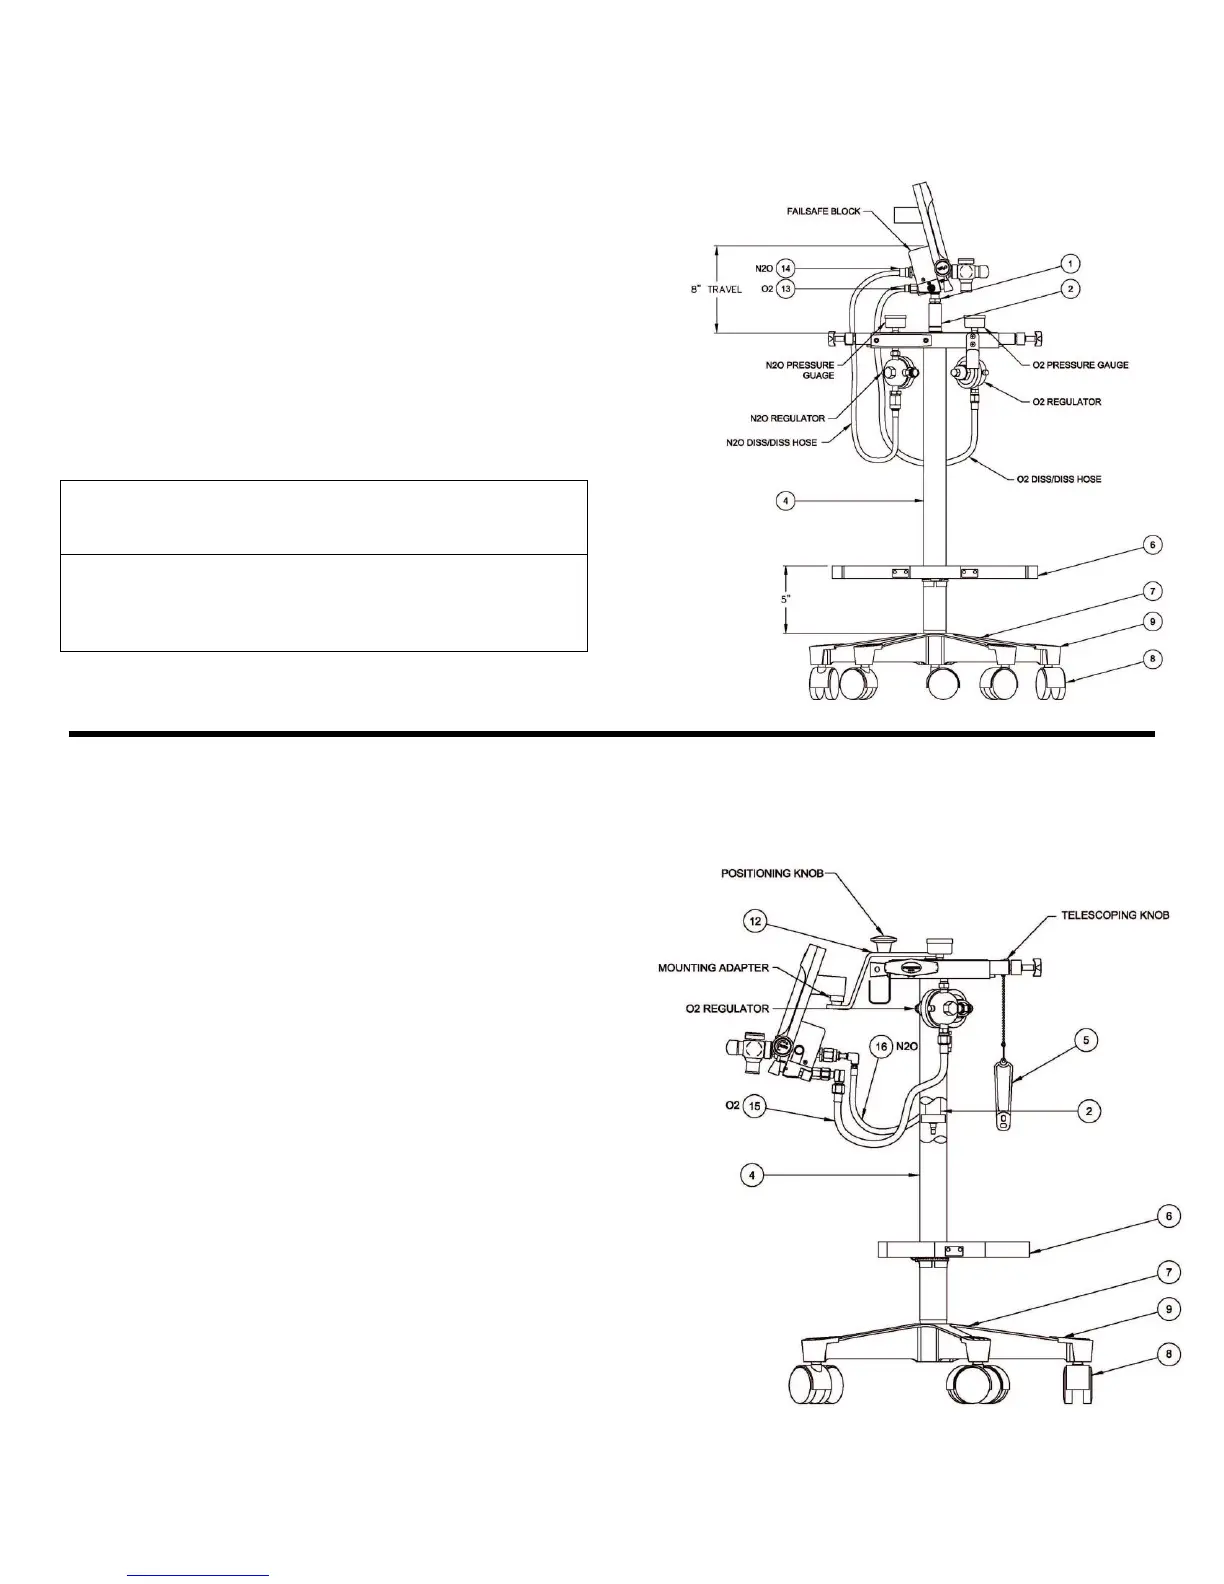
Model 2045-3 “E” Stand (Figure 1)
The Tall Mobile “E” Tank Stand 2045-3 features
swivel yokes for ease of installing and removing the
O
2
and N
2
O tanks on the stand. The stand height
adjusts from 42” to 50” to top of the meter.
Mounting Flowmeter to “E” Stand
1. Screw the bottom of flowmeter to the top of the
center post on the mobile “E Stand as in Figure
1.
2. To telescope flowmeter, loosen knob (not
shown) on rear of “E” block, position flowmeter,
retighten knob.
Caution: Fully tighten the knob after attaching
flowmeter. Failure to do so may result in damage to
flowmeter or to E-Stand.
Caution: Do not remove snap ring or o-ring on inner
post assembly (Item 2). Removing either of these
items may result in damage to flowmeter or to E-
Stand.
Figure 1 – Model 2045-3
“E” Stand with Flowmeter
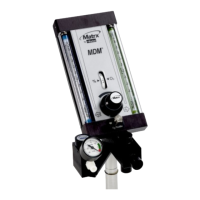
Model 2045-SHORT3 “E” Stand (Figure 2)
The Porter Mobile “E” Tank Stand 2045-
SHORT3 features swivel yokes for ease of
installing and removing the O
2
and N
2
O tanks on
the stand. The stand height adjusts from 31” to
41” to top of the meter. The mounting bracket
design allows for flowmeter installation and
adjustment to the desired height for operatory
use, and then to be adjusted for under the
counter storage.
Mounting Flowmeter to “E” Stand
1. Remove cap from flowmeter mounting
adapter using Philips screwdriver.
2. Slide mounting bracket on back of flowmeter
over mounting stem of “E” Stand.
3. Replace cap and tighten screw.
Position small diameter of cap “down” to
allow for swivel mounting.
Position small diameter cap “up” to fix
direction of flowmeter.
4. To telescope flowmeter, loosen knob on rear
of “E block, position flowmeter using knob on
angle bracket.
5. Retighten knob.
Figure 2 – Model 2045-SHORT3
“E” Stand with Flowmeter
 Loading...