4_I_WAI-{I_III_I_: If received assemb}ed,
repeat all steps to ensure your unit is properly
assembled and all fasteners are secure.
Examh3e parts for damage. Do not use dam-
aged parts.
NOTE: if you need assistance or find parts
missing or damaged, call 1-800-554-6723.
TOOLS REQUIRED
• Hex wrench (provided)
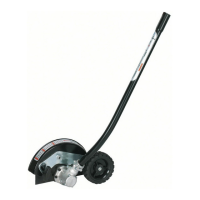
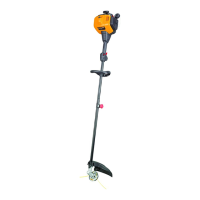
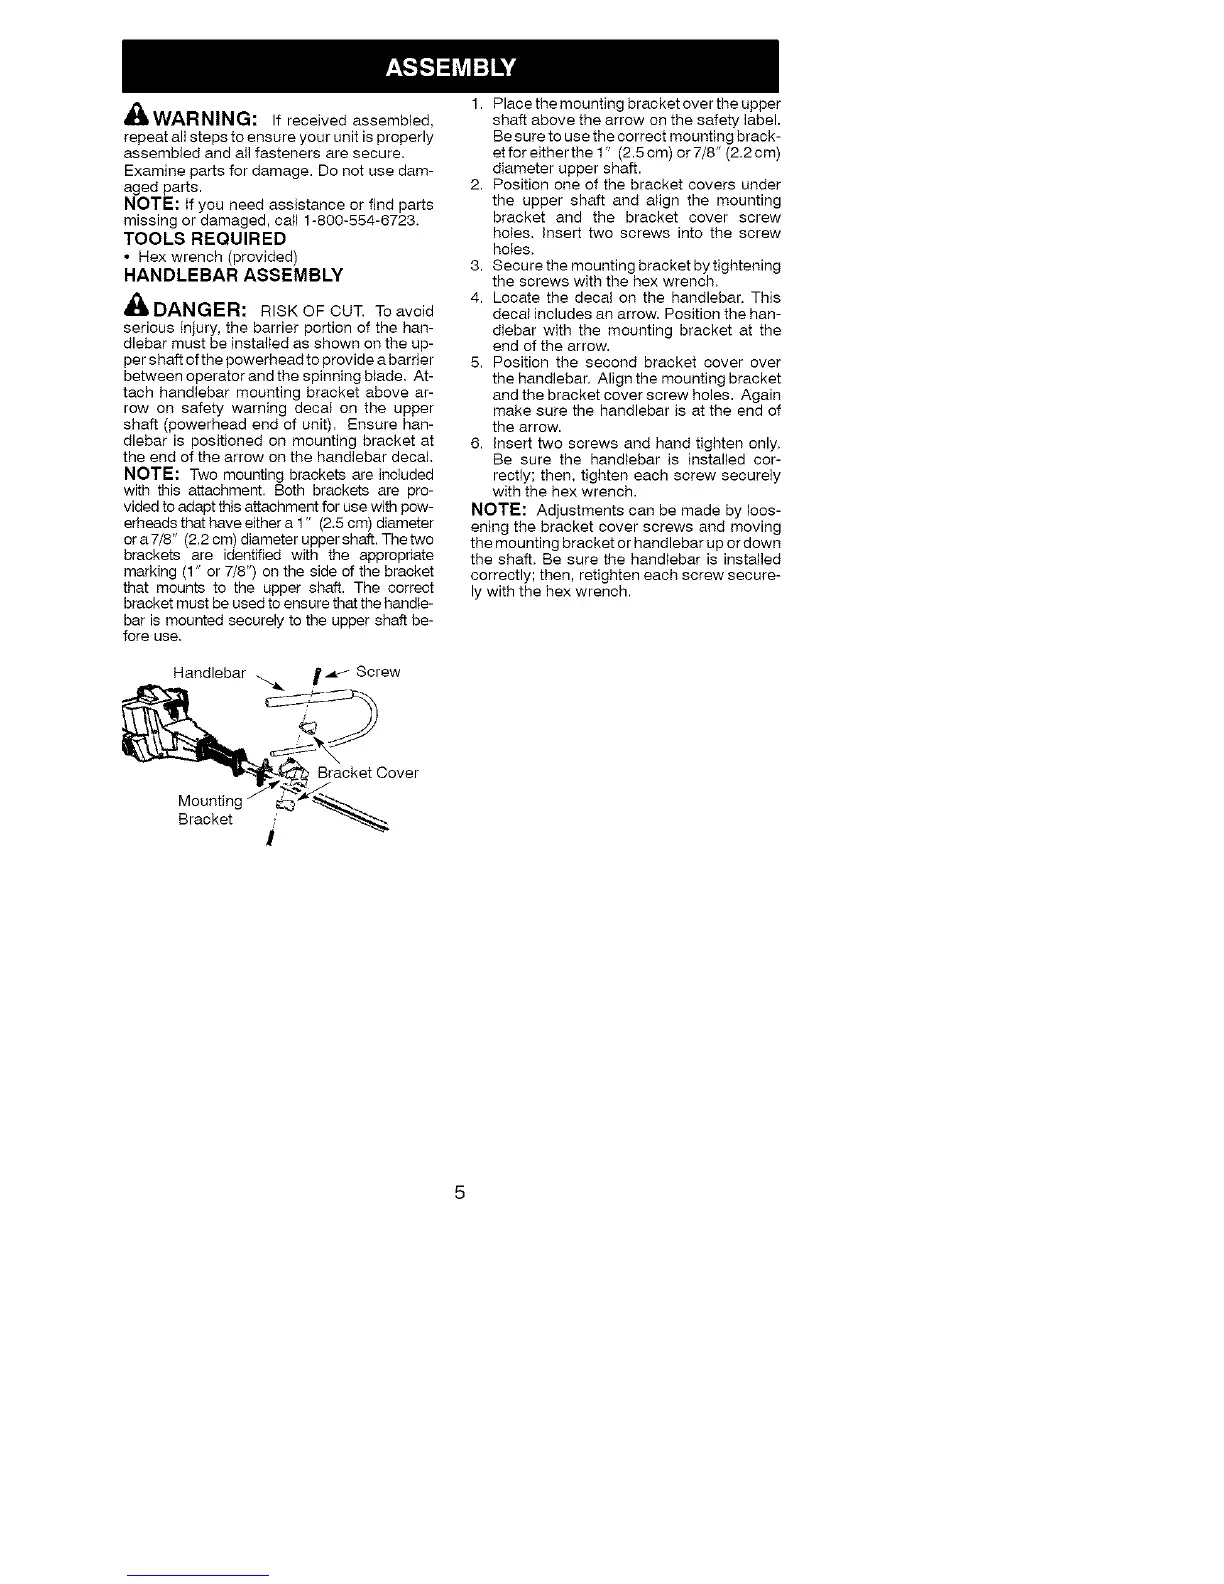
HANDLEBAR ASSEMBLY
A(_ DANGER: RISK OF CUT. To avoid
serious injury, the barrier portion of the han-
dlebar must be h_stalled as shown on the up-
per shaft of the powerhead to provide a barrier
between operator and the sph_ning blade. At-
tach handlebar mounting bracket above ar-
row on safety warning decal on the upper
shaft (powerhead end of unit). Ensure han-
dlebar is positioned on mounting bracket at
the end of the arrow on the handlebar decal.
NOTE: Two mounting brackets are included
with this attachment. Both brackets are pro-
vided to adapt this attachment for use with pow-
erheads that have either a 1" (2.5 cm) diameter
or a 7/8" (2.2 cm) diameter upper shaft. The two
brackets are identified with the appropriate
marking (1" or 7/8") on the side of the bracket
that mounts to the upper shaft. The correct
bracket must be used to ensure that the hand_e-
bar is mounted securely to the upper shaft be-
fore use.
Handlebar _._ Screw
_B_aoket Cover
Bracket /
i
1. Place the mounting bracket over the upper
shaft above the arrow on the safety label.
Be sure to use the correct mounting brack-
etfor eitherthe 1" (2.5cm) or7/8" (2.2cm)
diameter upper shaft.
2. Position one of the bracket covers under
the upper shaft and atign the mounting
bracket and the bracket cover screw
holes, insert two screws into the screw
holes,
3. Secure the mounting bracket by tightening
the screws with the hex wrench,
4. Locate the decal on the handlebar, This
decal includes an arrow, Position the han-
dlebar with the mounting bracket at the
end of the arrow.
5. Position the second bracket cover over
the handlebar. Align the mounting bracket
and the bracket cover screw holes. Again
make sure the handlebar is at the end of
the arrow.
6. insert two screws and hand tighten only,
Be sure the handlebar is installed cor-
rectly; then, tighten each screw securely
with the hex wrench.
NOTE: Adjustments can be made by loos-
ening the bracket cover screws and moving
the mounting bracket or handlebar up or down
the shaft. Be sure the handtebar is installed
correctly; then, retighten each screw secure-
ly with the hex wrench.
 Loading...