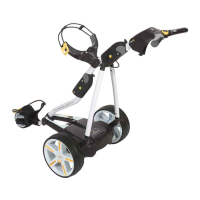
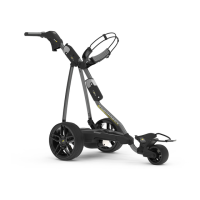
Fit the wheels by pressing the black release button and pushing
onto the axle until the clutch is engaged.
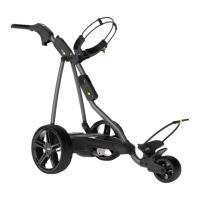
To open the frame, slide the main lock (highlighted blue) forward
to release the handle latch then lift the handle until both locks
click into place.
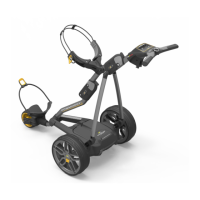
To fold, slide the same main lock towards the handle and fold the
top portion of the frame down before releasing the upper button
to fold the handle tube.
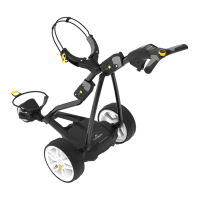
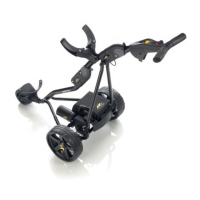
Your trolley will already be pre-set to run straight. If you nd
your trolley tracking to the left or right you can re-adjust this
by releasing the front wheel lever and rotating the adjustment
roller.
Rotate up to make your trolley track more to the LEFT and rotate
down to track more to the RIGHT.
Once you are happy the trolley is running straight re-apply the
lever to lock in position.
Unfold the Frame
3
1 2 3
Front Wheel Adjustment
4
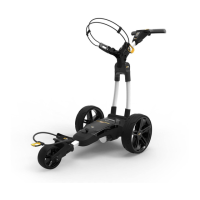
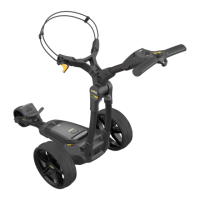
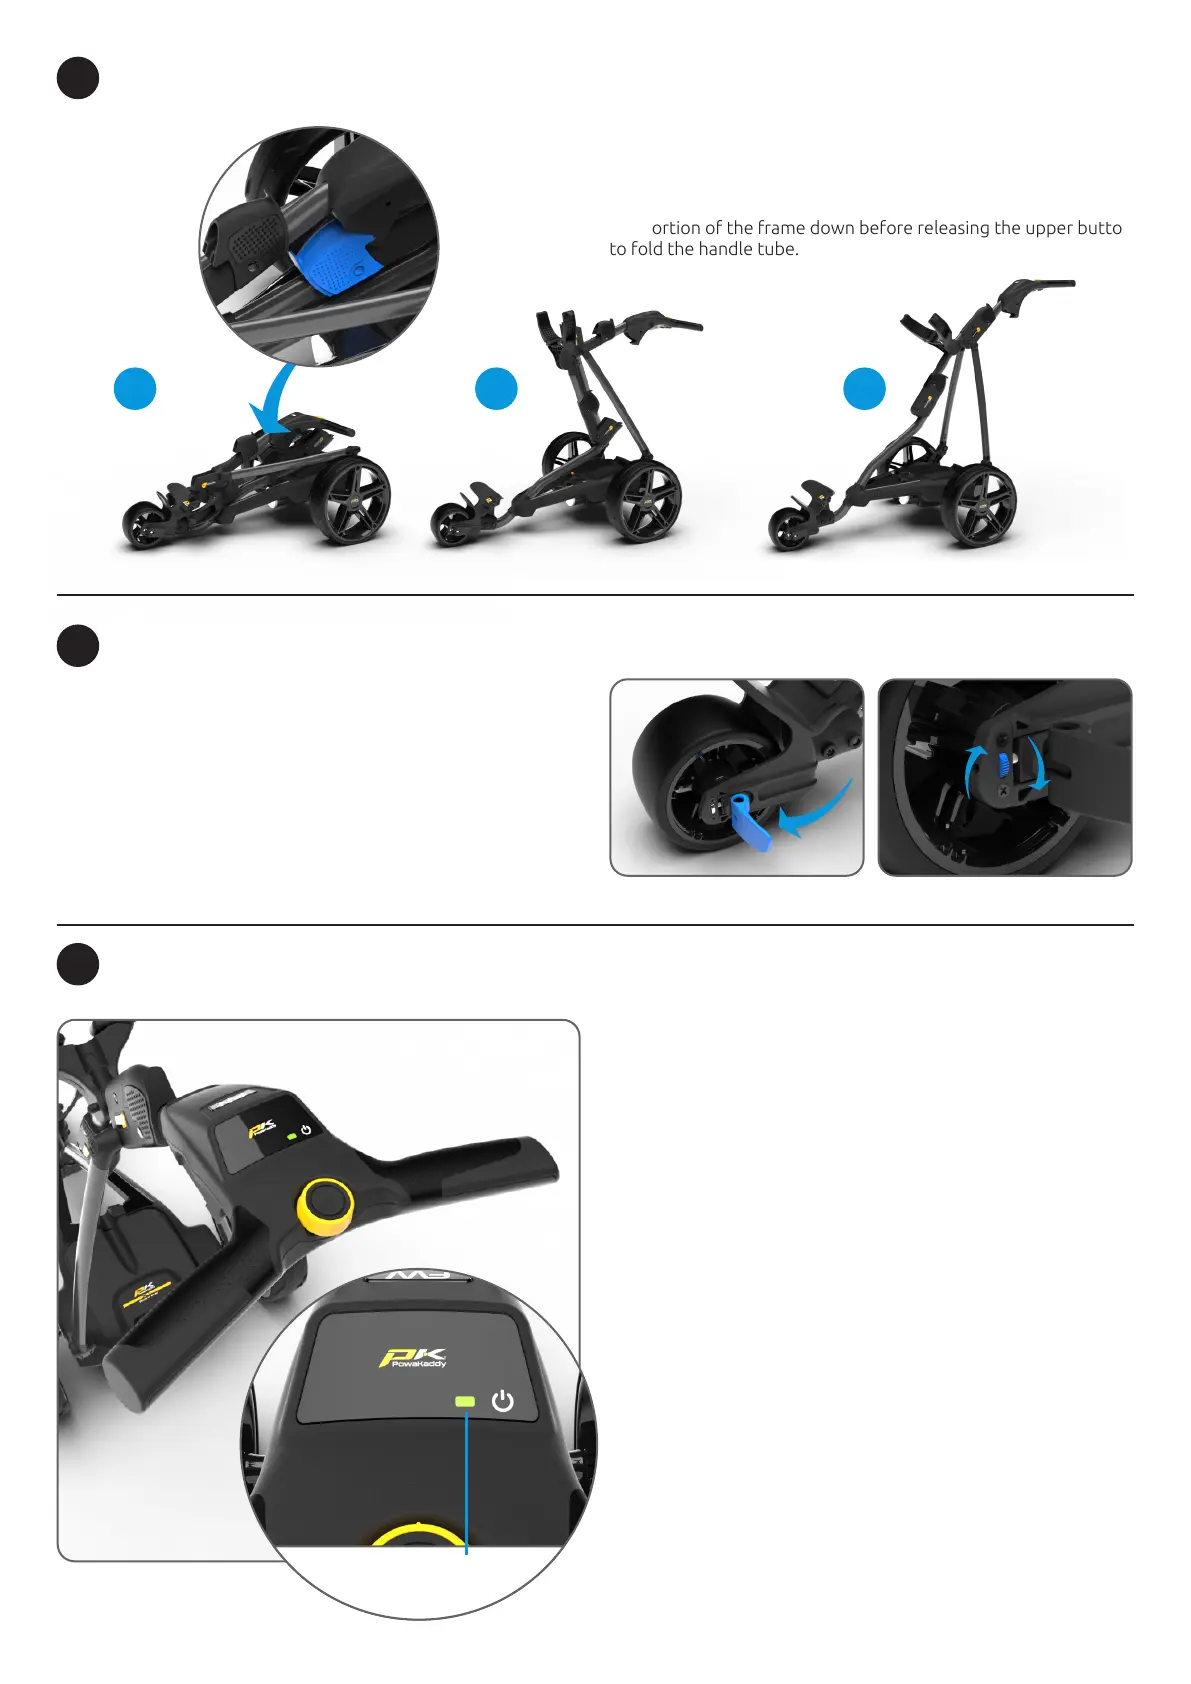
Once your battery is connected your trolley is ready to use. The
control functions are detailed below.
Power Indicator:
Displays whether power is being
applied to the drive system.
The LED light will illuminate red on start up to indicate the motor
power condition as o. Press the yellow control dial in the centre
to power the motor on, the LED will illuminate Green. Press again
to turn the motor o; the LED will change back to Red.
Control Dial:
Rotate the central control dial to adjust the speed of the trolley
when the motor is powered on. Rotate the control clockwise to
increase the speed and counter-clockwise to decrease the speed.
Press to pause and resume your selected speed.
Controls Overview
5
Power Indicator
 Loading...