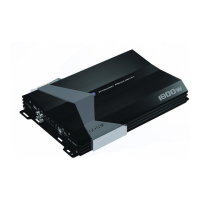
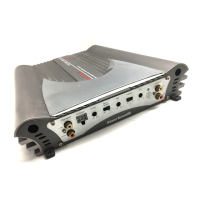
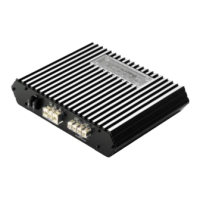
Fig 1
WIRING CONNECTIONS
A. CONNECTING THE POWER (Fig.1)
CAUTION:
AS A PRECAUTION, IT IS ADVISABLE TO DISCONNECT THE VEHICLE’S BATTERY BEFORE MAKING CONNECTION
TO THE +12 VOLTS SUPPLY WIRING.
4/8 GAUGE(Thicker if planning for additional Amplifiers) wire is recommended both the
power and ground wires. 12 Gauge, for the remote ture-on wire. Both types are
available at most Mobile Audio Dealers or Installation Shops.
(1) GROUND: To Vehicle Chassis
To avoid unwanted ignition noise caused by ground loops, it is essential that the
Amplifier be grounded to a clean, bare, metal surface of the vehicles chassis.
NOTE:
GROUND WIRE SHOULD NOT BE EXTENDED MORE THAN 3 FT.(1 METER).
(2) +12Volt(Fused) Constant Power: To Battery (+)
Due to the power requirements of the Amplifier, this connection should be made
directly to the positive (+) terminal of battery. For safety measure, install an in-line Fuse
Holder (not included) as close to the battery positive (+) terminal as possible with an
ampere rating; not to exceed total value of fuses in Amp.
LT480/2, LT620/2, LT980/2, LT1440/2, LT1920/2
LT720/4, LT960/4
(3) Remote Turn-One Input : To Power Antenna output of Car Stereo
This Amplifier is turned “ON”remotely when the vehicle’s stereo is turned “ON”.
NOTE:
IF YOUR RADIO DOES NOT HAVE +12 VOLT OUTPUT LEAD WHEN THE RADIO IS TURNED ON,
THE “REM” TERMINAL ON THE AMPLIFIER CAN BE CONNECTED TO VEHICLE’S ACCESSORY CIRCUIT THAT IS LIVE
WHEN THE KEY IS “ON”.
MOEDL: LT480/2, LT620/2, LT980/2, LT1440/2, LT1920/2
MOEDL: LT720/4, LT960/4