7. Before attaching the other door wing, attach the door sill which looks like a piece of framing in half.
This will be screwed to the floor beneath with 35mm screws.
We would strongly recommend to pre-drill the holes to avoid splitting.
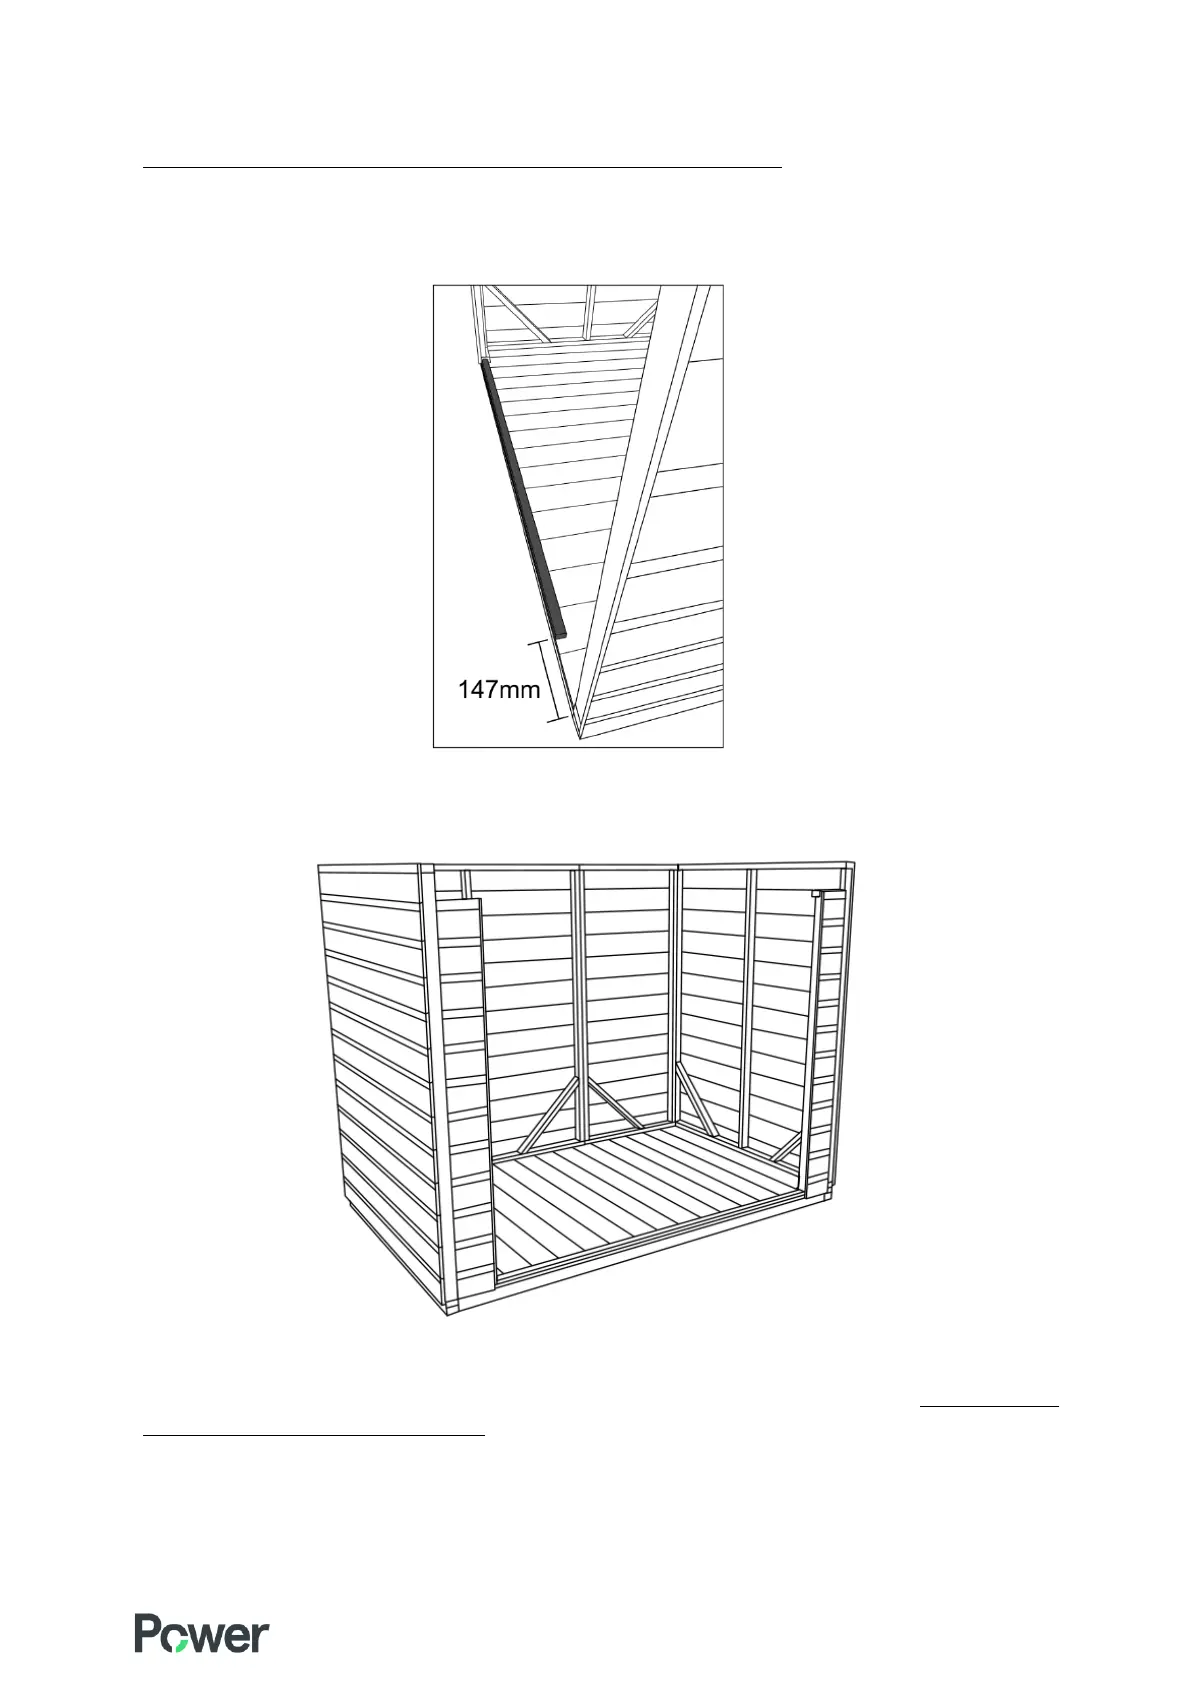
This sill should be 147mm from each end of the floor (but not the floor bearer) and attached to the very
outside edge of the floor. (see image below)
8. You can then secure the other door wing using 50mm screws.
9. Once the two panels are on which go at the side both sides of the doors (door wings), you can add the
door head. This is the part which has the ‘Power’ brand on. To secure these to the panels below you need
to screw up through the door wings and into the door head. We strongly advise you to pre-drill before
screwing to avoid the timber splitting. You can then secure the door head to the side wall panels.