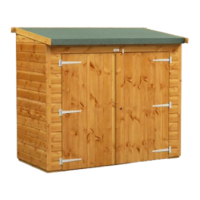
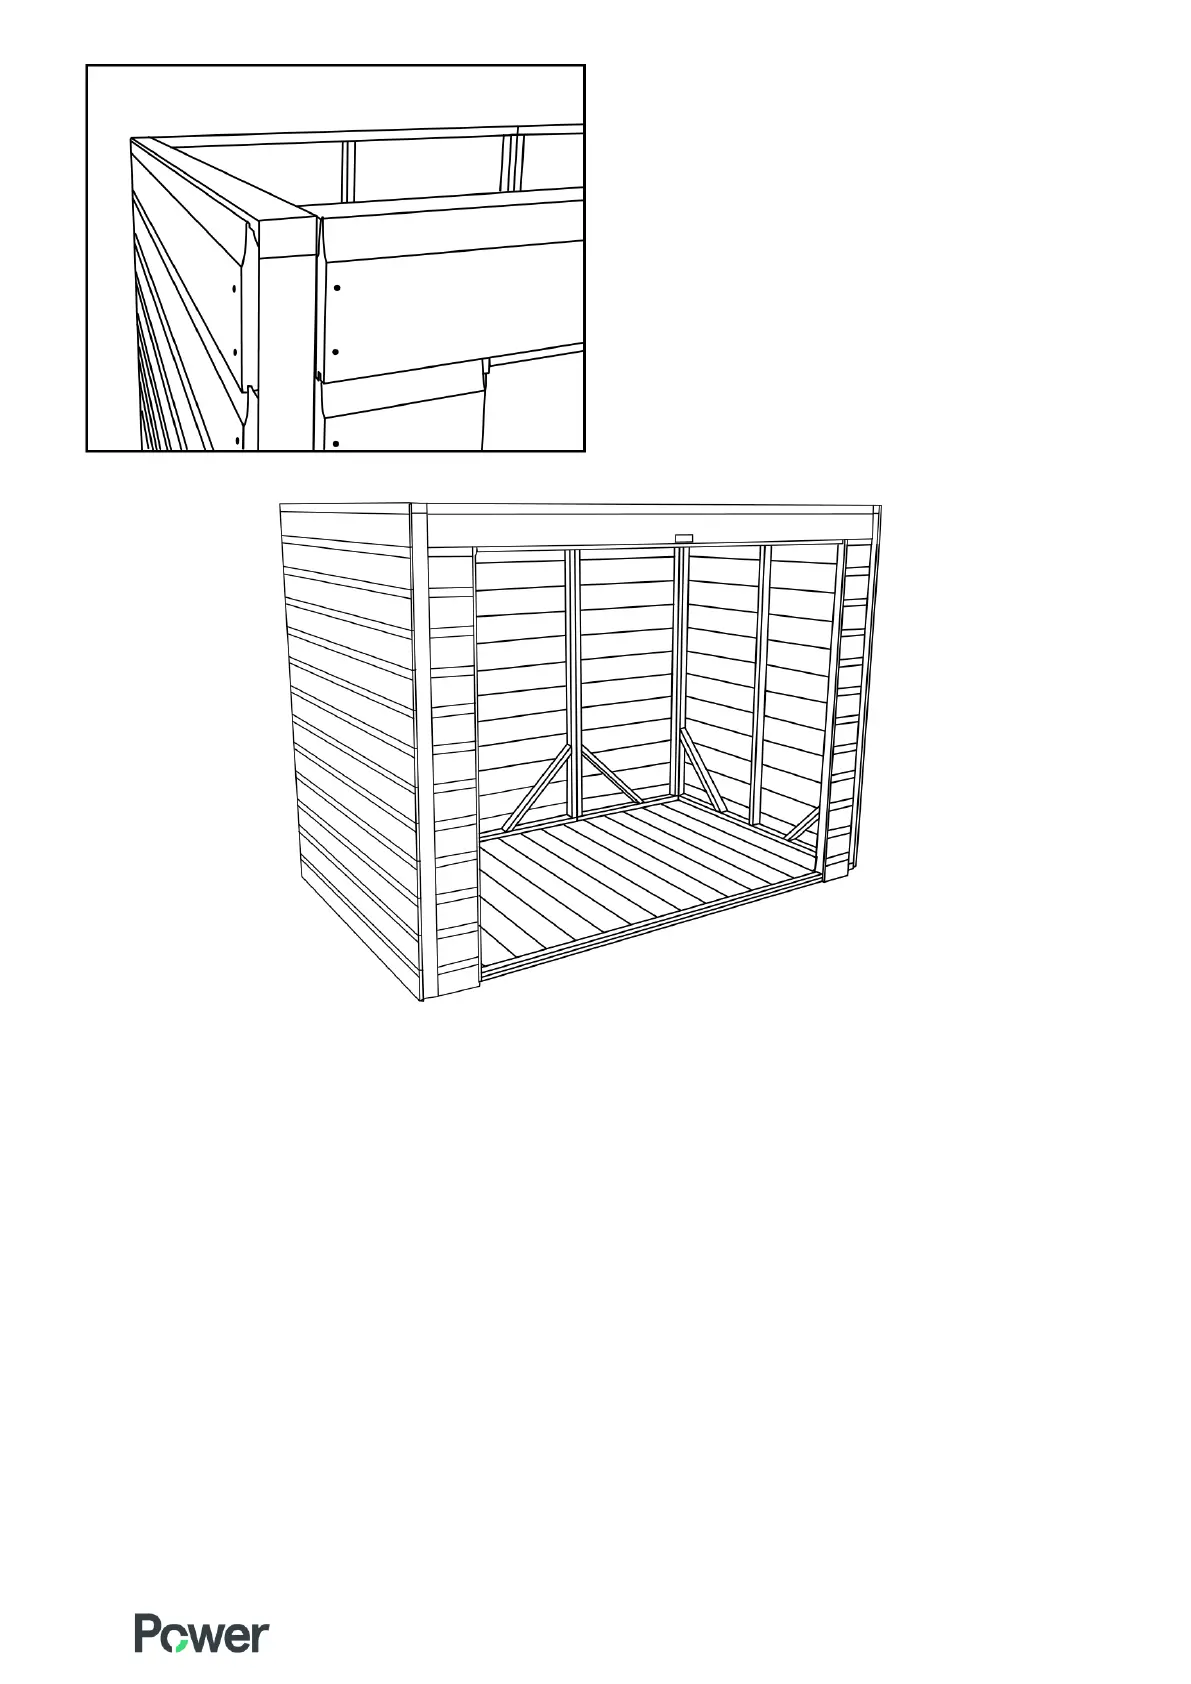
Make sure all the side walls are square and aligned at
the top
10. When you have secured all the wall panels together you then need to secure these to the floor using
70mm screws provided. Screw into the floor with 2x screws for every wall panel (internally) ensuring the
screws are driven through the framing at the bottom of the side/gable walls, through the floorboards and
into the floor joists.
USEFUL TIP!
You can work out the position of the floor joists from the location of the existing nails in the floor. If the
upright framing or corner brace is in the way you would need to nail down into the floor joists at an angle.
If you are securing these panels against a wall (which gives you little access to nail the cover strips on,
explained later) you can pre-assemble a side and move the whole side into position (with the cover lats
already nailed on)