Do you have a question about the PowerXL Air Fryer Grill and is the answer not in the manual?
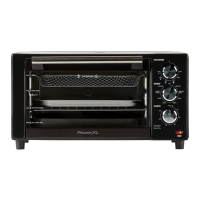
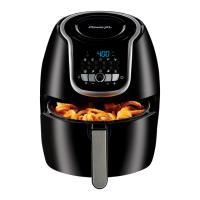
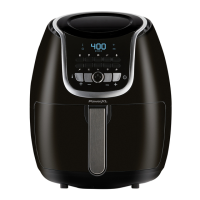
| Type | Air Fryer Grill |
|---|---|
| Power | 1500 Watts |
| Dishwasher Safe Parts | Yes |
| Non-Stick Surface | Yes |
| Functions | Air Fry, Grill, Bake, Dehydrate |
| Timer | 60 minutes |
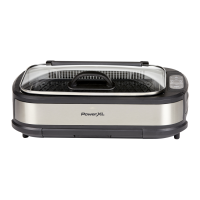
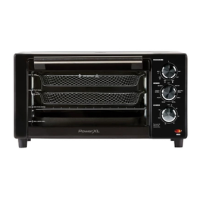
Insert the Drip Tray below the bottom heating elements at the very bottom of the unit.
Place food on a Crisper Tray and slide it into a shelf, using door markings to select the best shelf.
Use Function, Temperature, and Time/Darkness knobs to select Air Fry preset, temperature, and cooking time.
When cooking is complete, use oven mitts to remove the Crisper Tray by sliding it out.
Insert the Drip Tray below the bottom heating elements at the very bottom of the unit.
Place food on the Grill Plate and slide it into a shelf, using door markings for correct shelf selection.
Use Function, Temperature, and Time/Darkness knobs to select Grill preset, temperature, and cooking time.
When cooking is complete, use oven mitts to remove the Grill Plate by sliding it out.