Do you have a question about the PowerXL VORTEX PRO PLUS and is the answer not in the manual?
Ensure Drip Tray is in place and press Power/Start-Stop to turn on the Air Fryer Pro Plus.
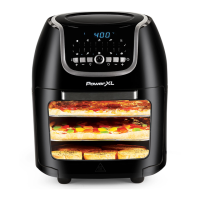
Place food on the Air Flow Racks and insert them into the Unit.
Choose a preset or manual time/temperature and press Power/Start-Stop to begin cooking.
Fan cools unit for 20s after cooking. Remove racks with mitts.
Ensure Drip Tray is in place and press Power/Start-Stop to turn on the Air Fryer Pro Plus.
Thread food onto the Rotisserie Shaft, secure with forks, and insert into the Unit.
Choose a preset or manual time/temperature and press Power/Start-Stop to begin cooking.
Fan cools unit for 20s after cooking. Remove Spit using Fetch Tool and mitts.
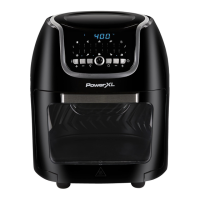
The PowerXL Vortex Air Fryer Pro Plus is a versatile kitchen appliance designed to simplify cooking with its air frying and rotisserie capabilities. This quick start guide outlines the essential steps for setting up, using, and maintaining the device, ensuring a smooth and enjoyable cooking experience.
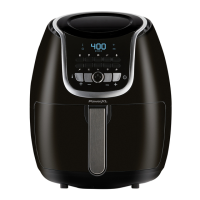
The PowerXL Vortex Air Fryer Pro Plus primarily functions as an air fryer, utilizing rapid air circulation to cook food with a crispy exterior and tender interior, often with little to no oil. This method offers a healthier alternative to traditional deep frying. Beyond air frying, the device also supports rotisserie cooking, allowing users to prepare whole chickens, roasts, and other large items that benefit from even, self-basting rotation. The appliance features a digital control panel with one-touch cooking presets, simplifying the cooking process for various food types. It also allows for manual adjustment of time and temperature, providing flexibility for custom recipes.
Before the first use, it is crucial to unpack all components and remove any clear or blue protective film from the device. The accessories, such as the Air Flow Racks, Drip Tray, Rotisserie Shaft, and Rotisserie Forks, should be washed with warm, soapy water. While some accessories are dishwasher safe, it's always best to consult the owner's manual for specific cleaning instructions. The interior and exterior of the appliance should be wiped down with a damp cloth to ensure cleanliness.
Regular cleaning is essential to maintain the performance and longevity of the PowerXL Vortex Air Fryer Pro Plus.
Once the appliance and its accessories are clean and completely dry, store them in a cool, dry place. Ensure all components are properly assembled or stored together to prevent loss.
By following these guidelines, users can effectively operate and maintain their PowerXL Vortex Air Fryer Pro Plus, enjoying delicious, healthy meals with ease. For more detailed instructions and troubleshooting, always refer to the comprehensive owner's manual.
| Model | Vortex Pro Plus |
|---|---|
| Power | 1700 Watts |
| Temperature Range | 400°F |
| Cooking Functions | Air Fry, Bake, Roast, Dehydrate, Reheat |
| Pre-set Programs | 8 |
| Display | Digital |
| Accessories | Drip Tray |
| Dishwasher Safe Parts | Yes |
| Dimensions | 12.5 inches |
| Timer | Yes, up to 60 minutes |
| Appliance Category | Air Fryer |