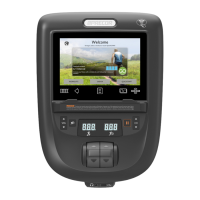
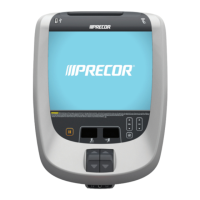
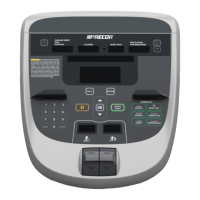
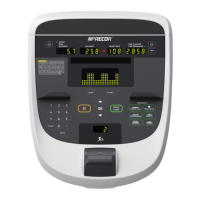
P62 Console Installation Guide
Cables and Connections
WARNING Before you connect
any cables to the console, make
sure that the equipment is not
connected to any external
power source or plugged into
the wall.
Connector
Location
Cable Connector Type
Safety key (TRMs only) Six-contact strip, keyed
TV, when installed F-type coaxial with isolator
Ethernet (LAN) Eight-contact modular on round black cable
Data from base unit Eight-contact modular on flat gray cable
Power Two-contact plug, polarized and latched
Heart rate sensor Four-contact strip, keyed
microSD card slot Eight-contact strip
Ferrite mount N/A
NOTE For instructions to set up and configure a media adapter, see the Media
Adapter Guide in the console product page on www.precor.com.
Attach and Wire the Console
1. Set the console on the rectangular hook at the bot-
tom of the console mount and hold it in place.
2. When installing coaxial cable, remove the isolator
extender connect the TV coaxial cable and then
reattach to the console.
4.
Connect the power cable , after passing it
through and wrapping around the ferrite mount.
5. Verify the microSD card is securely mounted (see
above).
6. Connect the cables , , , as shown below (
is lower board) by routing cables through the
larger hole in the mount bracket.
7. Tilt the console back onto the mounting bracket
and secure it with the mounting bolts, making sure
to fully tighten the bolts.
8. Follow the checklist and set of instructions on the
next page to test that the console and equipment
are working.
9. Attach the fasteners to reinstall the console rear
cover after tests are completed.
Connect to a Network
1. Go to Settings > System Settings > Connectivity.
2. Touch Network Type > Wired (or Wi-Fi) > OK.
3. Touch Configure. Select the network from the list and enter your credentials to access that
network.
4. Touch the Back button to return to the Connectivity screen. Your settings will be auto-
matically saved.
TestConsoleandEquipment
Use this checklist of procedures for testing and follow each step in order.
©2021 Precor Incorporated | PN 304148-101 Rev. C ENU | 22 October 2021 | 1