6
Steam
Out
Steam
Out
Cook
OPEN
CLOSE
Steam
Out
Steam
Out
Cook
OPEN
CLOSE
Steam
Out
Steam
Out
Cook
OPEN
CLOSE
Steam
Out
Steam
Out
Cook
OPEN
CLOSE
6. Pour liquid into the cooking pot, as specified in the recipe or timetable.
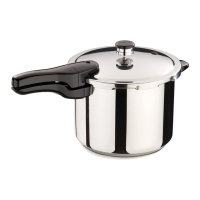
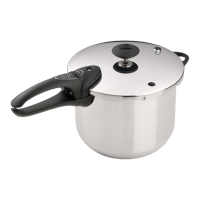
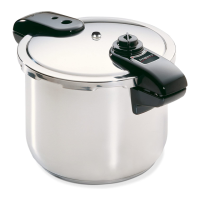
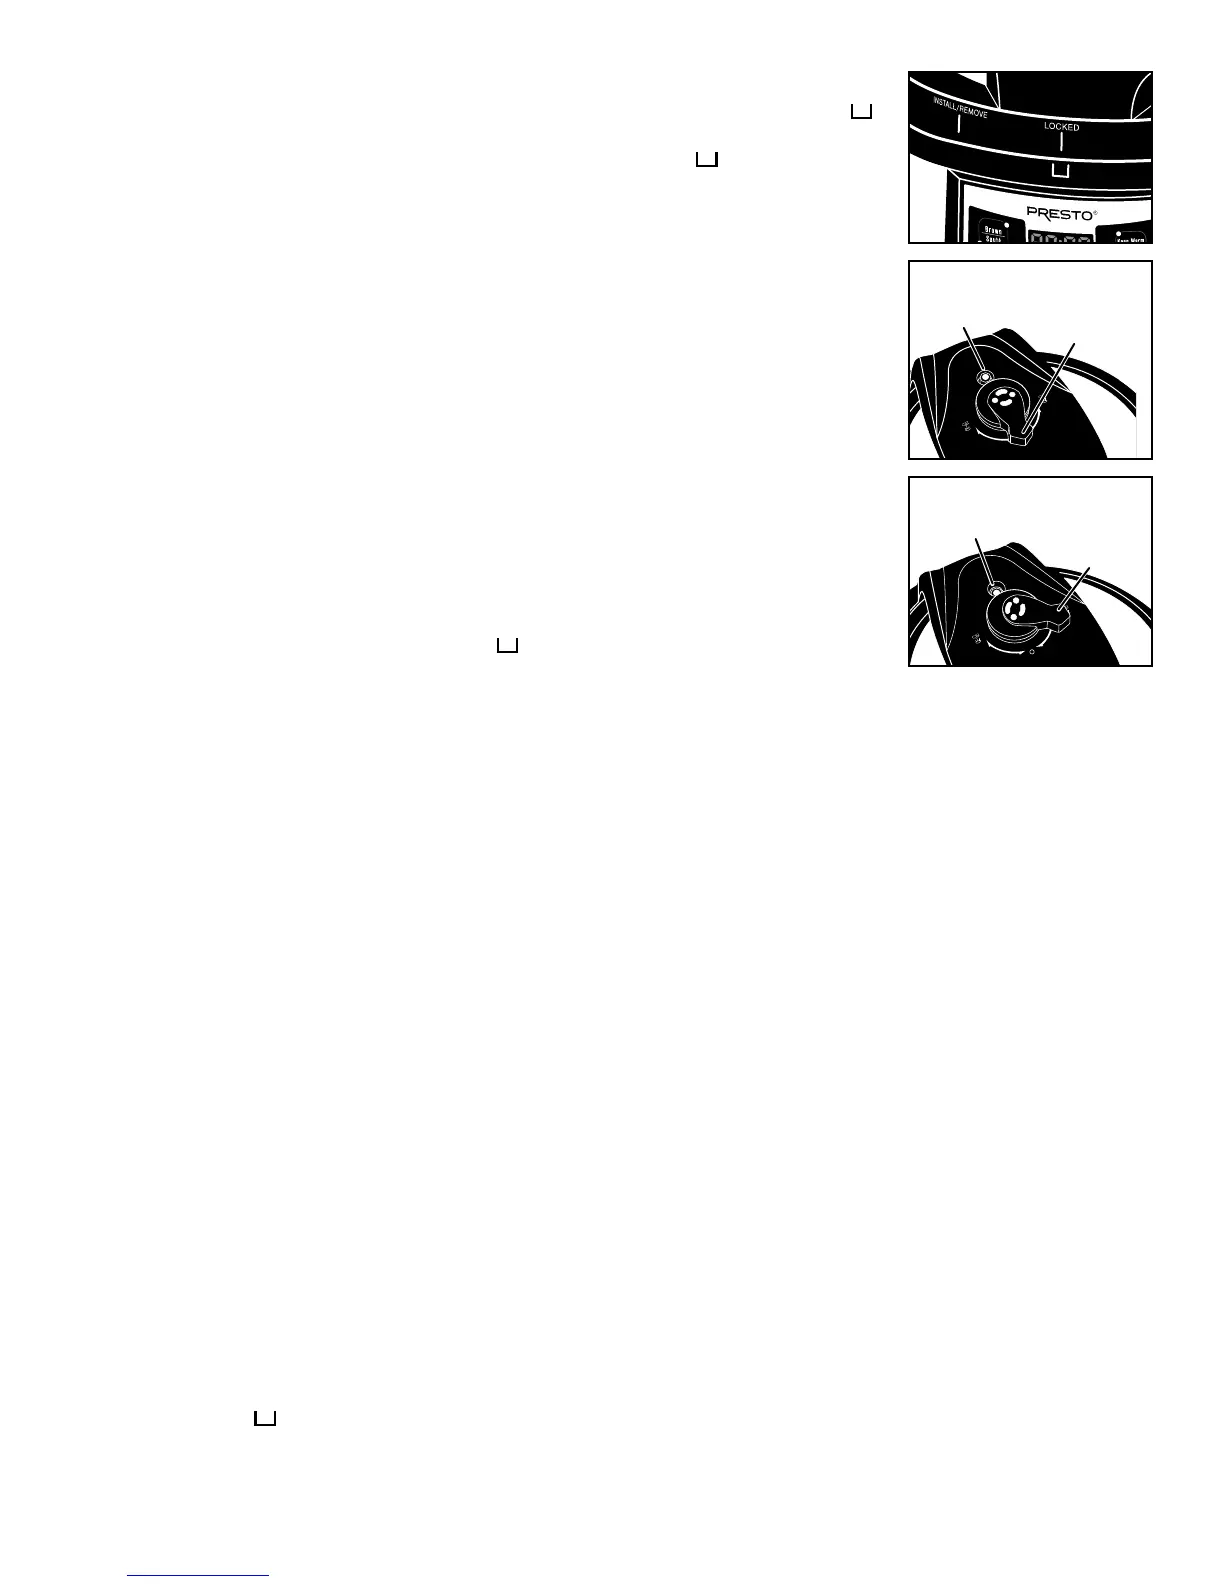
7. Place the cover on the cooker body, aligning the INSTALL/REMOVE vertical mark within the
mark on the cooker body (Fig. B, page 3). Rotate the cover clockwise until it stops. The pressure
cooker is completely closed when the LOCKED vertical mark is within the mark on the cooker
body (Fig. J).
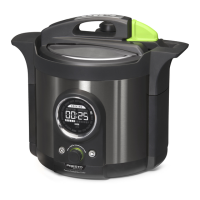
8. Push the quick pressure release valve onto the vent pipe and point the lever to the COOK position
(Fig. K). Note: The valve will fit loosely on the vent pipe.
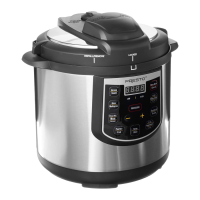
9. Select the appropriate preset button on the control panel for the type of food you are cooking. Adjust
the cooking time as necessary (see page 5). Or, if preferred, select PRESSURE and manually set
the cooker (see page 5). As the unit is heating, air will automatically exhaust around the air vent/
cover lock. You will hear this venting.
When pressure begins to build, the blue air vent/cover lock will slide up (Fig. K), locking the cover
on. Once the unit is at pressure, the timer will start to count down. During cooking you may notice
some steam releasing from the quick pressure release valve. This is normal. Note: It is also normal
for the heat to cycle on and off during cooking to control the pressure in the cooker.
10. When the cook time has expired, the unit will beep 10 times and automatically switch to the keep
warm mode.
11. Reduce pressure according to the recipe or timetable instructions (quick pressure release or drop
pressure of its own accord). See instructions below for releasing pressure. You will know the pres-
sure is completely reduced when the blue air vent/cover lock drops (Fig. L).
12. After pressure is completely reduced, carefully remove the cover. Rotate counterclockwise until the
INSTALL/REMOVE vertical mark is within the mark on the cooker body. Lift cover straight
up and, while still holding the cover over the cooker, angle it 90 degrees so residual liquid drips
into the pot. Place cover upside down on counter.
CAUTION! Steam may escape and hot liquid may drip from the cover when removing it. Steam and hot liquid can cause burns.
13. Remove food from cooker. For best results, use heat-resistant plastic or wooden utensils. Do not use metal utensils as they may scratch
the nonstick surface.
14. When cooking is complete, unplug power cord from wall outlet and then from pressure cooker. Allow cooker to cool completely
before cleaning.
Pressure Release Methods
1. Quick Pressure Release.
This method is used when cooking vegetables, seafood, and other delicate foods. When cooking time is up, press the CANCEL button
once and immediately move the valve lever to the STEAM OUT position (Fig. L). You will hear sputtering and steam will release
for approximately 2 to 3 minutes. Pressure is completely reduced when the blue air vent/cover lock has dropped (Fig. L).
CAUTION! To prevent steam burns, keep hands and face away from the top of the pressure cooker as pressure is being released.
2. Let pressure drop of its own accord.
This method is used when cooking foods such as meats, soups, and grains. When cooking time is up, keep the quick pressure release
valve in the COOK position. Let the pressure cooker cool until the blue air vent/cover lock drops. Note: If desired, the food may be
left in the cooker, which automatically switches to the keep warm mode.
How to Use for Slow Cooking
1. Follow steps 1 through 7 of the “How to Use for Pressure Cooking” instructions beginning on page 5.
2. Push the quick pressure release valve onto the vent pipe. IMPORTANT: Point the lever to the STEAM OUT position.
3. Press SLOW COOK once for the high setting or twice for the low setting. The red light next to the function selected will light up.
Adjust the slow cooking default time, if desired, by pressing the + or – buttons. The left digit will scroll throughout slow cooking.
4. When the cooking time had expired, the unit will beep 10 times and automatically switch to the keep warm mode. The left digit will
stop scrolling.
5. Press the CANCEL button once and carefully remove the cover. Rotate counterclockwise until the INSTALL/REMOVE vertical
mark is within the mark on the cooker body. Lift cover straight up and, while still holding the cover over the cooker, angle it 90
degrees so residual liquid drips into the pot. Place cover upside down on counter.
CAUTION! Steam may escape and hot liquid may drip from the cover when removing it. Steam and hot liquid can cause burns.
Fig. J
Fig. K
Blue air vent/cover
lock in up position.
Pressure in unit.
COOK
position
Fig. L
Blue air vent/cover
lock in down position.
No pressure in unit.
STEAM OUT
position