Important Cord Information
This appliance has a polarized plug (one blade is wider than the other). To reduce the risk of electric shock, this plug is intended to
t into a polarized outlet only one way. If the plug does not t fully into the outlet, reverse the plug. If it still does not t, contact a
qualied electrician. Do not attempt to modify the plug in any way.
A short power supply cord is provided to reduce the risk of becoming entangled in or tripping over a longer cord. Extension cords may
be used if care is properly exercised in their use.
If an extension cord is used, the marked electrical rating of the extension cord should be at least as great as the electrical rating of the
appliance. The cord should be arranged so that it will not drape over the countertop or tabletop where it can be pulled on by children
or tripped over unintentionally.
Connect the power supply cord to a 120VAC
electrical outlet only.
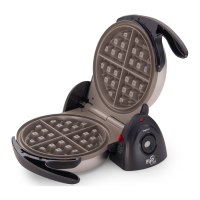
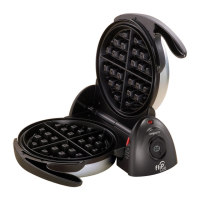
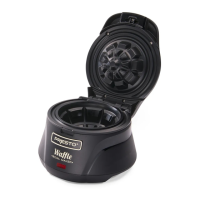
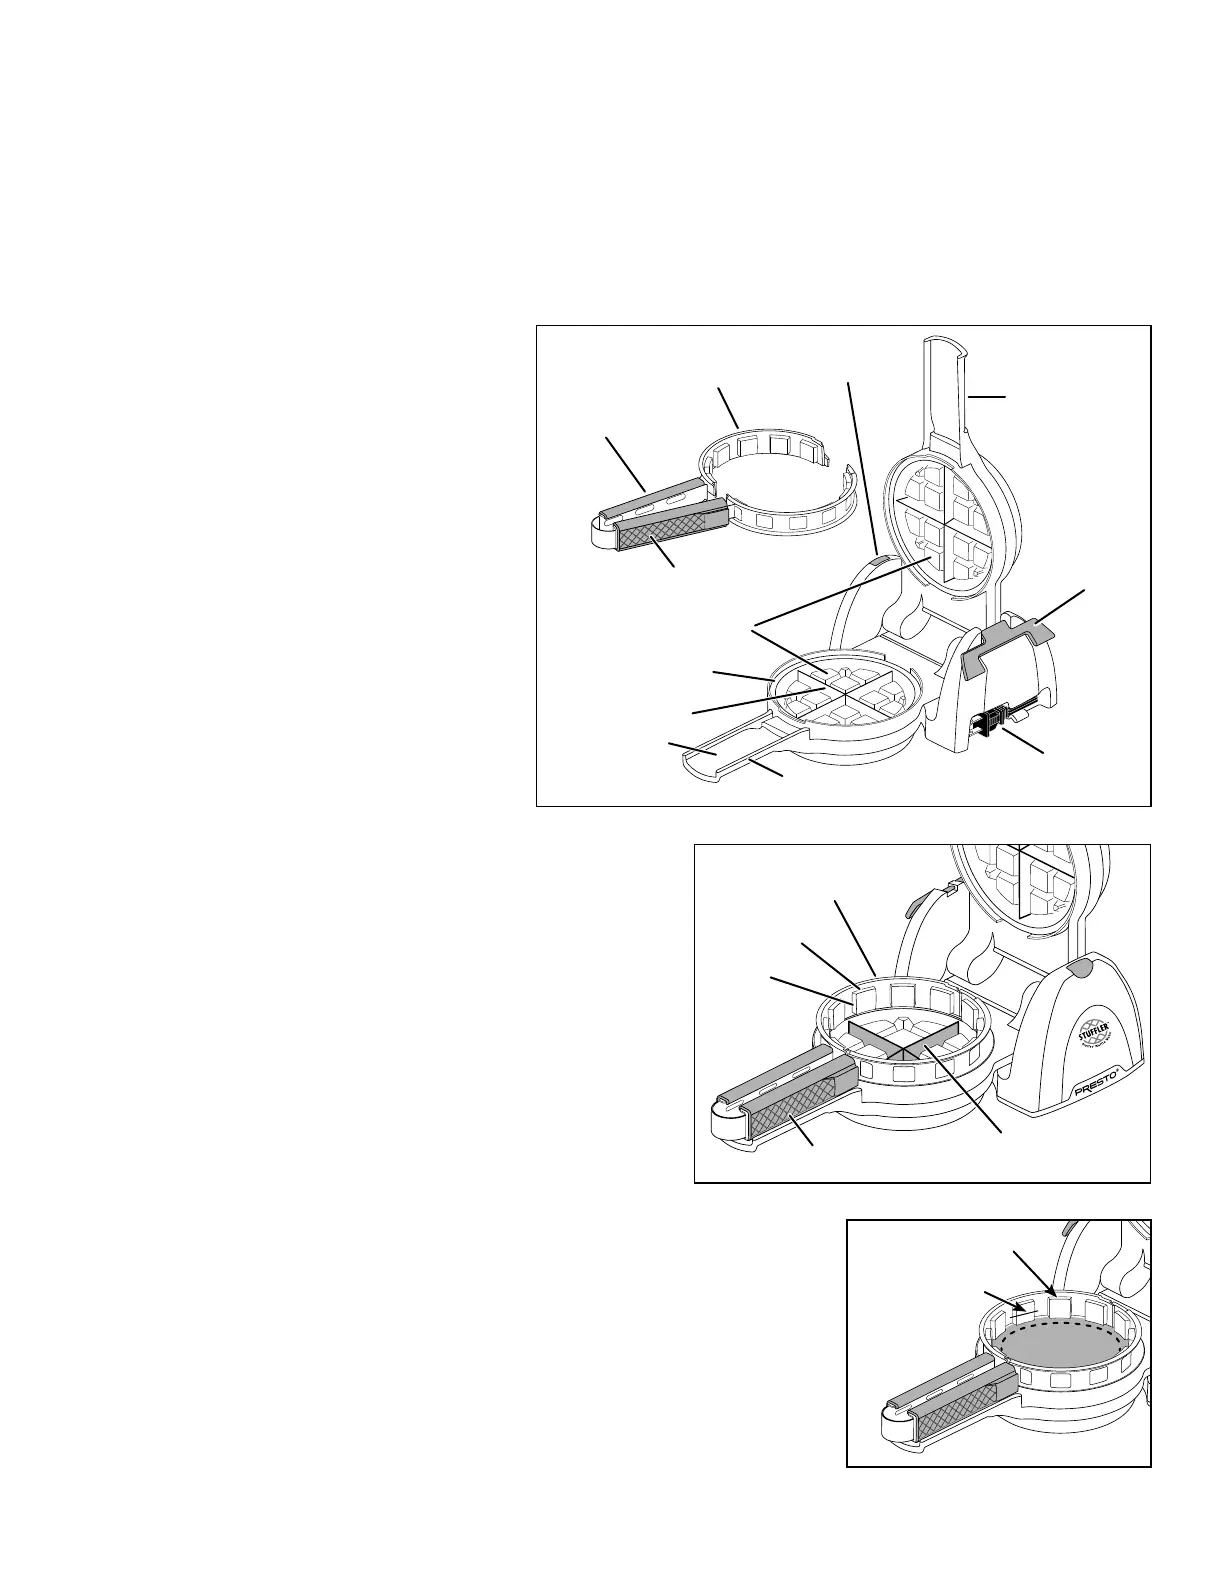
Getting Acquainted
Before using for the rst time, become familiar with
the wafe maker features (Fig. A). Wash the wafe
tongs and wipe the wafe grids with a damp cloth
before initial use.
How to Use
1. Gather the ingredients for the batter and lling.
Do any prep work required for the lling, such
as thawing, cooking, or slicing of foods. (See
pages 3 through 6 for helpful hints, recipes, and
batter/lling options.)
2. Place the wafe maker on the countertop in the
open position. Then squeeze the wafe tongs
handle and t the wafe tongs in the unit; the
circular portion ts on the ledge surrounding the
grids and the handle sets on the handle rest
(Fig. A). Always preheat the wafe maker with
the wafe tongs in the unit (Fig. B).
3. Close the unit and keep it in the horizontal position for preheating
(Fig. D, page 3). Plug the cord into a 120VAC electrical outlet and
preheat for 10 minutes. (The power light will be on whenever the
unit is plugged in.)
NOTE: When using the wafe maker for the rst time, a slight odor
or smoking may occur as internal manufacturing residue burns off.
This is normal during initial use.
4. While the unit is heating, prepare the wafe batter.
NOTE: Because the grids are covered with a nonstick nish, there
should never be a need to apply vegetable oil, except in the rare
instances described in the Helpful Hints section. Never use no-stick
cooking sprays.
5. Open the wafe maker. Pour batter into the wafe maker so that the
bottom grids and wafe divider are thinly, but completely covered. This is about ⅓ cup
of batter.
6. Add the desired lling:
• Fill to the point that is halfway between the bottom and top of the square projections
(Fig. C). It is important to leave enough room so you can fully cover the lling with
the layer of batter described in step 7.
• Leave a thin margin between the lling and the inside edge of the tongs (Fig. C).
2
Fig. B
Wafe tongs in unit
Top layer ll line
Square
projections
Handle grips
Bottom layer of batter should
cover the grids and wafe divider
Wafe grids
Power light
Fig. A
Wafe tongs
Cord storage
Wafe tongs
handle rest
Red locking lever
Wafe tongs handle
Ledge
Wafe maker
handle
Wafe maker handle
Handle grips
Wafe divider
Fig. C
Place lling inside
dotted circle, up to
the halfway point
of the square
projection.
Top layer ll line
 Loading...