EasyManua.ls Logo

Pride Pursuit 2 - User Manual

Pride Pursuit 2
108 pages
Print Icon
To Next Page IconTo Next Page
Loading...
Provider:
Détaillant:
Proveedor:________________________________________________________________________
Address:
Adresse:
Dirección:________________________________________________________________________
Telephone:
Téléphone:
Número de teléfono:________________________________________________________________
Purchase Date:
Date d’achat:
Fecha de compra:___________________________________________________________________
Please ll out the following information for quick reference:
S.V.P. veuillez compléter les informations ci dessous:
Por favor, rellene la siguiente información para tener siempre a mano:
UDI Label (if applicable)
UDI Étiquette (le cas échéant)
UDI Etiqueta (si es aplicable)
Serial #/série #/serie #
Question and Answer IconNeed help?

Do you have a question about the Pride Pursuit 2 and is the answer not in the manual?

Overview

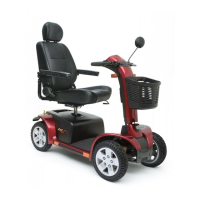
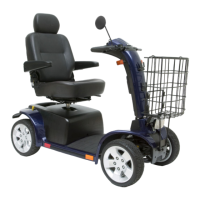
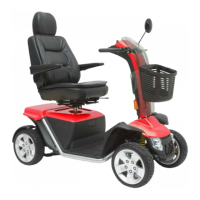
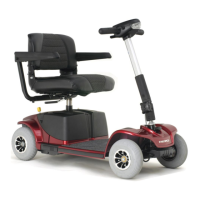
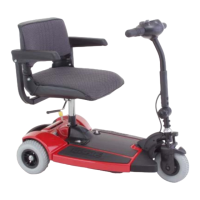
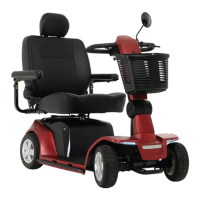
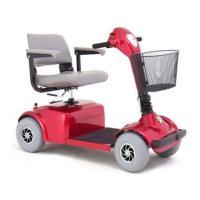
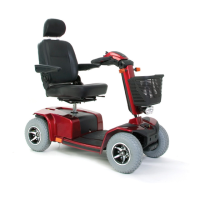
This document is an owner's manual for the SC7132 mobility scooter, providing comprehensive information on its assembly, operation, comfort adjustments, troubleshooting, and care and maintenance. It is intended to provide mobility assistance to persons with mobility impairment who can operate a motorized mobility scooter in indoor/outdoor environments.

Safety Guidelines:

The manual emphasizes safety with symbols for warnings, mandatory actions, and prohibitions. It states that an authorized provider or qualified technician must perform the initial setup and all procedures. The scooter and its components are not made with natural rubber latex. It is compliant with WEEE, RoHS, REACH directives, and IPX4 classification (IEC 60529).

Key Technical Specifications and Features:

  • Battery System: The scooter uses one long-lasting, 24-volt Lithium Ion battery, sealed and maintenance-free, rechargeable by an off-board charging system. An optional second 24-volt Lithium Ion battery is available to increase range.
    • Charging: Initial charge for 8-14 hours. Daily users should charge for 8-14 hours after use, plus an additional 4 hours after the charger indicates completion. Infrequent users (once a week or less) should charge for at least 24 hours weekly. Monthly, a 48-hour continuous charge is recommended for optimal performance and life.
    • Battery Condition Meter: Located on the tiller console, it indicates approximate battery voltage strength with a color code: green for fully charged, yellow for draining, and red for immediate recharge. Five LEDs (2 red, 3 yellow) indicate 10% charge remaining.
    • Battery Disconnect Switch: If equipped, it must be in the "on" position (-) for charging. Pulling forward on the emergency disconnect strap or pressing the disconnect switch to "off" quickly disconnects power in emergencies, causing abrupt stops.
  • Braking System:
    • Regenerative: Uses electricity to slow the vehicle when the throttle control lever is released.
    • Disc Park Brake: Mechanically activates after regenerative braking slows the vehicle or when power is removed.
    • Optional Handbrake: Provides supplemental stopping power. It contains hydraulic fluid, which can cause mild skin, eye, and nasal/bronchial irritation if spilled. Servicing or replacement should only be done by an authorized provider.
  • Tiller Console: Houses all controls: speed adjustment dial (tortoise for slowest, hare for fastest), key switch, battery condition meter, status LED (flashes codes for electrical problems), horn buttons, turn signal buttons, hazard lights switch, handbrake lever, tiller adjustment lever, and throttle control lever.
  • Drive System: Motor/transaxle assembly converts electrical energy into mechanical energy to drive the wheels.
  • Freewheel Mode: A manual freewheel lever allows the scooter to be pushed for short distances by disabling the drive and brake systems. The key must be removed before engaging/disengaging freewheel mode, and it should only be done on a level surface.
  • Anti-Tip Wheels: Integral safety feature, bolted to the rear frame. They should not be removed or modified.
  • Main Circuit Breaker: Trips to protect the motor and electronics from damage due to low battery voltage or excessive loads. It has a reset button.
  • Securement Points: Four designated points for tie-down straps when transporting the scooter in a vehicle. Straps should not be attached to adjustable, moving, or removable parts.
  • Power Down Timer: Automatically shuts down the controller after approximately 20 minutes of inactivity if the key is left in the "on" position.

Usage Features:

  • Operation: Before riding, ensure batteries are charged, the freewheel lever is in drive mode, and air temperature is within -13°F/-25°C to 122°F/50°C.
  • Getting On/Off: Remove the key from the switch before getting on or off to prevent accidental movement. The seat can be rotated for easier access.
  • Driving: Maintain both hands on the tiller and feet on the floorboard. Use the throttle control lever for forward and reverse movement. Reverse speed is slower than forward speed.
  • Lights: The lights switch controls the lighting system. Hazard lights activate 4-way flashers. Lights should be used when visibility is restricted.
  • Speed Adjustment: The speed adjustment dial allows preselection of top speed. It is recommended to start at the lowest setting until familiar with controls.

Comfort Adjustments:

  • Tiller Angle: Adjustable to several positions using the tiller adjustment lever. The seat must be removed to fully lower the tiller for transport.
  • Mirror Position: Optional mirrors can be installed and adjusted for optimal rear visibility.
  • Seatback Adjustment: The seatback angle can be adjusted using a lever. Do not operate the scooter with the seatback reclined.
  • Seat Rotation: The seat can be rotated and locked into several positions.
  • Armrest Angle: Adjustable by turning a dial. Armrests also pivot upward for easier transfers.
  • Front-to-Back Seat Adjustment: The seat can be repositioned forward or rearward using a sliding lever.
  • Accessory Bracket: Rear-mounted bracket for attaching personal accessories.
  • Seat Height: Adjustable to different heights by removing the seat, rear shrouds, and a bolt, then aligning holes and reinserting the bolt.
  • Optional Positioning Belt: Designed for operator comfort and support, not as a restraining device for motor vehicles. Must be properly secured and inspected before each use.

Maintenance Features:

  • Pre-Ride Safety Check: Includes checking tire condition, electrical and harness connections, brakes, battery charge, and freewheel lever position.
  • Daily Checks: Inspect throttle for damage, tiller cable for fraying, solid tires for flat spots, armrests for loose hardware, and brakes for proper function.
  • Weekly Checks: Inspect controller and charger connectors for corrosion, and pneumatic tires for proper inflation.
  • Monthly Checks: Check anti-tip wheels for rubbing or wear, and general tire wear. Keep the scooter clean.
  • Yearly Checks: Annual inspection and maintenance by an authorized provider is recommended.
  • ABS Plastic Shrouds: Can be cleaned with car wax (glossy finish) or matte-finish specific products.
  • Axle Bearings and Motor/Transaxle Assembly: Prelubricated, sealed, and require no subsequent lubrication.
  • Motor Brushes: Periodically inspected for wear by an authorized provider.
  • Console, Charger, and Rear Electronics: Keep free of moisture. If exposed, allow to dry thoroughly.
  • Brake Pads: Inspected periodically and replaced when thickness reaches 2 mm or 1/16 inch.
  • Fuse Replacement: Fuses (key fuse, battery fuse) are located in a compartment on the tiller. Replace with fuses of the exact same rating.
  • Nylon Lock Nut Replacement: Any removed nylon insert lock nut must be replaced with a new one.
  • Wheel Replacement: For pneumatic tires, the tube can be replaced. Requires removing the key, placing the scooter in freewheel mode, elevating the side, deflating the tire, removing lug nuts, separating rim halves, replacing the tube, reassembling, and reinflating. Ensure the axle key is properly installed.
  • Cleaning and Disinfection: Use a damp cloth and mild, non-abrasive cleanser. Approved disinfectants (Lysol®/Clorox® sprays/wipes, Birex® SE, Bleach-Rite® Spray, Citrace® Germicide, Dispatch® Spray, diluted bleach solution, Clorox, Green Works, PDI Sani-Cloth HB, Oxivir, Virox, CaviWipes) can be used on hard/soft surfaces. Do not use rubber/vinyl conditioner on vinyl seats or tire tread. Do not spray liquids directly on electronics.
  • Battery Terminal Connections: Ensure connections are tight, uncorroded, and batteries sit flat.
  • Wiring Harnesses: Regularly check all connections and insulation for wear or damage.
  • Storage: For prolonged storage, fully charge batteries, disconnect them, store in a warm, dry environment away from temperature extremes. Place boards under the frame to lift tires off the ground.
  • Disposal: Dispose of the scooter according to local and national regulations. Contact a waste disposal agency or authorized provider for information on proper disposal of components. Plastic bags are a suffocation hazard and should be disposed of properly.

Pride Pursuit 2 Specifications

General IconGeneral
BrandPride
ModelPursuit 2
CategoryScooter
LanguageEnglish

Related product manuals