Quantum 610 www.quantumrehab.com 23
WIRE TIES
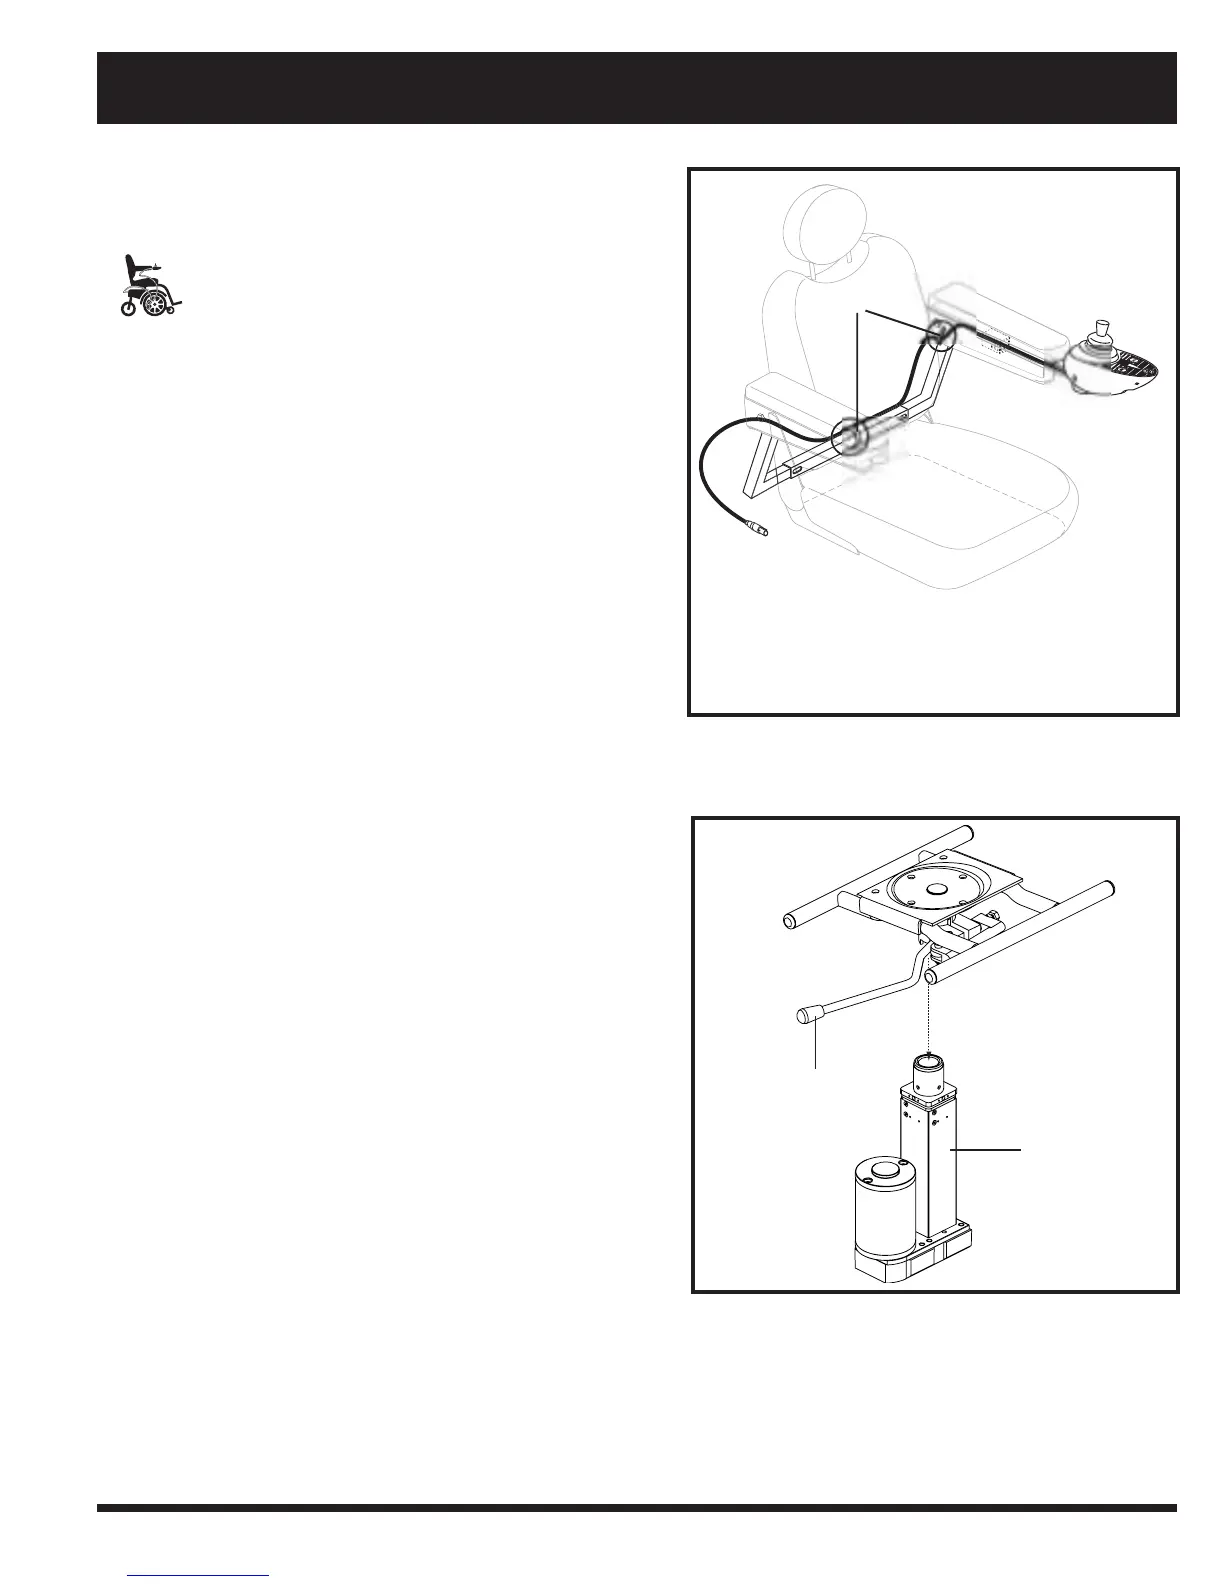
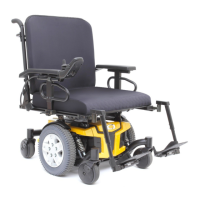
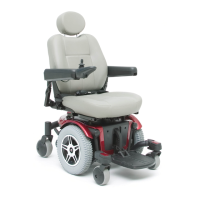
Figure 13. Remote Plus Controller Routed on a
Contour Seat
MANDATORY! Prevent controller harness
damage! Avoid routing the controller
harness on the outside of the armrest
pad. Route the harness under the armrest
or toward the inside of the armrest pad.
Use correct tie-down points for the
controller harness to prevent the harness
from getting caught in the drive tyres,
pinched in the seat frame or damaged
when passing through doorways.
9. Secure the controller cable to the armrest receiver with
wire ties. See figure 13.
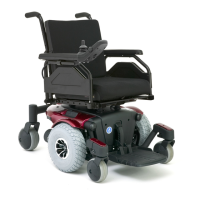
Power Seat Option Installation
Your power chair may be equipped with the power seat
option. While the seat itself may be any one of the styles
offered for this model, the way the seat base attaches to the
power base is different.
To install the power seat:
l. Align the post on the bottom of the power seat base over
the hole in the power seat actuator.
2. Slide the post into the actuator and push the friction lock
lever forward.
3. Connect the power seat cable to the power base.
4. Tilt the seat back and slide the rear extension onto the
power seat base.
5. Lower the front extrusion onto the power seat base until
the seat locks into place.
6. Flip down the seat latch safety.
7. Install the controller.
NOTE: Refer to V. “Comfort Adjustments” for more
information on controller installation and adjustment.
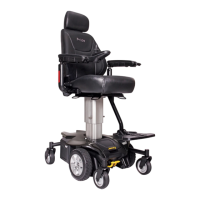
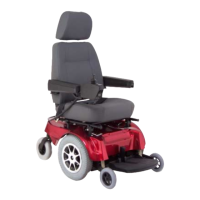
Figure 14. Power Seat Actuator
IV. ASSEMBLY
FRICTION LOCK
LEVER
POWER SEAT
ACTUATOR