*When using autofocus, please choose an interval at least two seconds longer than the camera shutter
speed to allow the camera time to focus. When using long exposure noise reduction, choose an interval
at least double the camera shutter speed.
Manual Function
1. Select the M function on the remote and choose any shutter speed on the camera.
2. Half press the shutter button to focus.
3. Fully press the shutter button to release the shutter.
4. For long exposures, set the camera to the BULB setting. After pressing the shutter button, slide the
shutter button to the HOLD position. This will lock the camera’s shutter OPEN.
5. Slide the button in the opposite direction to release the lock.
6. Release the button to end the exposure.
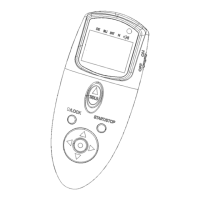
Background Light / Lock Button
Press the Background Light / Lock Button for 1 second to turn on the LED lamp on the control panel.
Press the Background Light / Lock Button for 2 seconds to enable the Button Lock.
Press the Background Light / Lock Button for 2 seconds to disable the Button Lock.
Multi-Exposure (High Dynamic Range) Function
Setting the Multi-Exposure
Use the arrow button to move selection cursor under BU. Press the SET button and go into BU
time section①. Press the LEFT arrow button to get into multi-exposure selection②, Press UP
or DOWN to change from single exposure -1- to nine exposures -9-.
Press the SET button to complete the operation and display the new setting for the selected
item④. Press the SET button to set the first exposure (-1-), then press the arrow button to
change the exposure time⑤. After setting the first exposure time, press the right arrow button to
get into second (-2-) exposure time. Repeat ④⑤ steps, until you reach the last exposure