www.usaprocom.com
13200230-01A
INSTALLATION
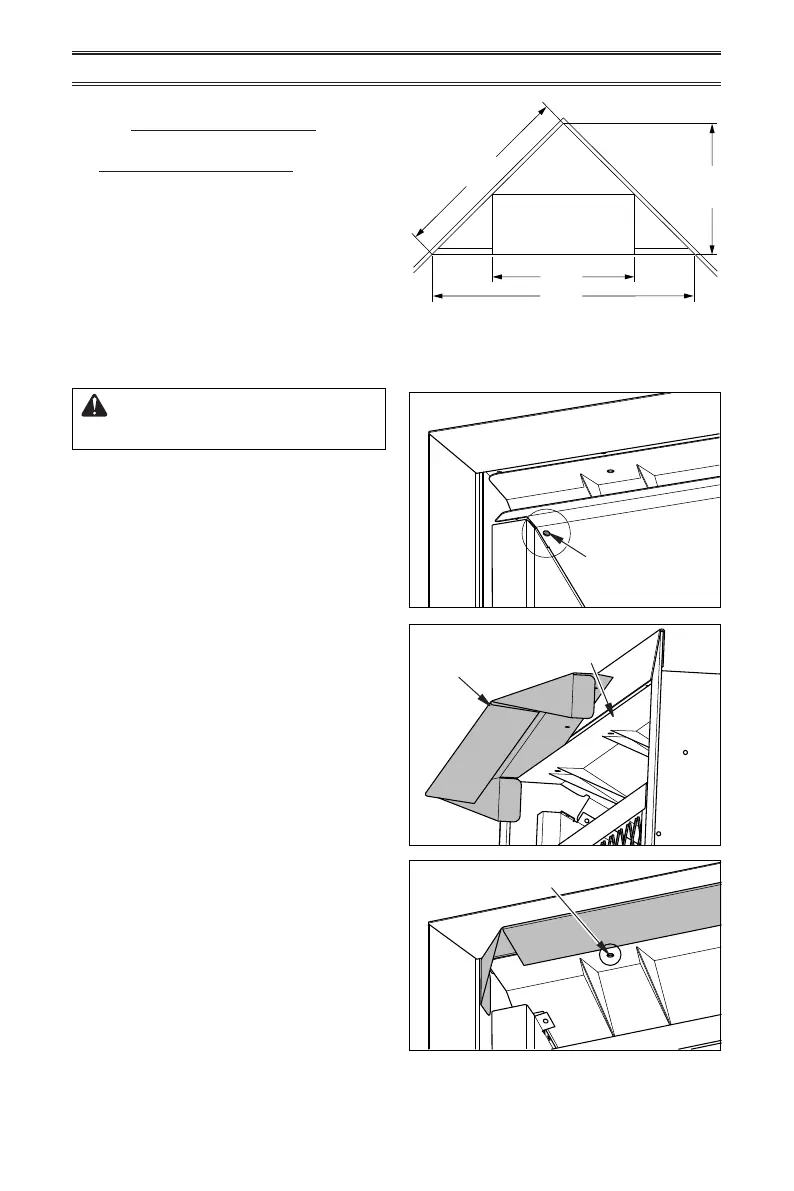
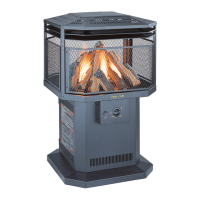
Figure 11 - Hood Installation
Remove 2
Screws from Top
Firebox Panel
Insulation
Board
Replace 2
Screws
Hood
Step 1
Step 2
Step 3
3. Attach gas line to replace gas regulator.
See Connecting to Gas Supply, page 14.
4. Check all gas connections for leaks. See
Checking Gas Connections, page 16.
IMPORTANT: When nishing your rebox,
combustible materials such as wall board,
gypsum board, sheet rock, drywall, plywood,
etc, must have 1/2" clearance to the sides
and top of the rebox. Combustible materials
should never overlap the rebox front.
Figure 10 - Rough Opening for Corner
Installation
37.4"
28.75"
53.8"
26.5"
CAUTION: Do not operate
replace without hood in place.
1. Fireplace hood is positioned on top of
shipping inner pack.
2. Remove top of rebox by removing 2 screws
located on each end (see Figure 11).
3. Insert the hood along the upper side of
the heat insulation board (see Figure 11).
Attach hood with 3 screws.
4. Reattach rebox top by reinserting the 2
screws from step 2.
ASSEMBLING HOOD