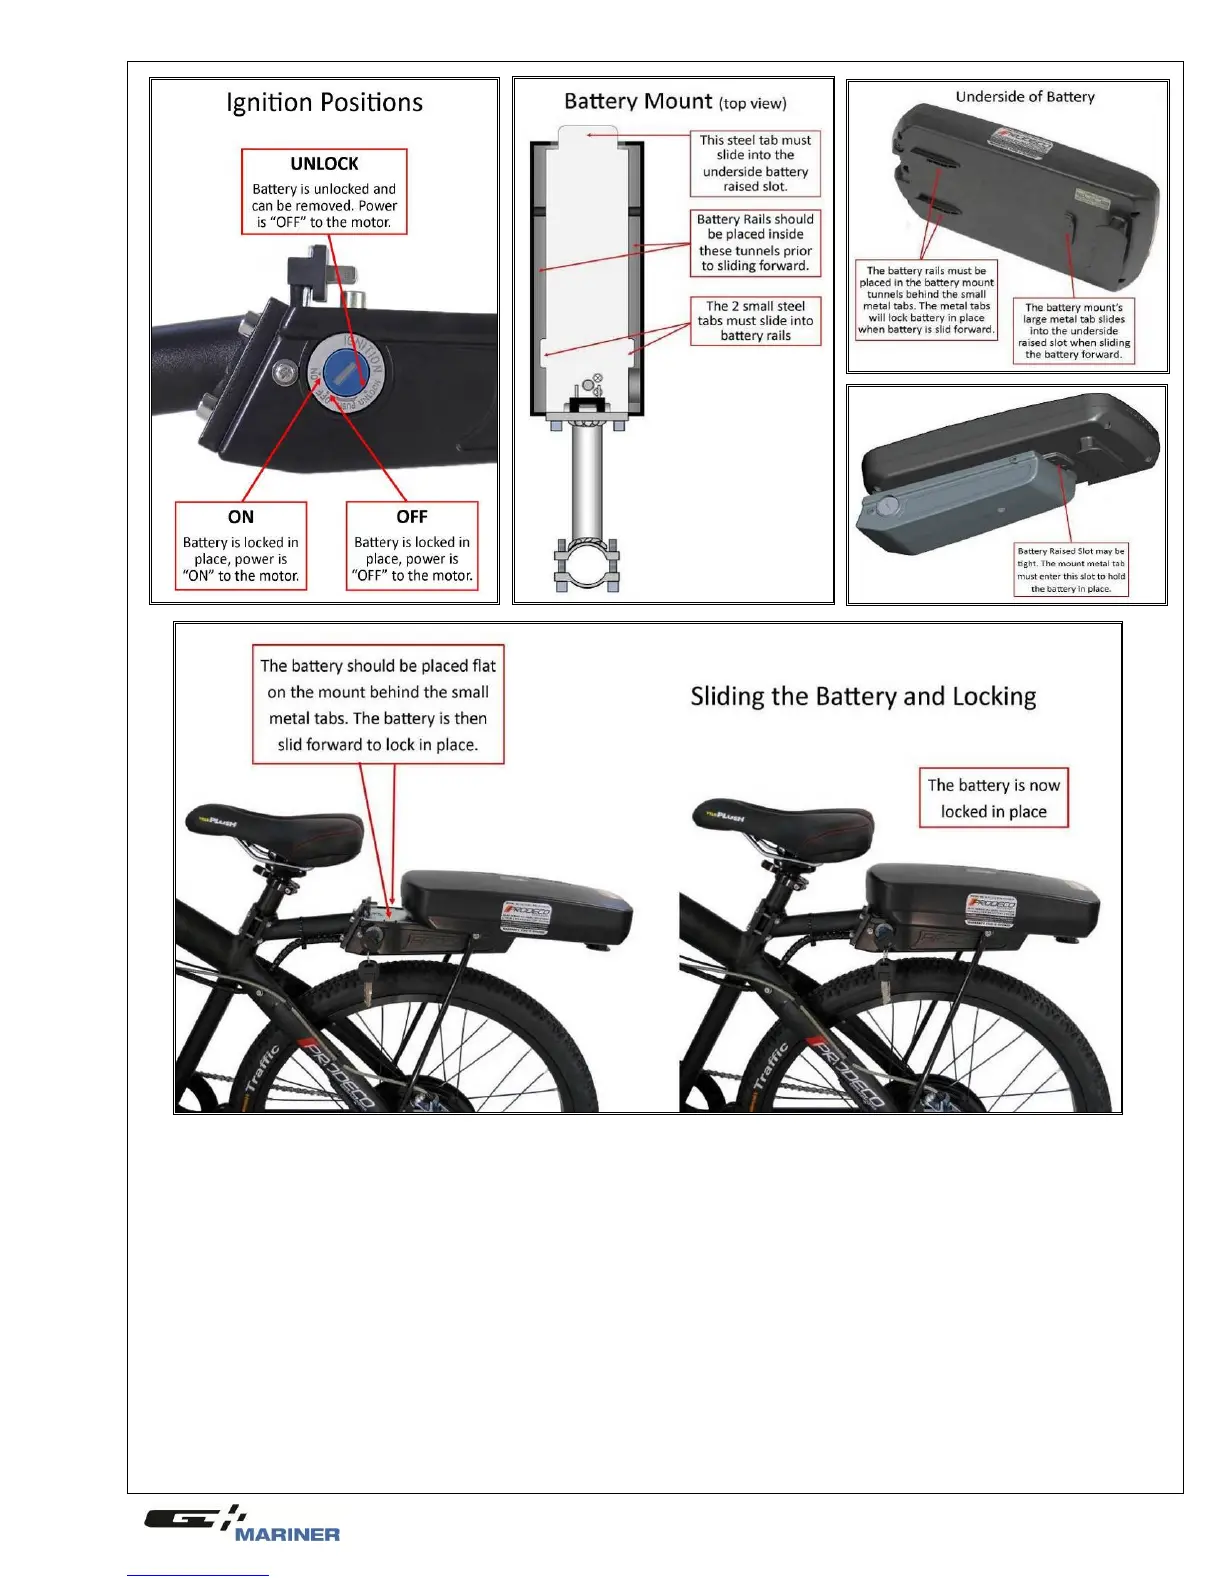
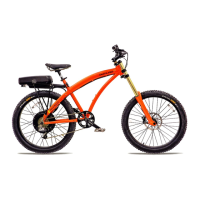
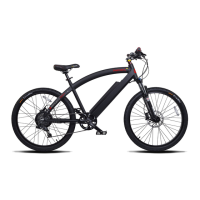
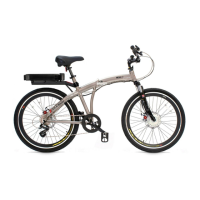
c) Installing and locking the battery
As shown in the photos above, the battery has 2 thin ―slotted rails‖ (1 on each side of the battery towards the front) and
a ―raised slot‖ (towards the rear and near the handle) at the underside of the battery. These rails and slots hold the
battery in place when riding.
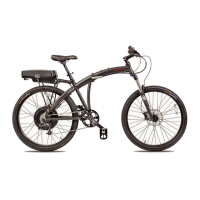
The battery mount attached to the bicycle has one large metal tab at the rear and 2 small metal tabs at each side.
When laying the battery onto the mount, place the battery so the rear ―raised slot‖ near the battery handle is behind the
large metal tab on the mount. The 2 ―slotted rails‖ on the underside of the battery should be behind the 2 small metal
tabs on the mount. The battery will now be resting flat on the mount.
Firmly slide the battery forward allowing the ends of the underside rails to fasten over the 2 small tabs (2 small tabs
lock into the ―slotted rails‖). The mount’s large metal tab at the rear must also enter the ―raised slot‖ of the battery
underside. The metal tabs will firmly hold the battery in place.
You may have to use some force when installing the battery for the first time. Once installed for the first time, it is not
as difficult to install afterwards.
Upon the battery being fully slid into place, the key will then lock the battery in place and the LED lights of the throttle
will light once the key is turned into the ―ON‖ position. If the key has difficulty locking the battery, attempt to slide the
battery in place again, following the instructions above.