1111
Light On/Off Status
Red on
Charging
Green on
Fully charged
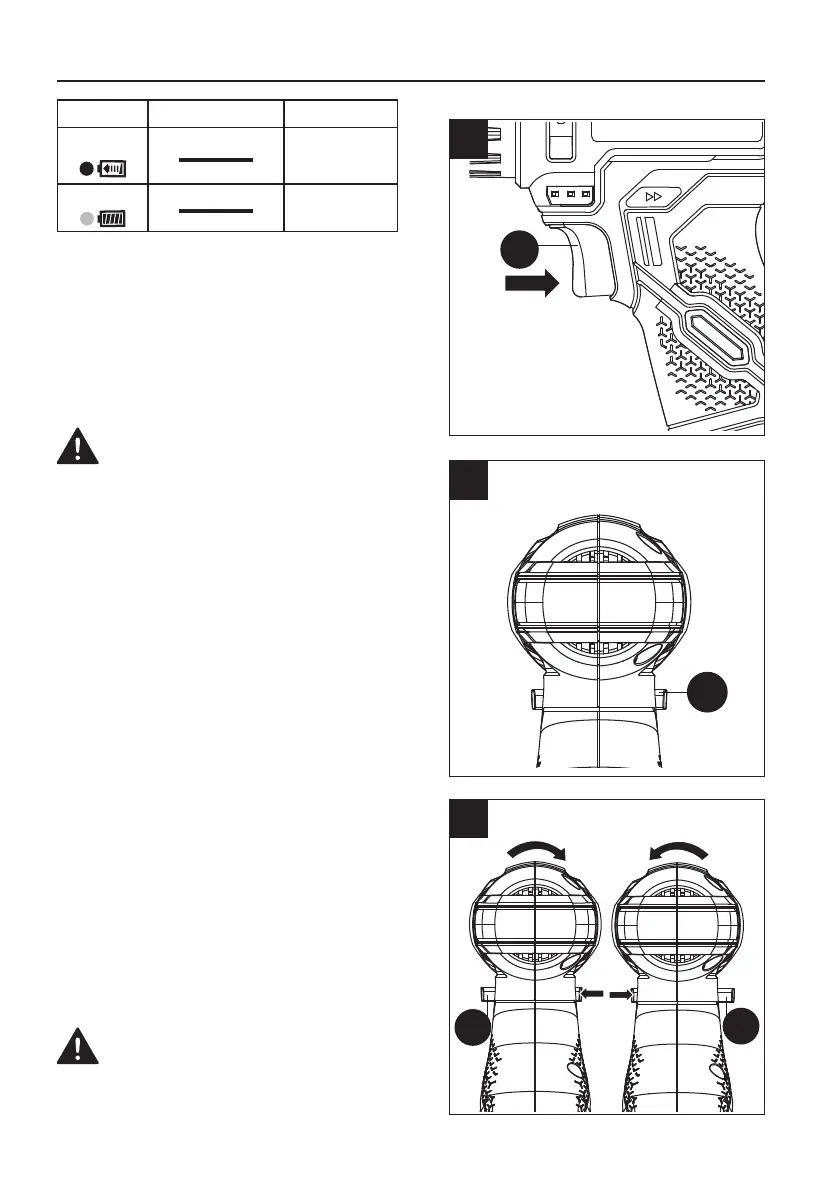
2. ON / OFF SWITCH (SEE FIG. 2)
Depress the on/off switch (G) to start and release
it to stop your drill. The on/off switch (G) is fitted
with a brake function which stops your chuck
immediately when you quickly release the switch.
It is also a variable speed switch that delivers
higher speed and torque with increased trigger
pressure. Speed is controlled by the amount of
switch trigger depression.
WARNING: Do not operate for long periods
at low speed because excess heat will be
produced internally.
3. SWITCH LOCK (SEE FIG. 3)
The on/off switch (G) can be locked in the OFF
position. This helps to reduce the possibility
of accidental starting when not in use. To lock
the on/off switch (G), place the forward/reverse
rotation control (C) in the center position.
4. FORWARD AND REVERSE ROTATION
CONTROL (SEE FIG. 4)
Forward rotating: push the forward/reverse
rotation control (C) to the left (the drill points away
from you). It is used for drilling and screw driving.
Reverse rotation: push the forward/reverse
rotation control (C) to the right (the drill points
away from you). It is used for removing screws or
releasing a jammed drill bit.
WARNING: Never change the direction of
rotation when the chuck is rotating, wait until
it has stopped!
OPERATING INSTRUCTIONS
G
C
C
C
2
3
4