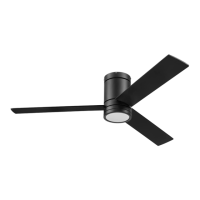
Do you have a question about the Prominence Home Lanissa 52 and is the answer not in the manual?
Key components for fan installation including canopy, cover, and mounting bracket.
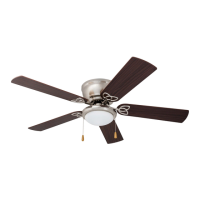
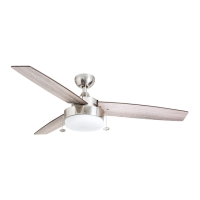
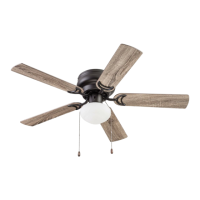
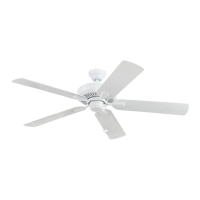
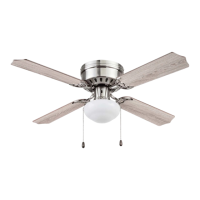
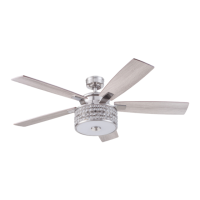
Essential parts for fan operation, air movement, and illumination.
Includes the fan's manual, hardware kit, and balancing kit.
Components like wire connectors for electrical assembly.
Includes screws and washers for secure component attachment.
List of tools necessary for fan installation.
Optional tools that may aid in the installation process.
Standard installation for ceilings 8 ft. or higher.
Suitable for angled or vaulted ceilings up to 16 degrees.
Important warnings for safe fan installation and operation.
Information on FCC and Industry Canada standards.
Steps to correct potential radio or TV interference.
Mandatory steps to shut off power before servicing.
Blade clearance requirements from floor and walls.
Proper mounting and avoiding dimmer switch use.
Crucial DANGER: Turn off electrical power before installation.
Attaching the mounting bracket to the outlet box.
Loosening set screws and preparing the downrod assembly.
Inserting and securing the downrod pin and clip.
Aligning the downrod ball slot with the mounting bracket tab.
Installation requirements for the safety hanging cable.
Securing the braided cable with the support screw.
Connecting fan wires to power supply wires.
Securing the canopy to the mounting bracket.
Securing blade arms to the motor assembly.
Connecting the light kit and securing it to the fitter plate.
Installing the E26-base bulbs into the light kit sockets.
Securing the lens, finial cap, and finial.
Inserting CR2032 batteries into the remote.
Optional wall mounting for remote access.
Using buttons for fan speed, light, and special modes.
Syncing the remote to the fan receiver.
Adjusting thermostat for comfort in different seasons.
Changing fan direction for summer or winter airflow.
Resolving issues with fan power and noise.
Addressing fan wobble and non-functional light.
Steps to re-sync the remote control with the fan.
Details on fan motor and parts warranty coverage.
Conditions not covered, responsibilities, and disclaimers.
| Brand | Prominence Home |
|---|---|
| Model | Lanissa 52 |
| Category | Fan |
| Language | English |