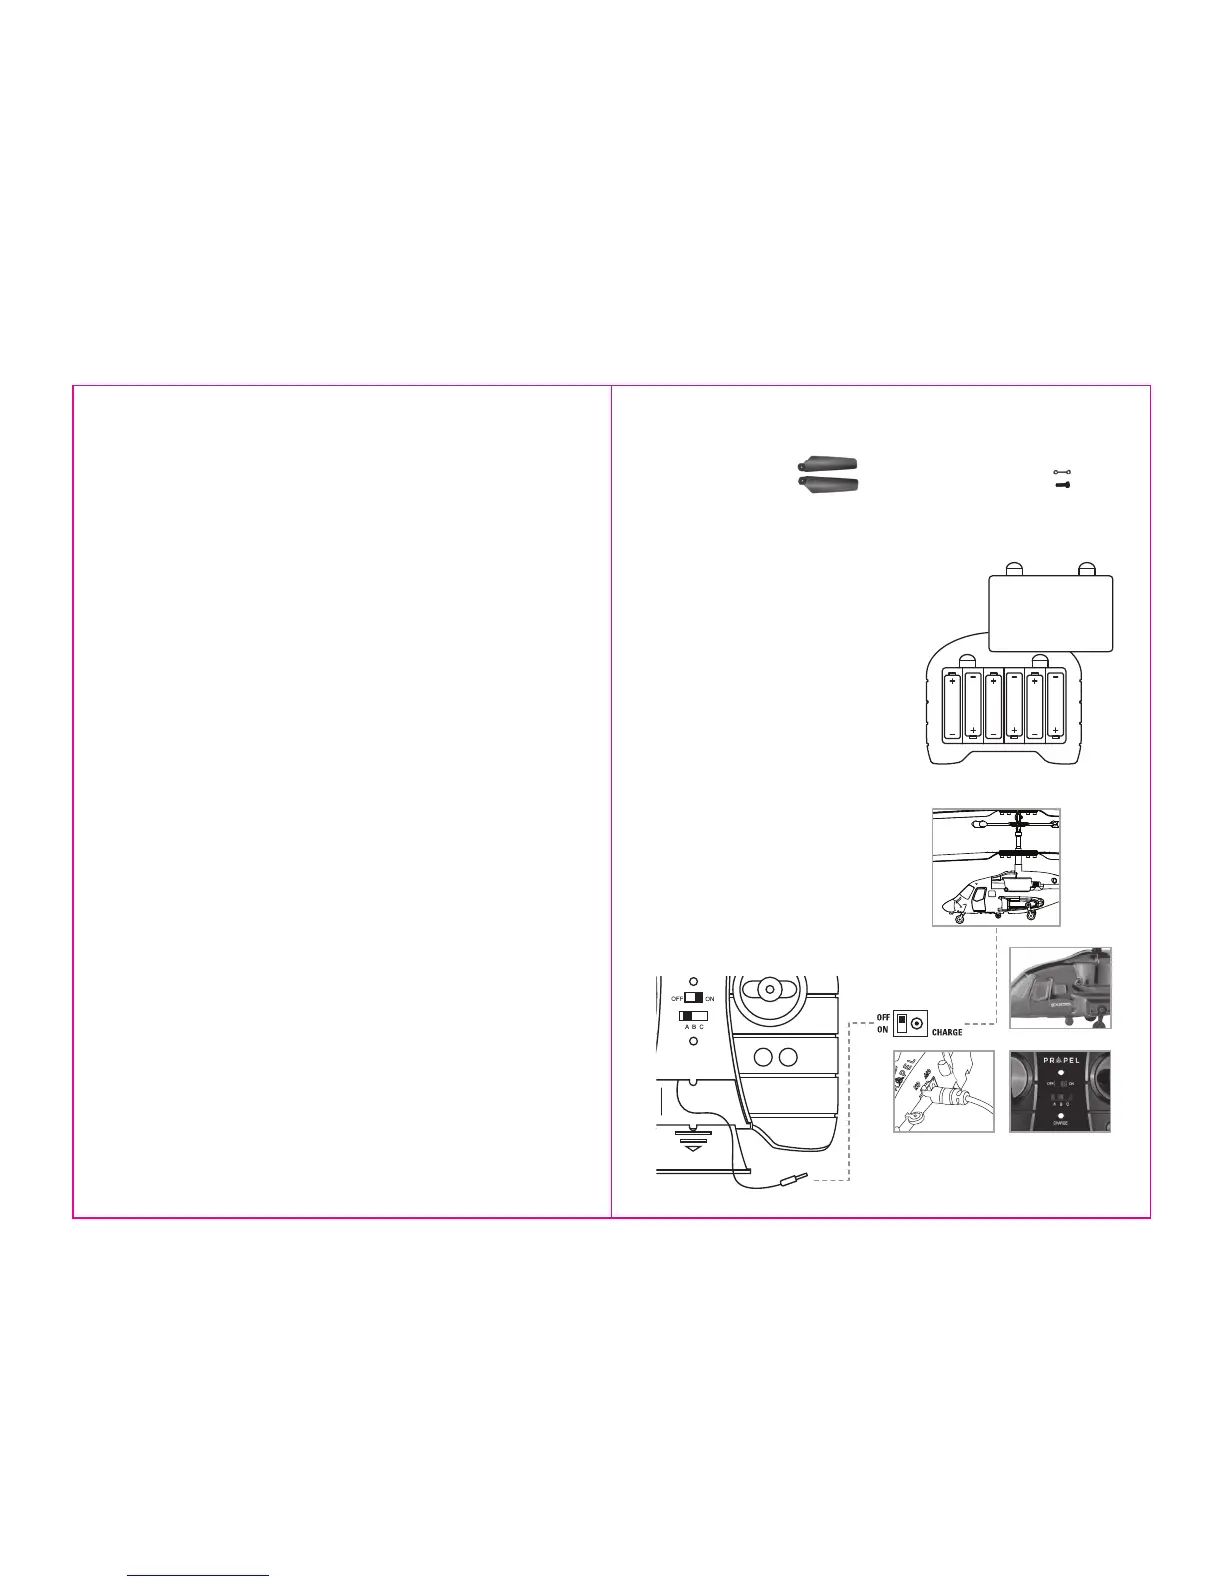
Charging socket is located on the underside of the helicopter
next to the power switch. Charging cord connects as indicated.
Indicator light on charger stays lit until charging is complete.
B.
A.
C.
TRIM
CHARGE
L R
FEATURES
• Wide-range infrared remote control specifically designed for indoor flight.
• Built-in Li-Poly rechargeable battery that connects to the transmitter for quick
and easy charging (helicopter only).
• Wireless infrared remote control features 3 selectable channels that prevent
signal interference when flying more than one helicopter at a time.
See back panel for additional flight precautions.
REMOTE CONTROL BATTERY INSTALLATION
1. Remove the battery cover from the back of the remote control.
2. Install 6 “AA” alkaline batteries as shown in the diagram.
3. Replace the battery cover.
CHARGING THE HELICOPTER
1.
Make sure the helicopter power switch is set to the OFF (up) position
(see illustration and photos below). All lights and propellers should be off.
2.
Slide down the charger cover to open the front of remote control
(see diagram below).
3. Connect the charging plug on the remote control to the charging
socket on the underside of the helicopter (see diagram B).
4. Turn the controller power switch to the ON position (see
diagram C). The indicator lights to indicate charging in progress.
5. Length of charging time will vary depending on percentage of
battery already charged and strength and condition of “AA” batteries in
the charger. Average charging time is
approximately 20 - 30 minutes.
The helicopter operates for approximately 5 - 6 minutes per charge.
6. The indicator light will shut off when the helicopter has been
completely charged.
IMPORTANT: ALWAYS DISCONNECT CHARGER CORD AFTER
CHARGING. NEVER LEAVE CHARGER CONNECTED TO HELICOPTER
OVERNIGHT OR FOR EXTENDED PERIODS OF TIME.
Battery Compartment
(6 “AA” batteries)
Battery Cover
TABLE OF CONTENTS
CONTENTS.........................................................................................................................................................................2
FEATURES..........................................................................................................................................................................2
REMOTE CONTROL BATTERY INSTALLATION.......................................................................................................................2
CHARGING THE HELICOPTER...............................................................................................................................................2
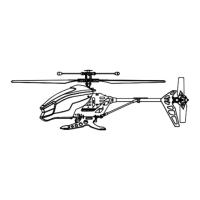
HELICOPTER DIAGRAM.......................................................................................................................................................3
REMOTE DIAGRAM.............................................................................................................................................................3
FLIGHT AND CONTROLS......................................................................................................................................................4
FLIGHT PREPARATION........................................................................................................................................................4
FLYING TIPS.......................................................................................................................................................................5
HELICOPTER FLIGHT ADJUSTMENTS...................................................................................................................................5
SAFETY PRECAUTIONS........................................................................................................................................................6
BATTERY WARNINGS.........................................................................................................................................................6
CARE AND MAINTENANCE..................................................................................................................................................6
PART REPLACEMENT INSTRUCTIONS..................................................................................................................................7
STEALTH FLYER PROPELLER SYSTEM..................................................................................................................................7
TROUBLESHOOTING...........................................................................................................................................................7
KEY POINTS........................................................................................................................................................................7
REPLACING CONNECTING RODS..........................................................................................................................................8
REPLACING THE UPPER PROPELLER BLADE........................................................................................................................8
REPLACING THE BOTTOM PROPELLER BLADE.....................................................................................................................9
1 2
CONTENTS:
(1) 1 upper propeller blades x 1 (3) 4 connecting rods x 4
(2) 1 lower propeller blades x 1 (4) 4 screws x 4
 Loading...