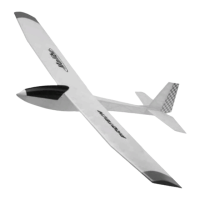
Malibu - 9
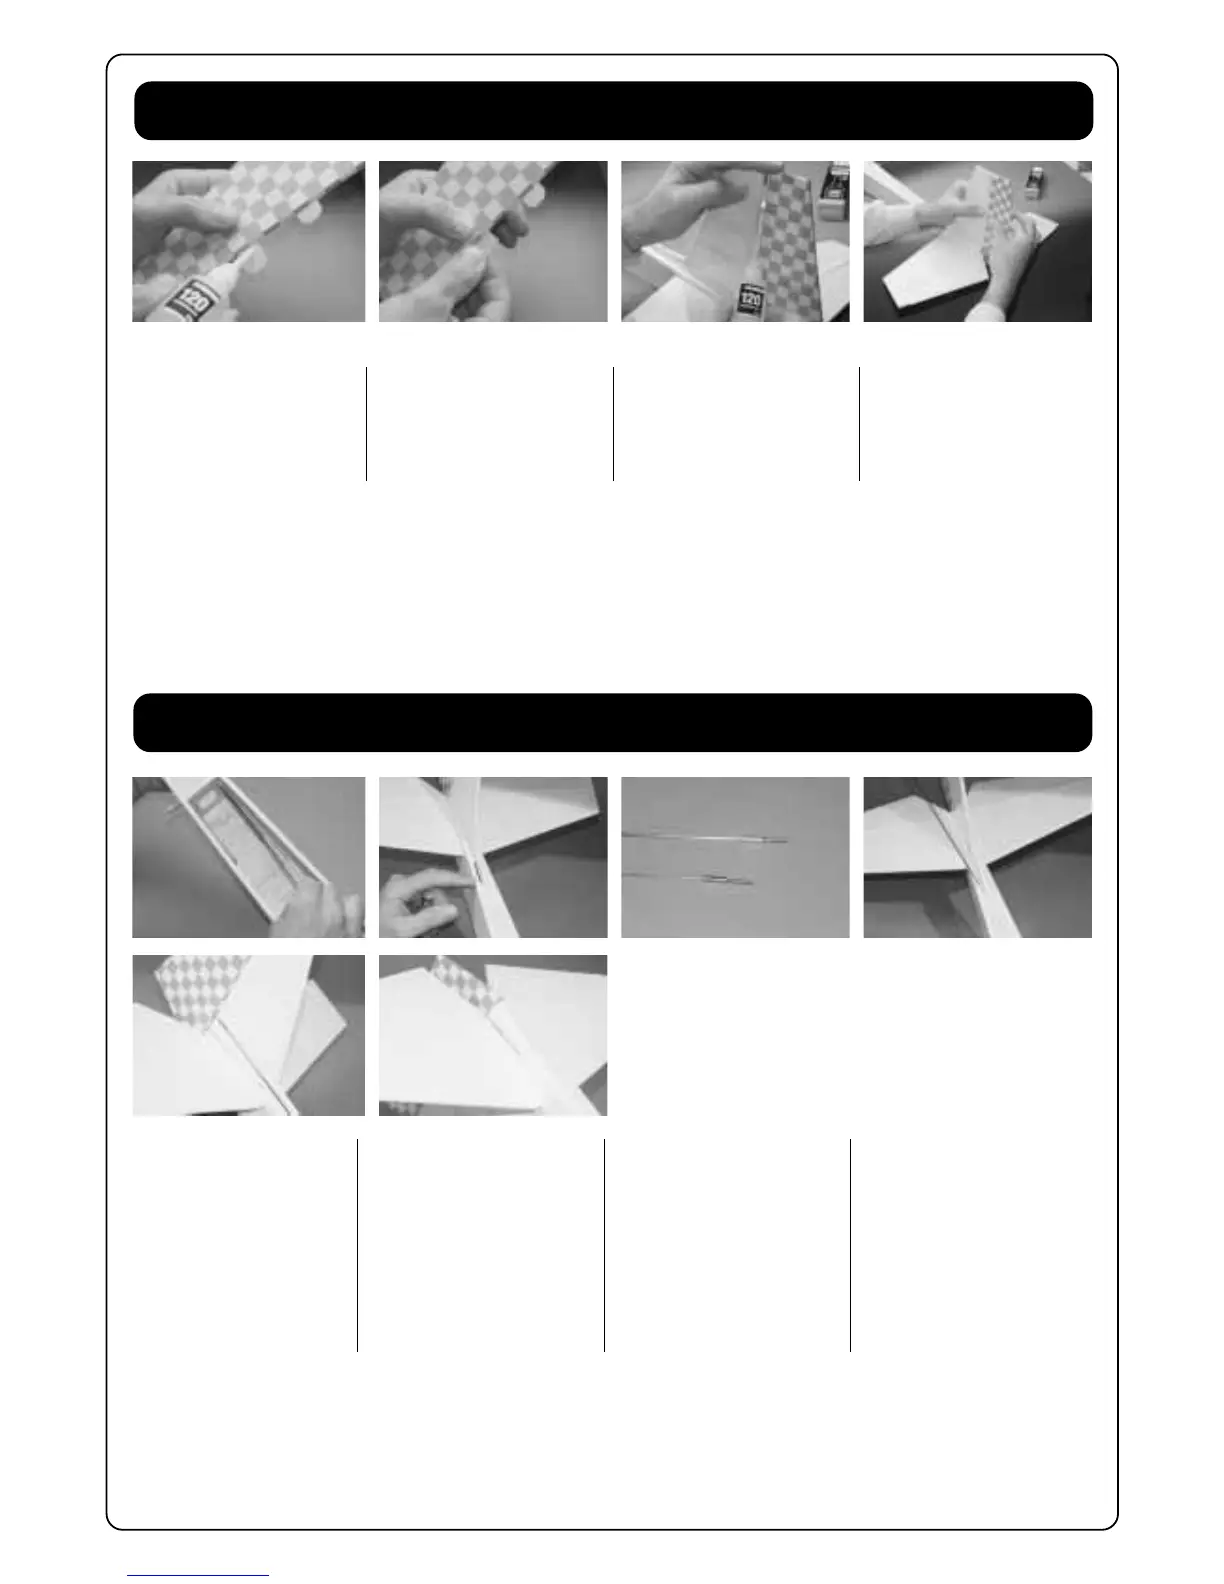
Fixing the rudder / Monteren van het richtingsroer /
Installation de la gouverne de direction /
Glue the hinges in the rudder,
see fig. 16-17. Glue the hinges
in the vertical fin, see fig. 18-19.
Verlijm de scharnieren in het
richtingsroer zoals afgebeeld op
fig. 16-17. Vervolgens verlijmt u
de scharnieren in het vertikale
staartvlak, zie fig. 18-19.
Collez les charnières dans la
gouverne, voir fig. 16-17. Collez
les charnières dans la dèrive,
voir fig. 18-19.
Placing the pushrods / Plaatsen van de stuurstangen /
Installation des tringles de commande /
Push the pushrods in the
foreseen gliders en press them
true the covering, see fig. 20-21.
Take-out the rods and solder
both treaded bushings on the
pushrod, see fig. 22.
Replace the pushrods in the
fuselage starting from the tail,
see fig. 23-24-25.
Duw de stuurstangen in de
voorziene geleiders en druk
deze door het bespanfolie, zie
fig. 20-21.
Haal de stuurstangen terug uit
de romp en soldeer beide
bussen op de stuurstangen, zie
fig. 22.
Plaats de stuurstang terug in de
romp te verstrekken vanaf het
staartstuk, zie fig. 23-24-25.
Glissez les tringles dans les
gaines déjà installées et percez
l’entoillage, voir fig. 20-21.
Soudez les douilles filletées sur
les tringles en métal, voir fig. 22.
Glissez par l’arrière les tringles
dans les gaines, voir fig. 23-24-
25.
fig. 16 fig. 17 fig. 18 fig. 19
fig. 20 fig. 21 fig. 22 fig. 23
fig. 24 fig. 25