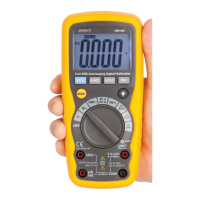
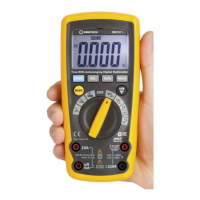
FUNCTIONS
Autoranging/
Manual
The meter’s default setting is autoranging. This
automatically selects the best range for the selected
test/measurement.
• To set the meter to manual, press the “RANGE”
button. The AUTO icon on the screen will turn off.
• Press the “RANGE” button to move through the
available ranges until you see the range you want.
• To exit manual mode and return to autoranging,
press and hold the “RANGE” button for 2 seconds.
Mode The “MODE” button helps you to move through
various operations with various icons displayed
on-screen. It works in conjunction with the function
switch to measure things like resistance, diode,
continuity and capacitance. It also allows you to select
between AC or DC current measurements.
Function
Switch
Select a measurement range by turning the switch to
the preferred option.
LCD Screen Readings and measurements taken by the multimeter
will display in this area.
Backlight • Press the BACKLIGHT button for 2 seconds to light
up the LCD screen.
• Press the button again to exit the backlight mode.
Relative
Button
This allows you to make measurements relative to a
stored reference value. The displayed value is then
the difference between the referenced (stored) value
and the measured value.
• Press the REL button to store a reading. The REL
indicator will appear on the display.
• The display will now indicate the difference
between the stored value and the measured value.
• Press the REL button to exit the relative mode.
4